
Ombre nails are those eye-catchy nail designs where two or three different colors blend into each other seamlessly. The ombre pattern can be diagonal, horizontal, vertical, or between.
The fantastic thing about ombre nails is that you can achieve them independently. However, the ombre effect is a relatively tricky work of art, and you may need the assistance of an expert to achieve it.
The fantastic thing is that you can do ombre nails yourself and use the same technique with any color combination you choose. You can create them using different colors, metallic shades, stones, and glitter.
How To Do Ombre Nails Without Sponge
If you do not have a sponge at hand and think you can’t achieve ombre nails, listen up, Wait to put your nail polishes away. I will teach you how to create the ombre effect from the convenience of your home without using a sponge. Instead, I will share step-by-step DIY procedures for achieving the ombre effect.
Before starting any of the processes, ensure you get everything you need within your reach. You can also take a quick trip to the bathroom; you would want to avoid creating a great mani and ruining it with a trip to the bathroom.
How To Do Ombre Nails With A Cotton Swab/ Bud
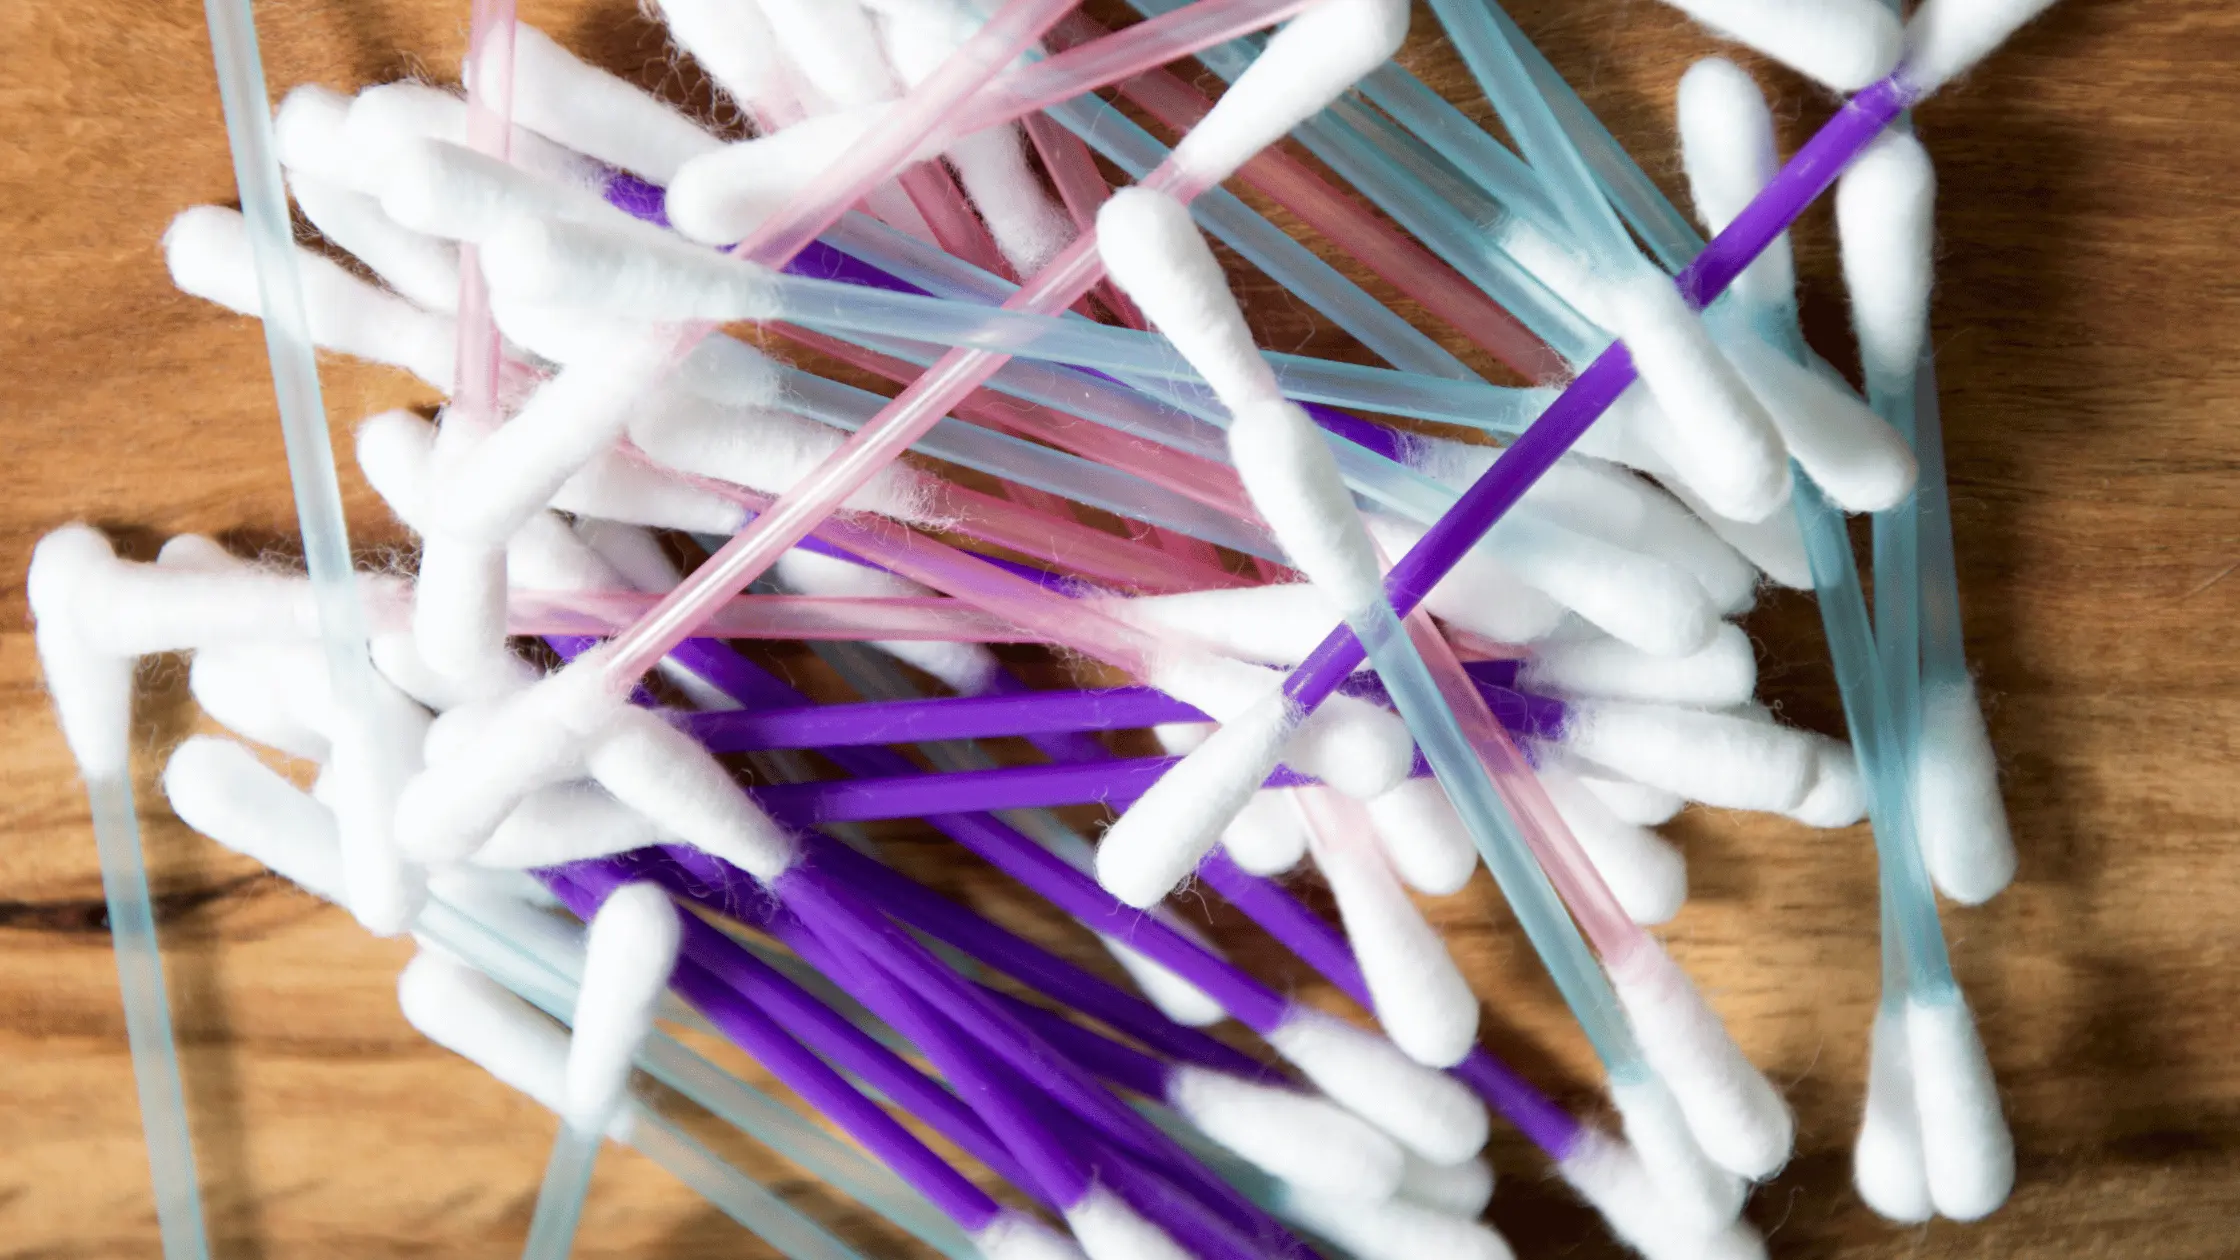
Step 1
For a monochrome gradient, you should use distinct shades of the same color. The colors next to each other on the color wheel are good combinations if you want different colors.
Pick out the colors of nail polishes you want for your ombre effect.
Step 2
Start by washing your hands and wiping your fingernails with nail polish remover. Next, dip a cotton ball into your nail polish remover and carefully wipe your nails to remove dirt and oil.
Additionally, I suggest you apply a latex skin protector around each of your nails to make clean-up easier.
Step 3
Your colored nail polish will need something to stick to, so your manicure will last longer. To achieve that, you should apply a base coat of either clear nail polish or white nail polish. It is conventional to use clear nail polish, but white nail polish can make your colors pop more.
Do not apply a thick layer of your base coat, as you only need a thin layer.
Step 4
You can start with any of your picked-out colors, but I suggest starting with the lightest shade.
Apply a thin layer of your first colored nail polish and leave for about two minutes to dry. You should paint your entire nail just like if you’re to do a regular manicure.
It is easier to start with a lighter color and blend a darker one into it. However, beginning with a darker color and incorporating a lighter one can make your work messier and more challenging to get your ombre effect.
Step 5
Use the nail polish brush to apply your second nail polish color to a cotton swab, also known as cotton buds. Then, apply the nail polish on it in the shape of your nail.
Do not apply a thick layer of polish; apply a small amount. You can add more polish as needed gradually.
Step 6
With light pressure, apply the second color where your gradient starts. Again, keep the color light, so you don’t create any hard lines.
Step 7
Wait for about two minutes, so it dries before applying your third color if needed. Gently dab it where you want it to be and blend, then leave it to dry for about two minutes.
Step 8
Apply a fast-drying top coat to give your nails a beautiful, glossy look. Additionally, it blurs the color transition a bit more.
Step 9
Peel off the latex tape around your fingers using a brush. If you didn’t apply latex tape initially, dip a cotton swab in nail polish remover, then use it to clean the area around your nails, so they are neat.
How To Create An Ombre French Manicure

Step 1
Dab a cotton ball into nail polish remover, then wipe your nails clean to eliminate dirt and oil.
Step 2
For a French ombre manicure, you need peachy pink( or any nude-colored) nail polish for the bottom part of your nail and white nail polish for the upper part.
Step 3
First, apply a thin layer of clear nail polish for your base coat and leave it to dry for about two minutes.
Step 4
Apply a coat of pink nail polish to the bottom of your nails. Start at your cuticles and stop where your nail bed ends so it looks realistic.
Step 5
You do not have to wait before applying your second color. Apply white nail polish on the upper part of your nail and leave a thin line between both colors.
Step 6
Use a small brush to blend both colors across the line. You can use a makeup brush or a small paint brush to mix both colors at the line. If it doesn’t integrate seamlessly, you can dip the brush in clear nail polish and blend the colors. Brush along the line and keep mixing till it is smooth and realistic, then leave to dry for two minutes.
Step 7
After it’s dry, apply a layer of your top coat to give it a glossy look. Soak a cotton bud into nail polish remover and clean up around your nails once the top coat is dry.
Additional Tip
To create ombre nails with glitters, add glitters with a cotton swab to the top or bottom of your nails, depending on your choice. Then blow out the excess glitter. You should apply them before applying your top coat.