
Checkered patterned fashion items slowly crept their way up the ladder and became established that no one can remember them never existing.
This wave has calmly swept its way into nails too. You only need to go on social media for a few minutes to see that this nail art is going strong, maybe stronger now.
The main problem with nail art is that it can get a little expensive. Going to the salon regularly to get your favorite nail design done can worm a hole into your pocket.
Thankfully, checkered nails like swirl nails are easy to create at home. Even beginner manicurists can master this look within a short time.
Keep reading to learn how to create this fashionable look on your own.
How to Paint Checkered Nails
Checkered nails are exactly what you’re picturing: tiny checkerboards on each nail. You can make this pattern with different colors and sizes of boxes.
You might want to start with larger squares and get some practice and a steadier hand before trying to do small boxes.
It only takes a few simple steps to make this beauty happen.
1. Choose Your Colors
There is no limit to the colors you can choose. You can just use two of your favorite colors, two mismatched colors, or go according to the season.
One key consideration that should go into selecting colors is the contrast between the two colors you choose. One color should be dark and the other lighter.
The results won’t be so striking if you choose colors within the same range.
2. Prep Your Nails
Always remember to prep your nails before starting any procedure. You’ll have a higher chance of getting good results if you take the time to prepare your nails well.
Wash them clean, remove any hangnails, push your cuticles back, trim your nails and file them into whatever shape you desire.
3. Apply a Base Coat
Applying a base coat will present a protective layer between your nails and the pigment in the colored polish.
This is especially important if you’re using dark nail polish or one with an intense pigment. You don’t want your nails to get dyed.
The base coat will also present a smoother surface for you to work your design unto, prolonging the life of your manicure.
4. Paint the Left Side of Your Nail
Take one of the colors you’ve chosen for your checkerboard and paint the left side of your nail using a standard nail polish brush.
5. Paint the Other Side
Use the other color to paint the right side of your nail. Be careful so that the color doesn’t spill or stain the left side.
Allow both sides of the paint dry before attempting the next step. Rushing this process can put all your hard work to shame.
6. Create Squares
Use the second nail polish color to paint a square in the upper left corner of each nail, over the first color that was painted on the left side.
After that first round dries, take the first color and paint squares in the upper right corner of each nail over the color that was painted on the right half of the nail.
This will create the checkerboard effect. See? Easy peasy.
7. Apply Top Coat
Wait until all your nails are dry, then lock in your manicure with a top coat. The clear top coat will make your manicure last longer and give off a shinier, more polished effect.
Variations of Checkered Nails
Now that you know the basics of making checkered nails, you can play with them. Put it in different styles like the examples below.
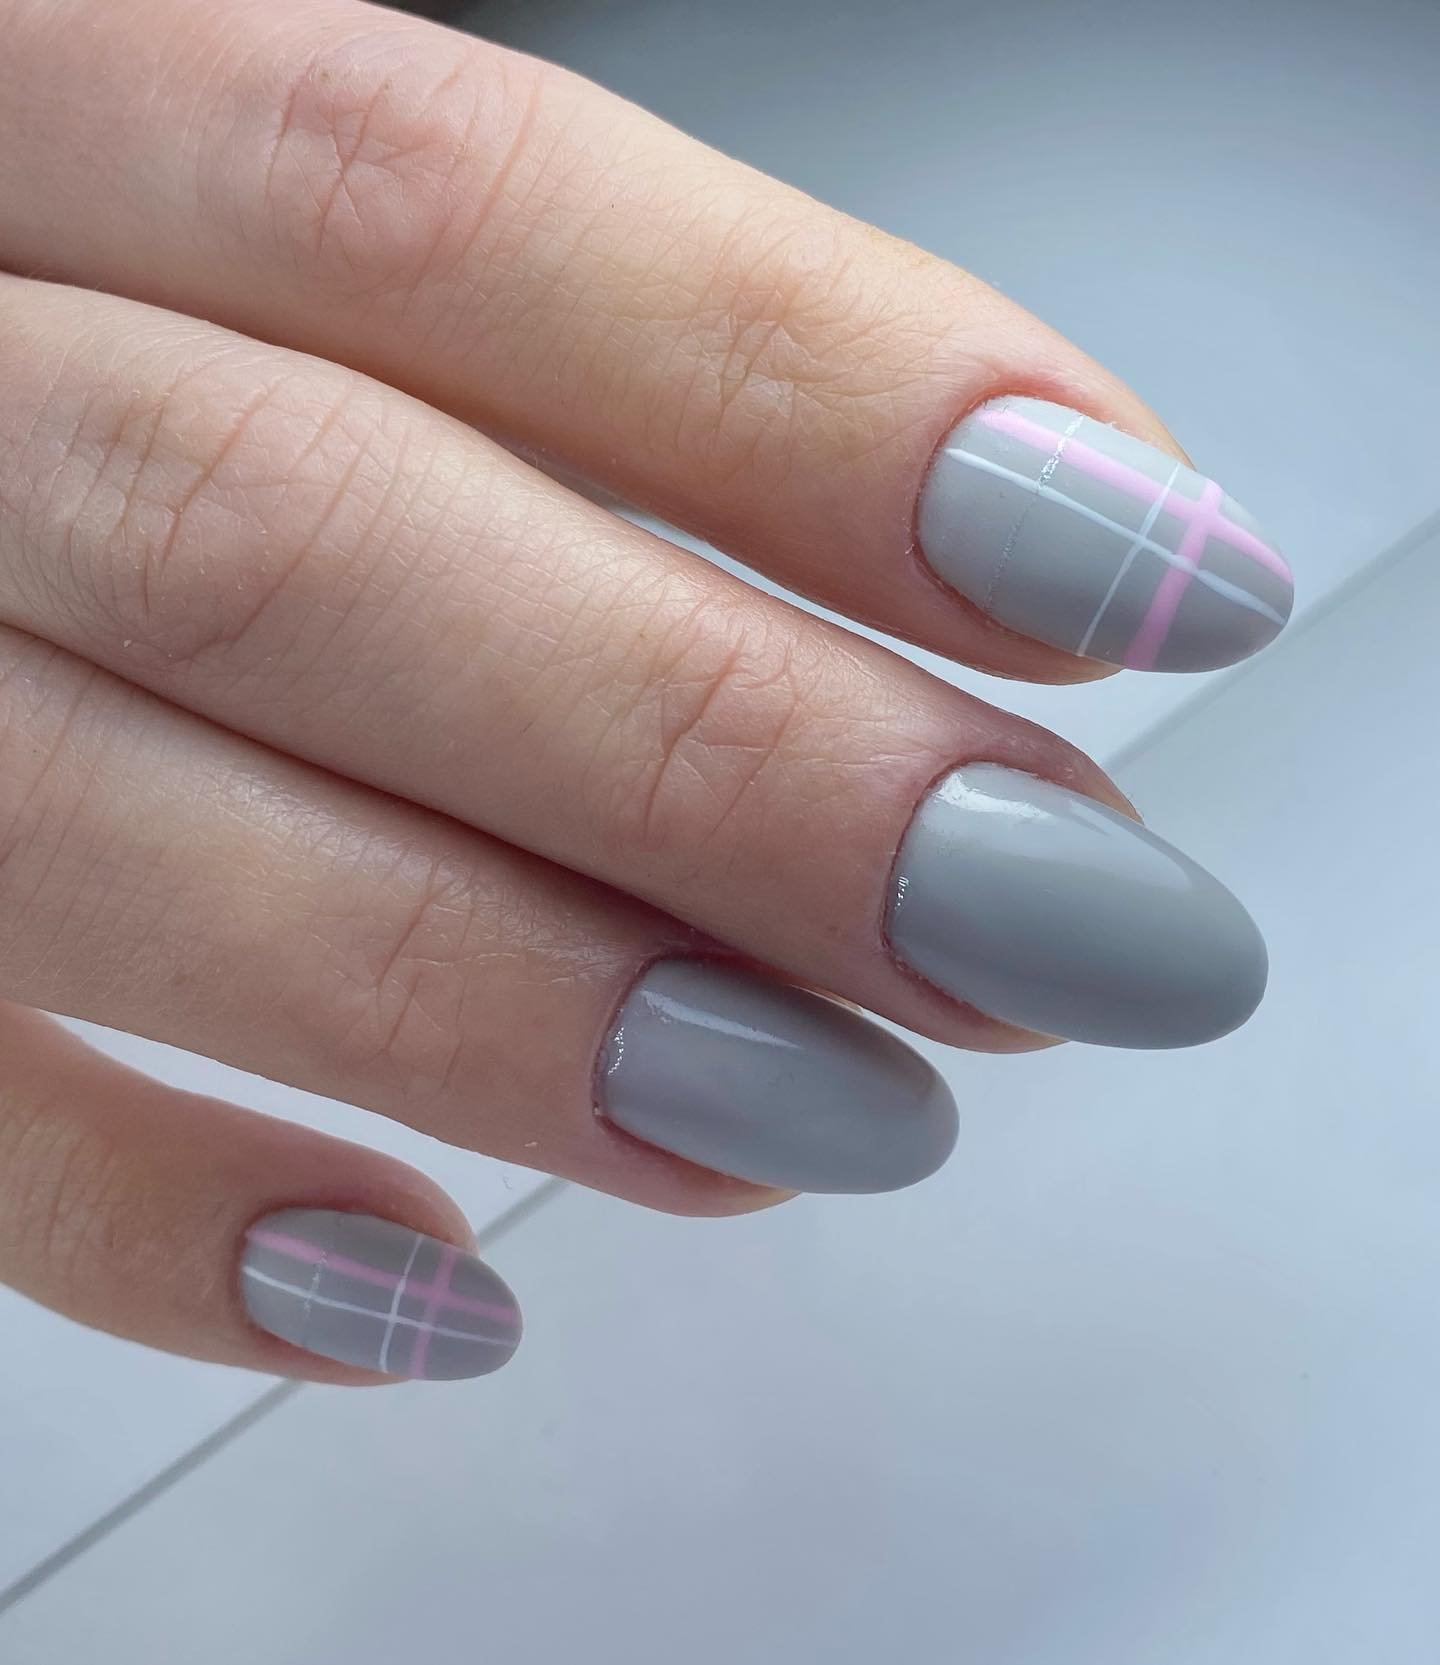
French Tips

French tip nails are an all-time favorite and they go well with any pattern or color. Why don’t you replace the monochrome tip with this pattern?
Spice things up a little bit. You can even use colors that have no relation to the color on the nail.
Half a Nail
You can paint the checkerboard onto one side of your nail and the other side, another design, or just one color.
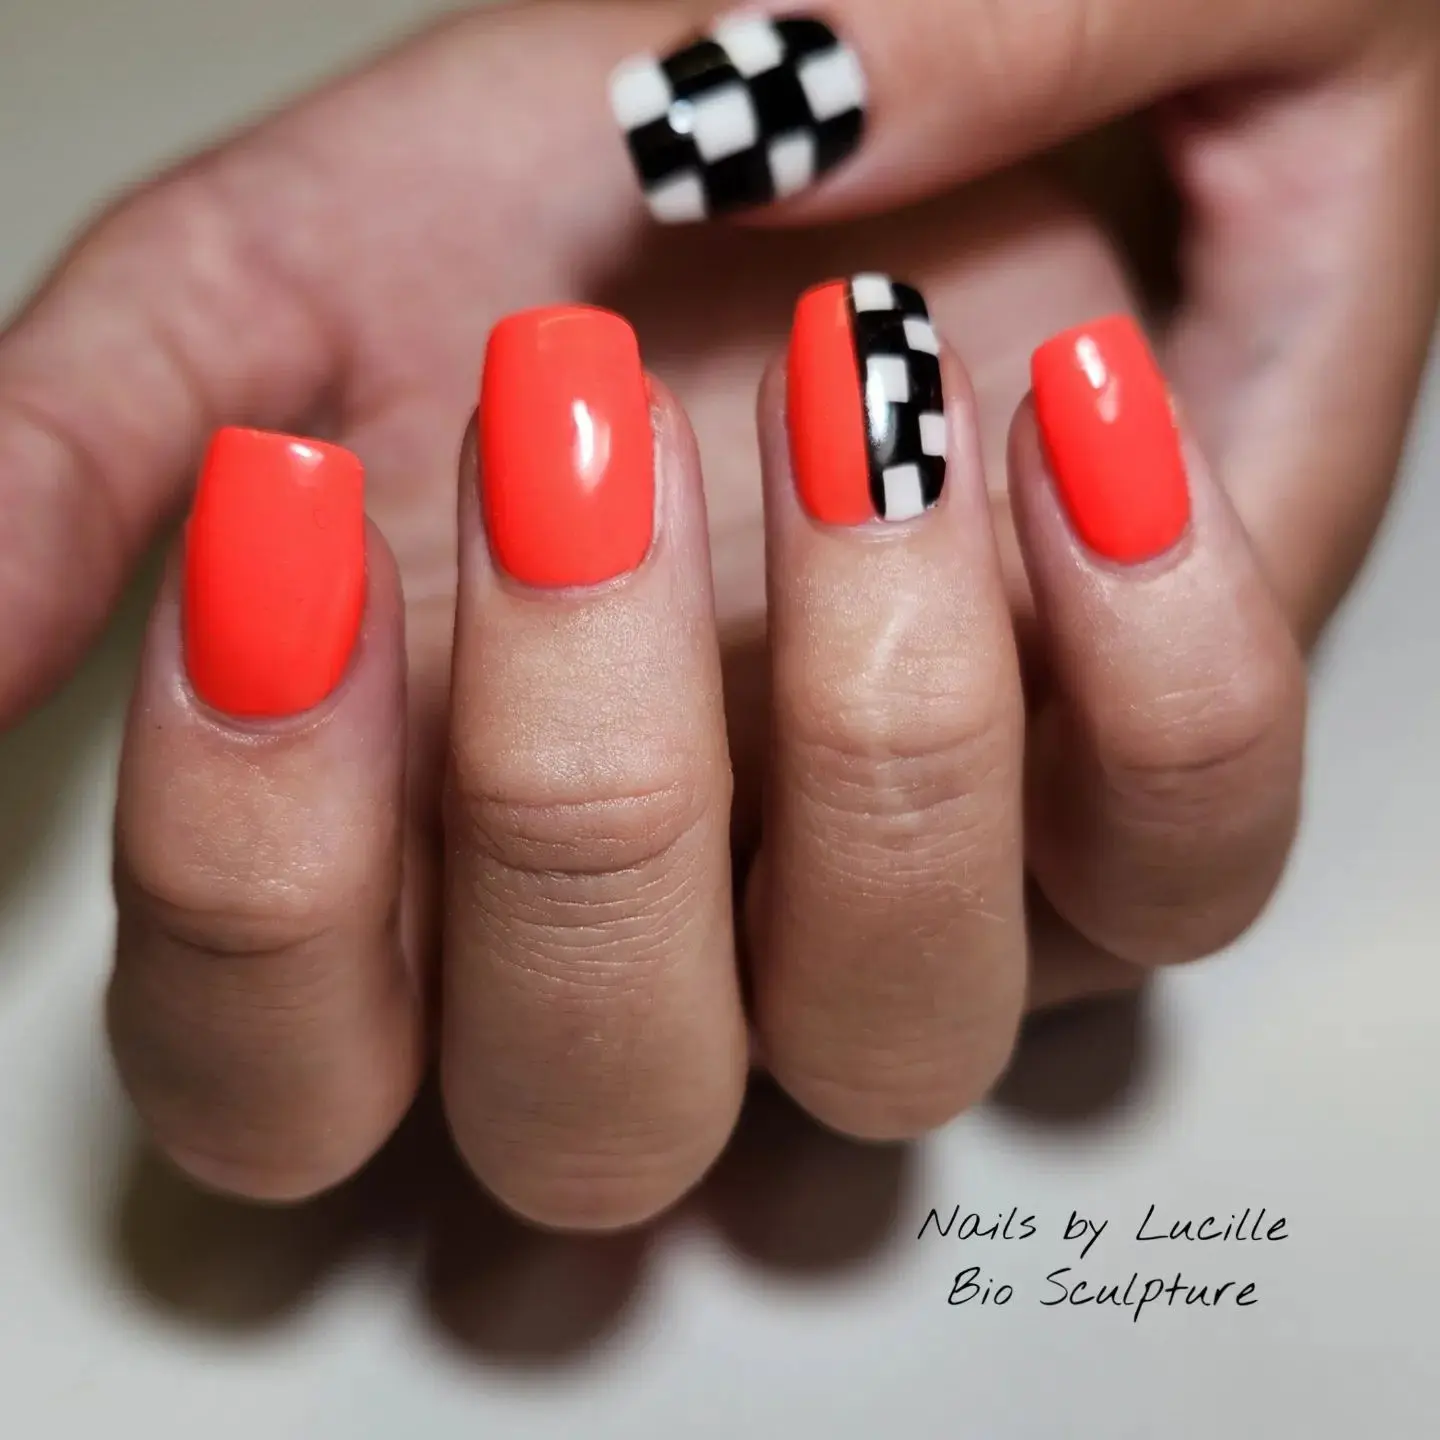
Accents

You may choose to paint one or two of your nails in this pattern to accent the rest of your manicure.
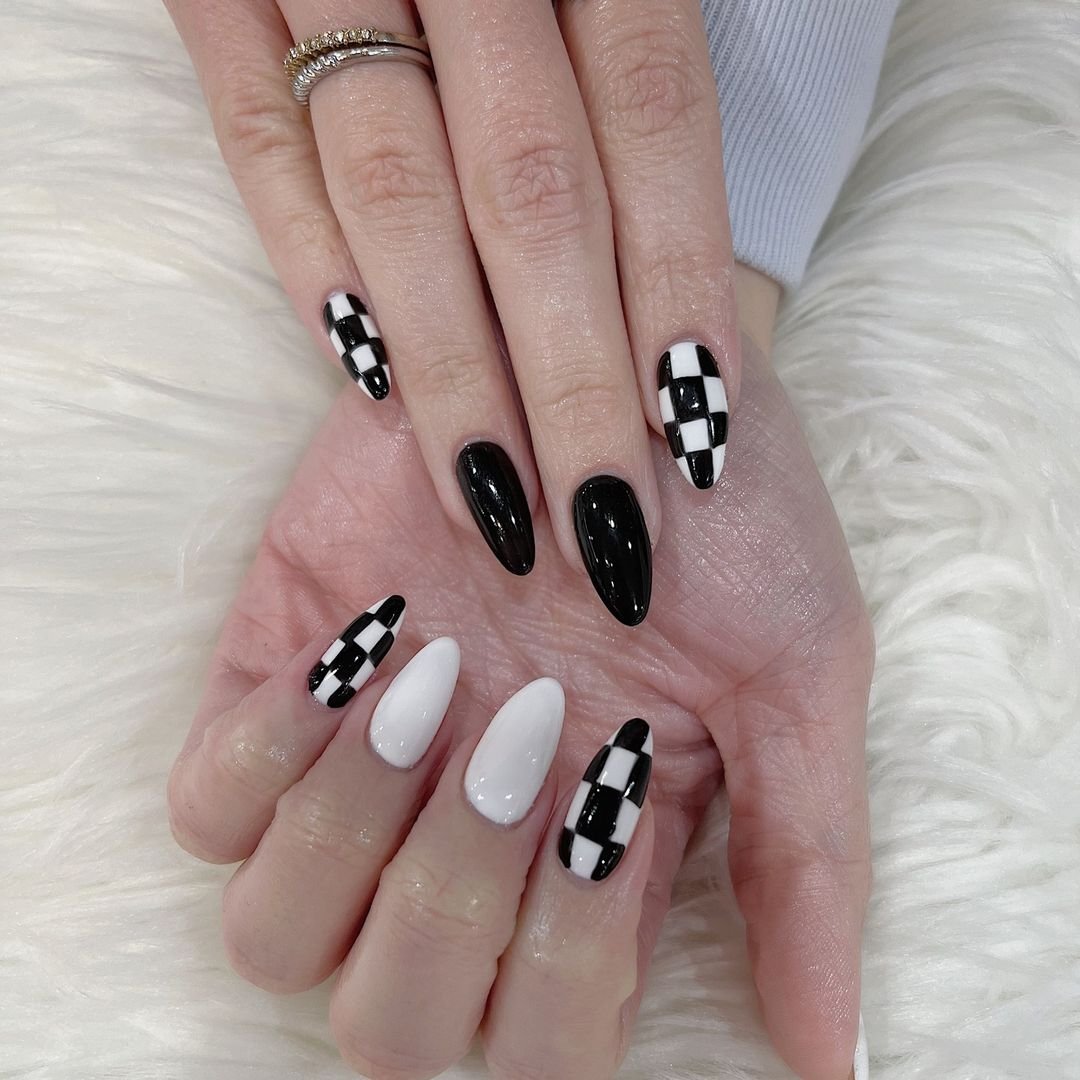
The Full Shebang
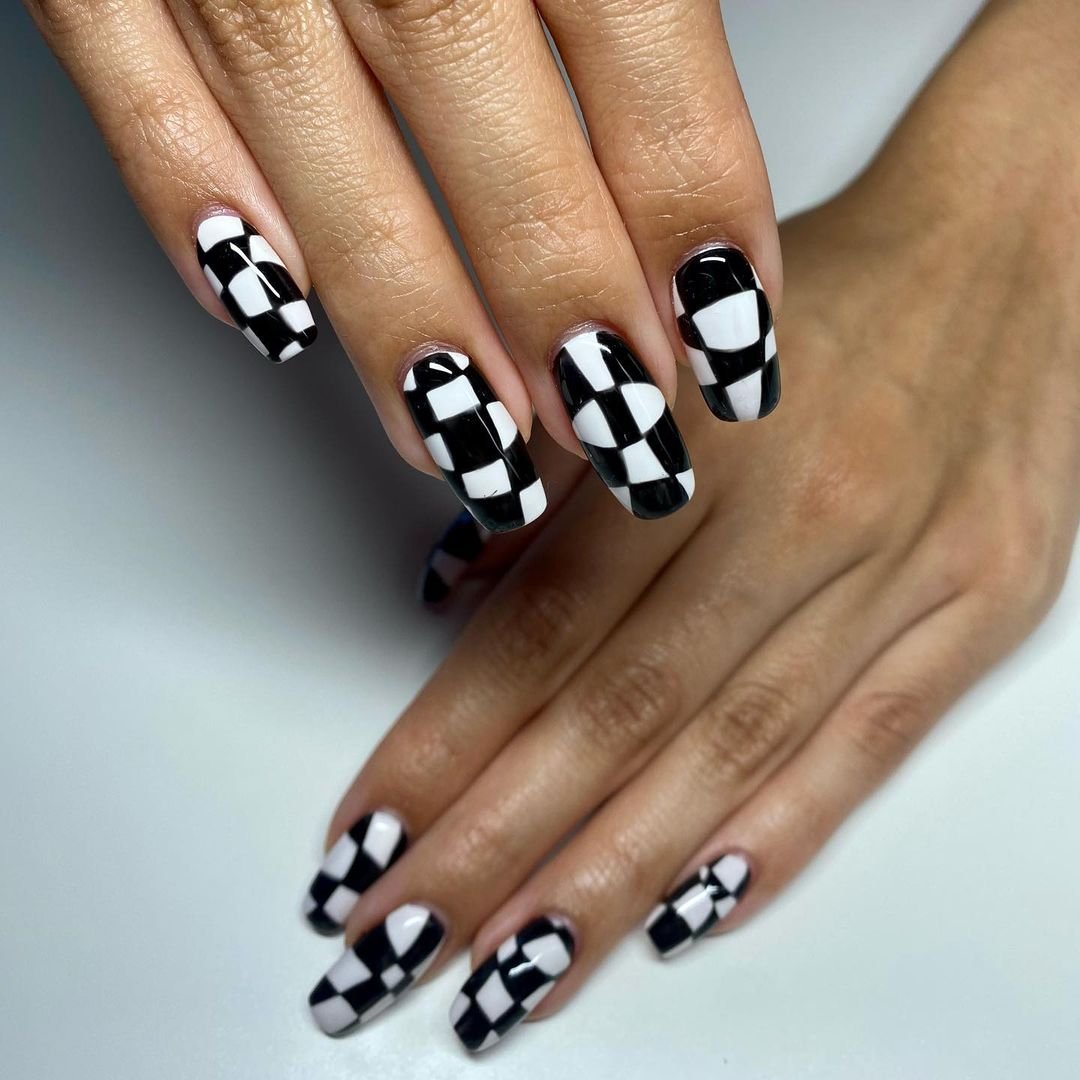
You can always just put this pattern on all your nails.
Whichever way you choose to rock this design, you can always look down at your hands and smile.
If you’re not feeling the manicure or have the time and patience to get checkered nails, you can always incorporate the trend into your closet.
There is a ridiculous amount of fits to be to indulge yourself in. Go all out dear.
FAQs on How to do Checkered Nails
How do you do checkered nails?
Paint your full nail with one of your chosen colors. Using the second color, draw a horizontal line, then a vertical line across the nail to look like a cross.
You can use a dotting tool or a toothpick to draw the lines. Still using the toothpick or dotting tool, fill the squares at the top left corner and bottom right corner with the second color.
Viola! You’ve gotten your checkered nails. Don’t forget to apply a top coat and you’re good to go.