
Being a beginner in the world of acrylic nails comes with many challenges. The thought of making a mistake and causing damage to someone’s nails is enough to make anyone nervous. That’s why I began with practicing acrylic nails before ever offering the service to clients.
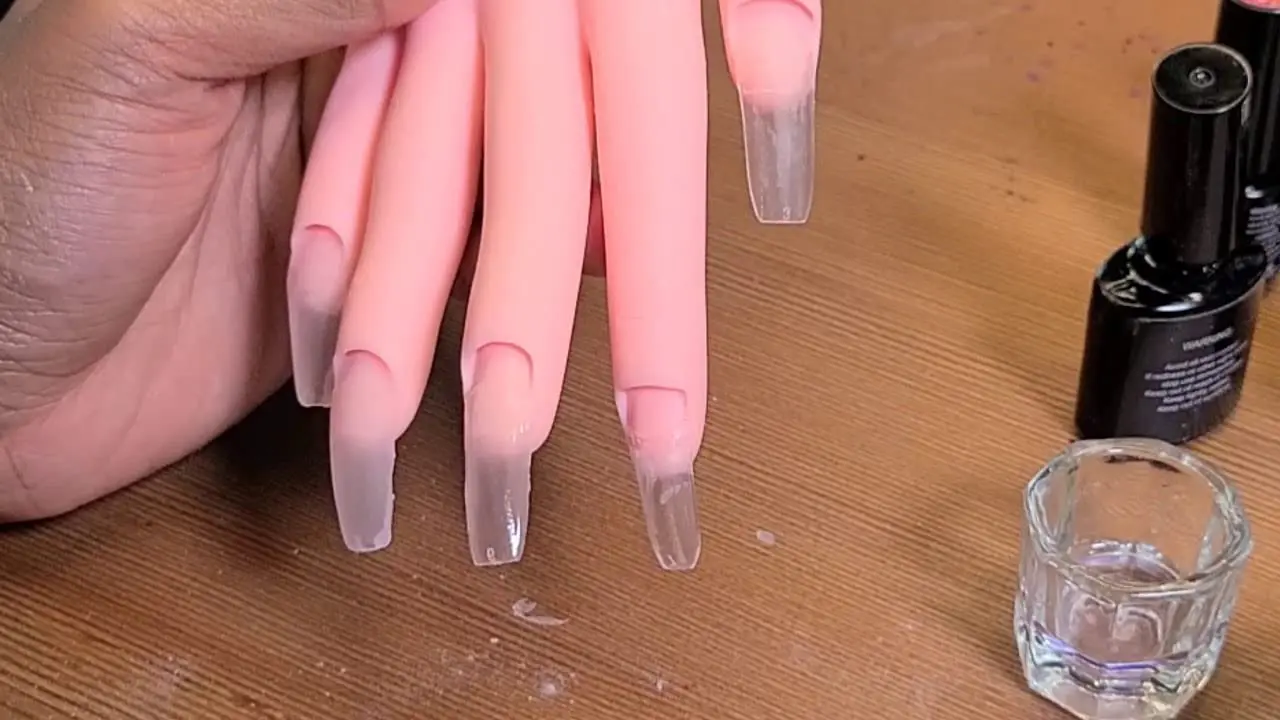
Image by Sabrina
In this article, I will share my personal experience and tips on practicing acrylic nails without a fake hand. From the materials and equipment you’ll need to the step-by-step process of applying and curing acrylic nails, I’ll provide you with the knowledge and confidence to start your acrylic nails journey.
Why Apply Acrylic Without a Fake Hand?
First, it is important to understand the basics of acrylic nails. Acrylic nails are made from a mixture of liquid and powder polymer applied to the natural nails. The mixture is then cured, creating a strong and durable artificial nail.
There are many reasons to practice acrylic nails without a fake hand. Acrylic nails are popular for those looking for a long-lasting and durable alternative to natural nails. They are created by mixing a liquid monomer with a powder polymer, forming a thick paste applied to the natural nails. The mixture is cured through UV or LED light, creating a strong and durable artificial nail.
One of the main reasons to practice acrylic nails without a fake hand is to gain the ability to work on your nails. This allows you to get a feel for the application process and practice proper technique without the added pressure of working on a client. It also allows you to see the results of your work on your nails, which can provide valuable feedback for improvement.

Practicing acrylic nails without a fake hand is also a cost-effective option. A fake hand can be expensive, and purchasing one may be optional for someone just starting to learn the technique. By practicing on your nails, you can save money and still perfect your technique. Additionally, by using your nails, you can practice maintaining and removing acrylic nails, which can be especially helpful for beginners.
How Can I Practice Acrylic Without Fake Hands?
Here are the materials and equipment you need to practice acrylic nails without a fake hand.
Materials and Equipment Needed
Before you begin, it is important to have the right materials and equipment. This includes a liquid monomer, powder polymer, a brush, a dappen dish, nail forms, a file, and a buffer. These materials can be purchased at any beauty supply store or online. It is important to select high-quality materials and equipment to ensure that your practice nails look professional.
Preparing Your Hands
Before applying acrylic nails, it is important to prepare your hands. This includes cleaning and sanitizing your hands, trimming and filing your nails, and shaping your nails to the desired length and shape. It’s essential to have clean, dry, and oil-free nails before applying acrylic to get good adhesion.
Applying Acrylic Nails
Applying acrylic nails is a crucial step in the process, and it’s important to pay attention to detail and proper technique to ensure the best results. The process begins by mixing the liquid monomer and powder polymer in a dappen dish to create a thick paste. This paste is then applied to the nails using a brush and shaped to the desired length and shape.
It’s important to avoid applying too much pressure on the brush when applying the acrylic. This can cause the acrylic to become lumpy and uneven, resulting in a less professional appearance. Instead, use a light touch and focus on creating a smooth and even surface. Also, make sure to avoid creating bubbles, as this can weaken the strength of the acrylic nails and make them look unsightly.
It’s also important to keep the brush dry, as water droplets can cause the acrylic mixture to become lumpy and difficult to work with. Before applying the acrylic, remove any excess water from the brush and work in a dry environment.
Additionally, it’s important to work quickly when applying acrylic nails, as the mixture starts to harden once the monomer and polymer are mixed. It’s important to work in small sections and be efficient to avoid the acrylic mixture from hardening before you have a chance to shape and cure it.
Once the acrylic nails have been applied, you can now cure them properly. This can be done by using a UV lamp or an LED lamp. It’s recommended to cure them under the lamp for 2 minutes for UV and 30 seconds for LED. Make sure to keep your hands under the lamp until it’s properly cured.
Finishing and Maintaining Acrylic Nails
After curing the acrylic nails, it’s time to finish and maintain them. This includes filing and buffing the nails to create a smooth and even surface. Using a fine-grit file is important to avoid damaging acrylic nails. When buffing, make sure to buff evenly to avoid any unevenness. To maintain acrylic nails, it’s important to avoid biting, picking, or peeling them, as this can weaken or damage the acrylic.
Removing acrylic nails can be done by using acetone and a nail file. Soak a cotton ball with acetone, place it on the acrylic nails, and then wrap it with aluminum foil. Wait for 10-15 minutes, then use a nail file to file off the acrylic nails. It’s important to be gentle and not to file too hard to avoid damaging the natural nails.
Final Thought
Practicing acrylic nails without a fake hand is a cost-effective and easy way to perfect your technique. Anyone can achieve professional-looking acrylic nails with the right materials and equipment, proper preparation, and careful application. Remember to continue practicing and experimenting with different techniques to improve your skills.