
Artificial nails are a great way to achieve elegant-looking hands without frequent trips to the salon to touch up on your naturals, saving you money and time.
There are three major types of artificial nails one can fix at home that I know of: gel, acrylic, and press-on nails.
Each one has its attributes and negative aspects when trying to achieve natural-looking nails. But, sometimes these falsies can just look so fake.
Fortunately, I learned a few tips to achieve a natural-looking manicure even while using fake nails. And the best part (of course it is), this can be done from the comfort of your home.
Which Fake Nail is the Most Natural Looking?
Each of the artificial nail types has its advantages and disadvantages to consider when considering them for a natural look.
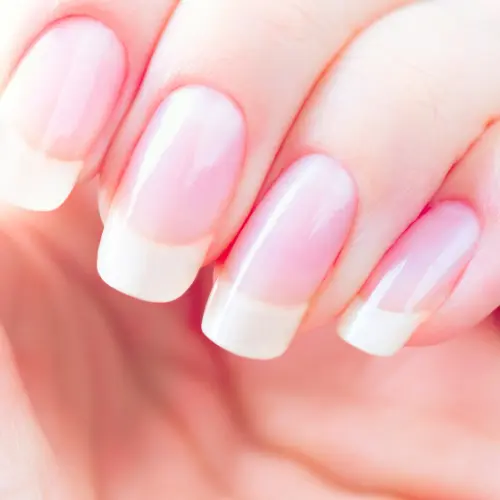
Gel nails look more natural than the rest because they are applied directly on the nail like nail polish. Gel manicure needs to be put under UV nail light for drying and setting.
It usually lasts at least two weeks, depending on the maintenance. However, it is more expensive than the other options.
Acrylic nails look more natural than press-on nails but less natural than gel. It is a cheaper option and lasts for around two weeks but using acrylic can damage your natural nails.
Press-on nails are the cheapest option and the least natural-looking type of false nails. They are easy to apply, and remove, can last one week, and does minimal damage to your nails. Press-on nails can also be reused.
Tips to Make Your Nails Look Real
1. Match Your Sizes Correctly
Before you start filing and shaping anything, match the sizes of the false nails to your real ones correctly. Most times, false nails are in sets of 20 or 24, so you have options.
You’ll want to match your nails to a false one that will be half a millimeter smaller than your cuticle once it’s filed to match your natural nail shape.
2. File the Nail to Match Your Cuticle
Once you’ve selected the best size for each fingernail, file the falsies to match the shape of your cuticles. Filing in one direction will give you more control over the shape.
After filing, compare the curve of the nail to yours by simply checking to make sure you don’t have to push down on the false nail to make it touch yours.
If you do, then it’s too small for that nail and there is no way it can look natural. Use the size above it, file, and compare again. Do this for all your nails.
3. Prepare Your Nails
Proper preparation will help the false nails adhere better and look more realistic. Wash your hands with soap to remove any oils, dirt, or lotion.
You can clean the underside of your brush with a manicure brush or a wet wipe wrapped around a small stick.
Clean your nails with nail polish remover, then cut, file, and buff. Apply cuticle oil to your cuticles before pushing them back.
4. Follow the Directions of Your Nail Kit
Each nail kit has specific application instructions, also tailored for the type of false nail you’re using. Follow the directions of the kit you’re using to yield the best results.
Also, keep in mind the specific needs of the nail you’re using. For example, gel nails require UV light to cure completely.
Acrylic nails need to be filed down so that it is as even as possible with the surface of your natural nail, and press-on nails will stay longer if a little pressure is applied to press them into the natural nail.
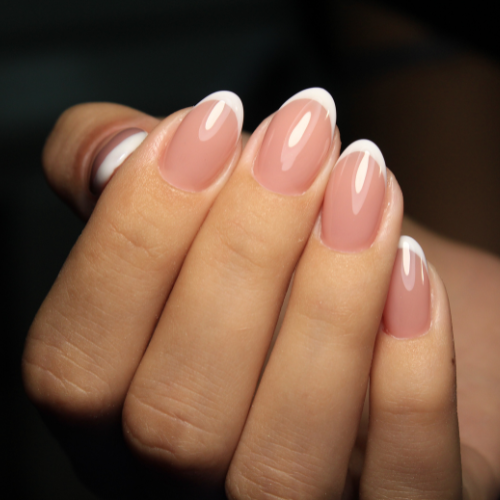
5. Use a Natural Nail Color
Neutral tones soften and downplay the look of your nails, so choose something sheer and light. The goal is to tint the nail a bit.
Paint thin layers of color so it doesn’t build up and start to look artificial. It will be easier to apply more color later than to remove it.
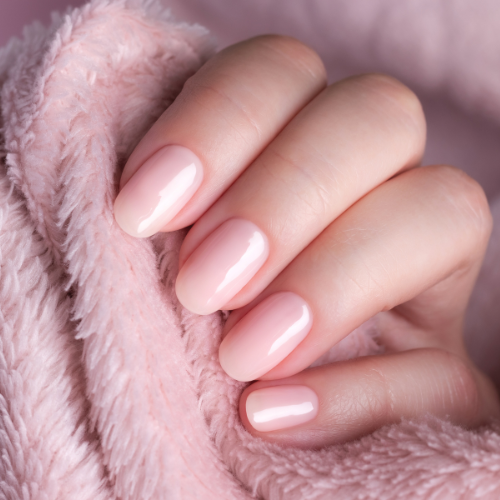
6. Cut the Nails to Match Your Real Nails
Natural nails are a bit difficult to maintain at longer lengths, so having the false nails short makes them look more realistic.
Cut the nails to a length that conforms to the length of your naturals and file the tips to maintain the natural shape of your nails.
7. Fill in Your Nails
After about two weeks, your natural nails will start to grow, exposing the cuticles. You can do a quick fill-in with gel polish or acrylic solution.
If you’re working with press-on nails, try painting the area with a complementary color for an ombre look.
A fill-in can only last for so long. Eventually, you’ll need to remove and refix your artificial nails. I hope this article was useful to you.
Now, you can enjoy the look of surprise on people’s faces when you tell them that your nails are not natural and that you did them yourself when they ask for your nail tech.
FAQ
Which nail is less harmful to your natural nails?
Gel nails are less likely to cause damage to the nail bed. They are less rigid than acrylic nails, so they are less likely to snap if you hit your hand against something.