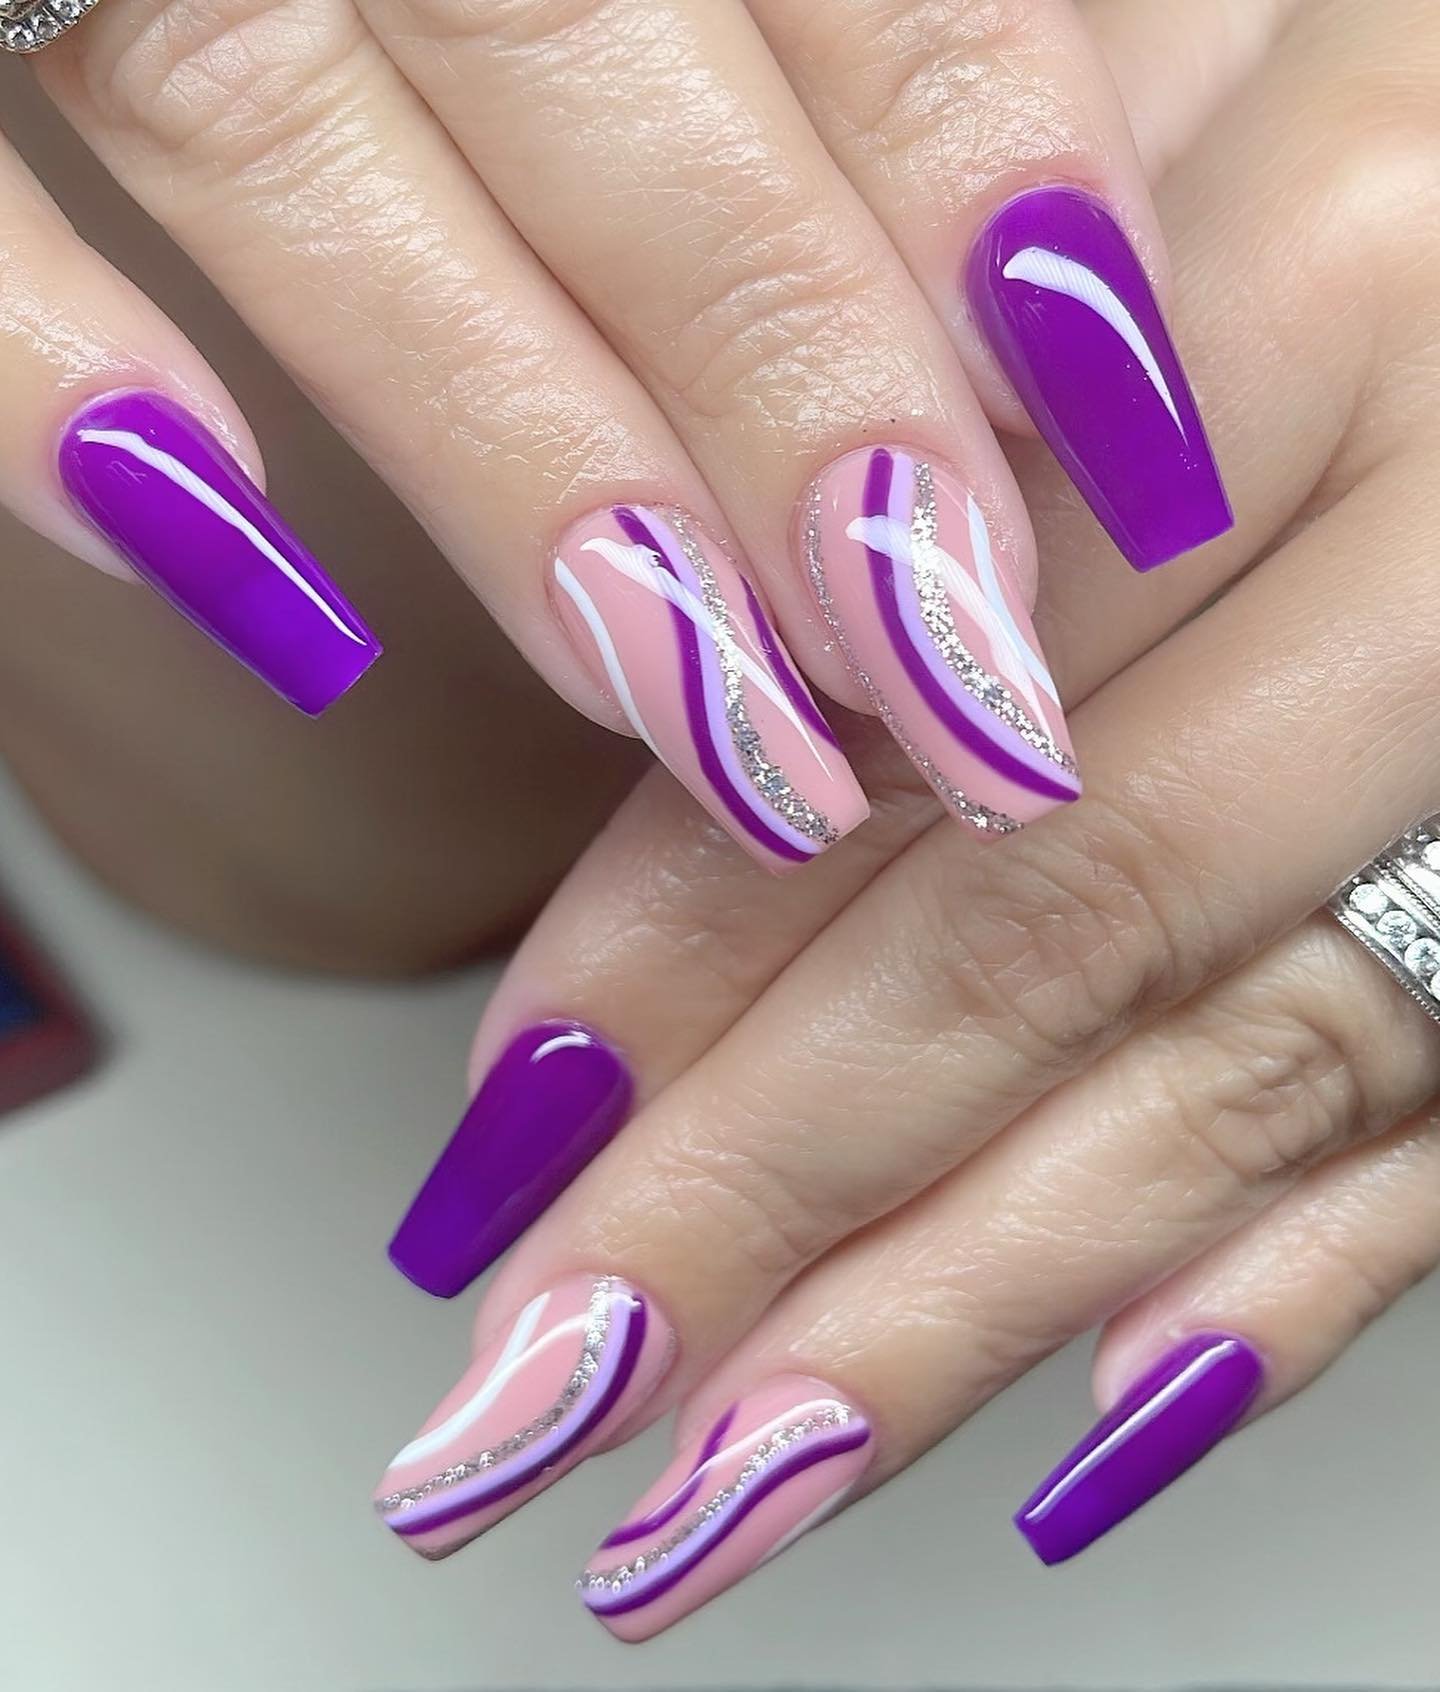
Faux Nail Lovers frequently choose gel nails because they last longer than conventional nail polish and are renowned for their durable and shiny gloss effects that can last up to a month. Having a gel nail that isn’t properly cured is a big turn-off and can ruin anyone’s nails and mood.
The majority of nail technicians have a difficult time determining when gel nails are fully cured, and in certain situations, they may even over-cure them. However, the curing process is essential for successful gel nails; if the gel isn’t cured properly, it won’t last and could cause damage to your nails.
How to Spot Fully Cured Nails

Confirming that your gel nails are properly cured is an important part of the process and should be done before you apply any further elements or stones. Here’s how to confirm that your gel nails are cured:
- Check the texture, once the nails have cooled, you can check the texture of the gel. The gel should be dry and have a smooth finish. If the gel still feels wet or tacky, it is not completely cured, and you should repeat the curing process.
- Check the colour, the colour of the gel should also be uniform. If there are any discolorations or streaks, the gel may not be fully cured.
- Check for cracks, any cracks or bubbles in the gel are signs that the gel has not cured properly.
- Inspect your nails. Check your nails for any signs of damage or irritation. If your nails are discoloured, brittle, or peeling, the gel may not have been cured properly.
- If the top coat isn’t shiny or glossy then the nails isn’t properly cured.
How to Spot Under-Cured Gel Nails
Gel nails come in a variety of styles and colours, allowing women to express themselves through their nails and have fun with new looks without having to worry about the polish chipping or fading.
However, if your gel polish is improperly dried, it may wrinkle and wear off quickly. Let’s not forget that wrinkled gel nails are ugly, and nobody wants that.
It can be challenging to determine whether your gel polish has fully cured; here are a few ways to identify under-cured nails.
- The feel of under-cured gel nails is mushy and sticky, and they don’t shine. The nail may also look dull and lack the shiny appearance that a fully cured gel nail is known for. The gel might not have been properly dried and may not be as strong as it should be, which makes the nail more likely to chip and peel.
- A foggy finish, an abnormally thick sticky dispersion layer, and a merged surface are some further signs of under-curing. If you experience skin irritation while soaking off the product, the nail coating may not have been thoroughly dried.
- It could also be a sign that it wasn’t fully cured if you find the nail shrinking back from its cuticle area or if the colour has dulled after only a few days.
- A partially cured gel top coat will appear flat. And if an alcohol-based cleaner comes into contact with an uncured gel top coat, it will be promptly removed.
Is It Right To Over-Cure?
It is usually better to over-cure than under-cure when it comes to curing time. So feel free to give your gel polish a little more time to cure if you are having trouble with it. However, not for too long, as UV light is unhealthy for your skin.
Remember that over-curing, which can lead to yellowing and brittle nails, can be just as dangerous as under-curing. making sure the nail coating has been exposed to light for the required amount of time on each finger.
How Long Does Gel Polish Need To Dry?
Gel base coat, gel colour polish, and gel top coat must all be cured independently for 1-2 minutes after each application on nails in order for the gel polish to cure effectively.
The gel base coat is the first transparent polish that is applied to the nails after they are fixed.
Gel-coloured polish is the main colour and design that is applied to the nails after the base coat gel.
Gel topcoat is the last gel polish that is applied to the nails after designing the nails.
Most under-curing issues come with the colour gel polish and the gel topcoat. Under-cured gel will arise from skipping these curing processes or from not giving each layer adequate time to cure.
Gel polish must be cured in a UV or LED lamp for 1-2 minutes, as the type of lamp used influences whether the nails dry quickly or not.
As a nail technician, it is best to know the kind of products you are working with.
Some brands could need a faster or shorter curing period depending on the polish type, which means some polish takes longer to dry compared to others. Some might dry too quickly; in rare cases, some gel polishes don’t need a curing machine to dry.
1-2 minutes is the amount of time required to guarantee that the polish has properly dried and solidified, preventing chipping and smearing.
Under a UV or LED lamp, cure the coloured gel-coated nails for 1–2 minutes before putting on the final coat, which is the top coat; this coat gives the nails their glossy look.
Use a UV or LED lamp to cure the nails for another 1-2 minutes.
Confirming that your gel nails are properly cured is an important step in the gel nail application process. By following these steps, you can ensure that your gel nails are cured correctly, allowing them to last longer and look better.
