
If you’re looking for a two-step gel-polish hybrid that offers a chip-free manicure that lasts 14 days, get the Sally Hansen Miracle Gel collection.
This product is adored by millions because it is simple to use and it’s the same process you would use to apply any other nail polish in your collection. The results are in terms of shine, how long it stays chip-free, overall wear and removal making it a great choice for any nail polish lover.
How to Use Sally Hansen Miracle Gel
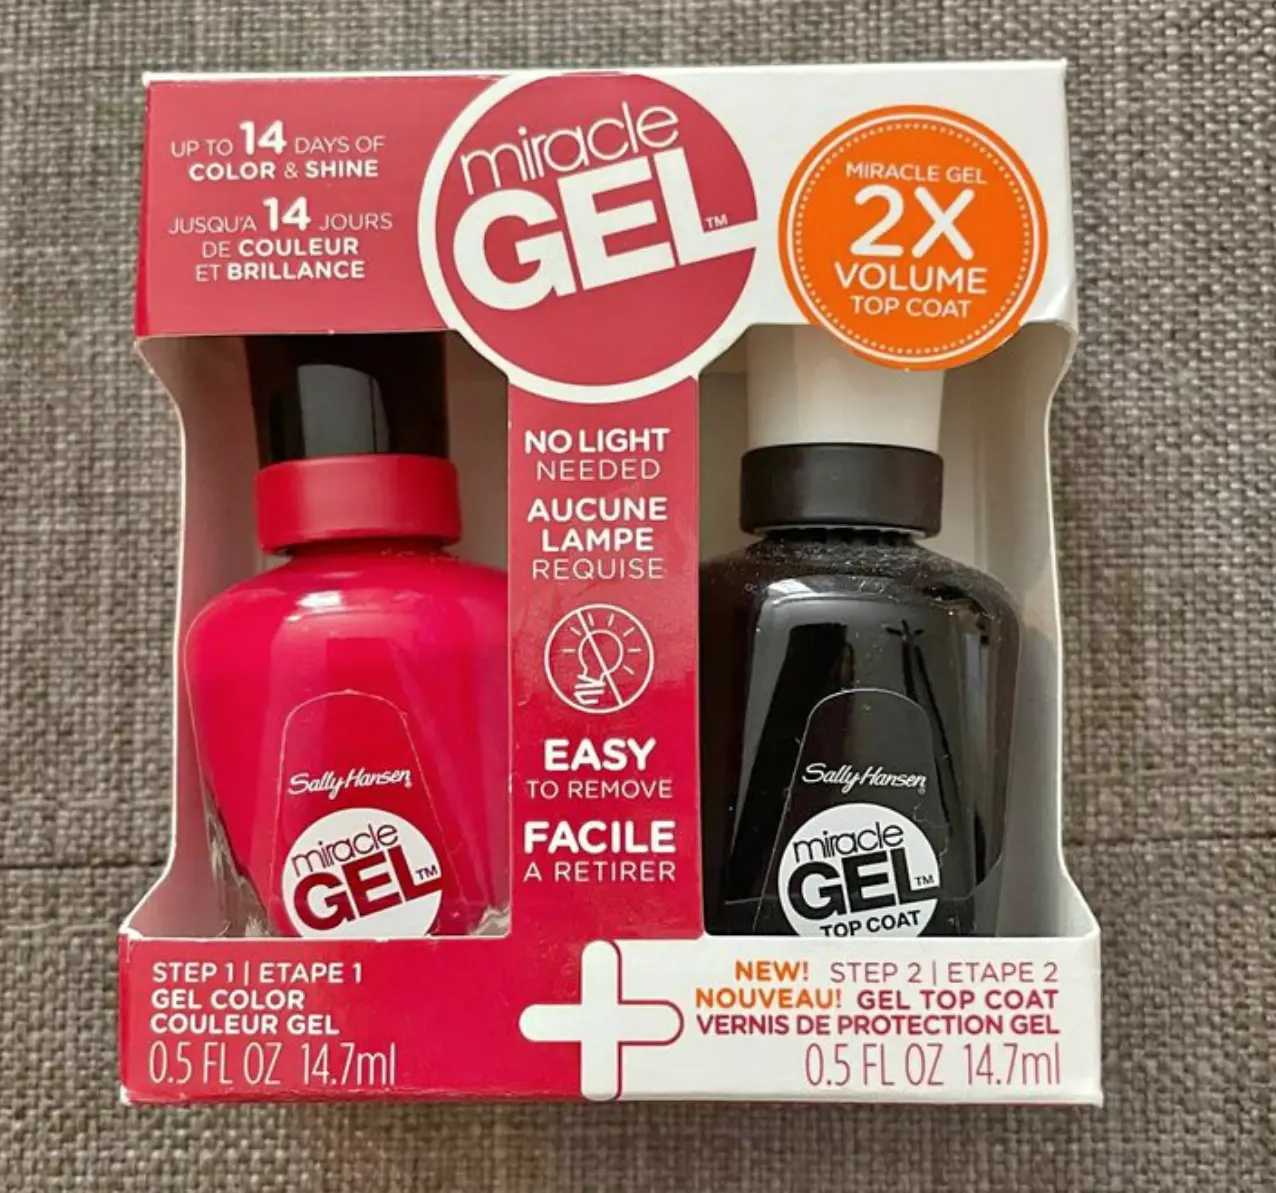
The Sally Hansen Miracle Gel works as an at-home method for achieving a gel manicure. Below are some of the features of the Sally Hansen Miracle Gel process;
- Up to 14 Days of Color & Shine
- Easy Removal (Just use your usual polish remover + some cotton pads)
- No Light Needed
- Over 61 shades available
- There is no need for a UV lamp.
- There is no need for a base coat.
The Miracle Gel nail color polish contains an oligomer; a specific mix of ingredients. It also contains a photo-initiator component that cures the finish when it’s exposed to UV light this creating a more durable polish shine that extends the wear of the manicure to 14 days.
There are a few steps to using the Sally Hansen Miracle Gel. They include;
Step One: Start With Clean Nails
Make sure the nails are clean and dry.
Step Two: Push Back Your Cuticles
Push back your cuticles and scrape off any old nail polish that the remover hasn’t taken off from my nail. You can also use a nail polish remover to wipe away any residue on the nail.
This creates a flat surface for the nail polish to go. If you don’t push back your cuticles and the nail polish dries on them, it doesn’t stick as it goes directly on your nail bed. This creates a weak area and your nail polish will start peeling off right away and not last.
Step Three: Filing
It is important to file the nails before painting them and not after. To file, start by rounding the corners of your nails. Then round the top of your nail filing in one direction only to the length you want.
Step Four: Buffing
Buffinh smoothens your nails out and creates a nice texture for nail polish to really stick to and stay. Buff back and forth between the bottom and top of your nail paying close attention to ensure any part that is already peeling is buffed off to create a smooth surface.
Step Five: Color
Apply 2 coats of the Sally Hansen Miracle Gel then let touch dry. For lighter shades you can apply 3 coats for more impact.
Note: The Sally Hansen Miracle Gel lineup consists of over 47 shades which includes; Onyx-pected, Per-suede, Street Pastels, Gigabryte, Daily Delights, Mad Mod, Fired Up Metallics, Electri-lime, Bourbon Belle and many others.
Step Six: Top Coat
Apply one coat of Sally Hansen Miracle gel top coat to activate the curing. Let natural light do the rest then remove with your regular nail polish remover.
Tips For Using Sally Hansen Miracle Gel
- After doing two coats of color, and one coat of top coat, wait five minutes for the nail polish to firm up.
- Exposing your nails to sunlight helps.
- If you do two coats of color then one coat of the top coat, then another coat of polish, and another coat of top coat, letting it dry between coats you’ll get 14 days of wear.
You might want to check out: Regular Nail Polish and Gel Top Coat: A Winning Combination?