
Nail art is here to stay and I love it. The process, the attention to detail, the designs, the way you can mix plenty of colors, and the end product make everything worthwhile.
However, the time and toll it takes on both the nail tech and the customer is something that a lot of us, especially me, don’t seem to be able to bear.
If I’m at the salon getting my nails done and I notice my nail tech starting a complicated-looking pattern or something, I immediately get so tired.
This is why I love Jamberry nails. I get to have amazing designs on my nails without worrying about how long they will take to be done or if they’ll dry on time for dinner.
For lazy people like me or if you’ve gained interest in using Jamberry strips, gather here for in this article, I’m going to be walking you through the process of applying Jamberry nails.
Supplies Needed to Apply Jamberry Nails
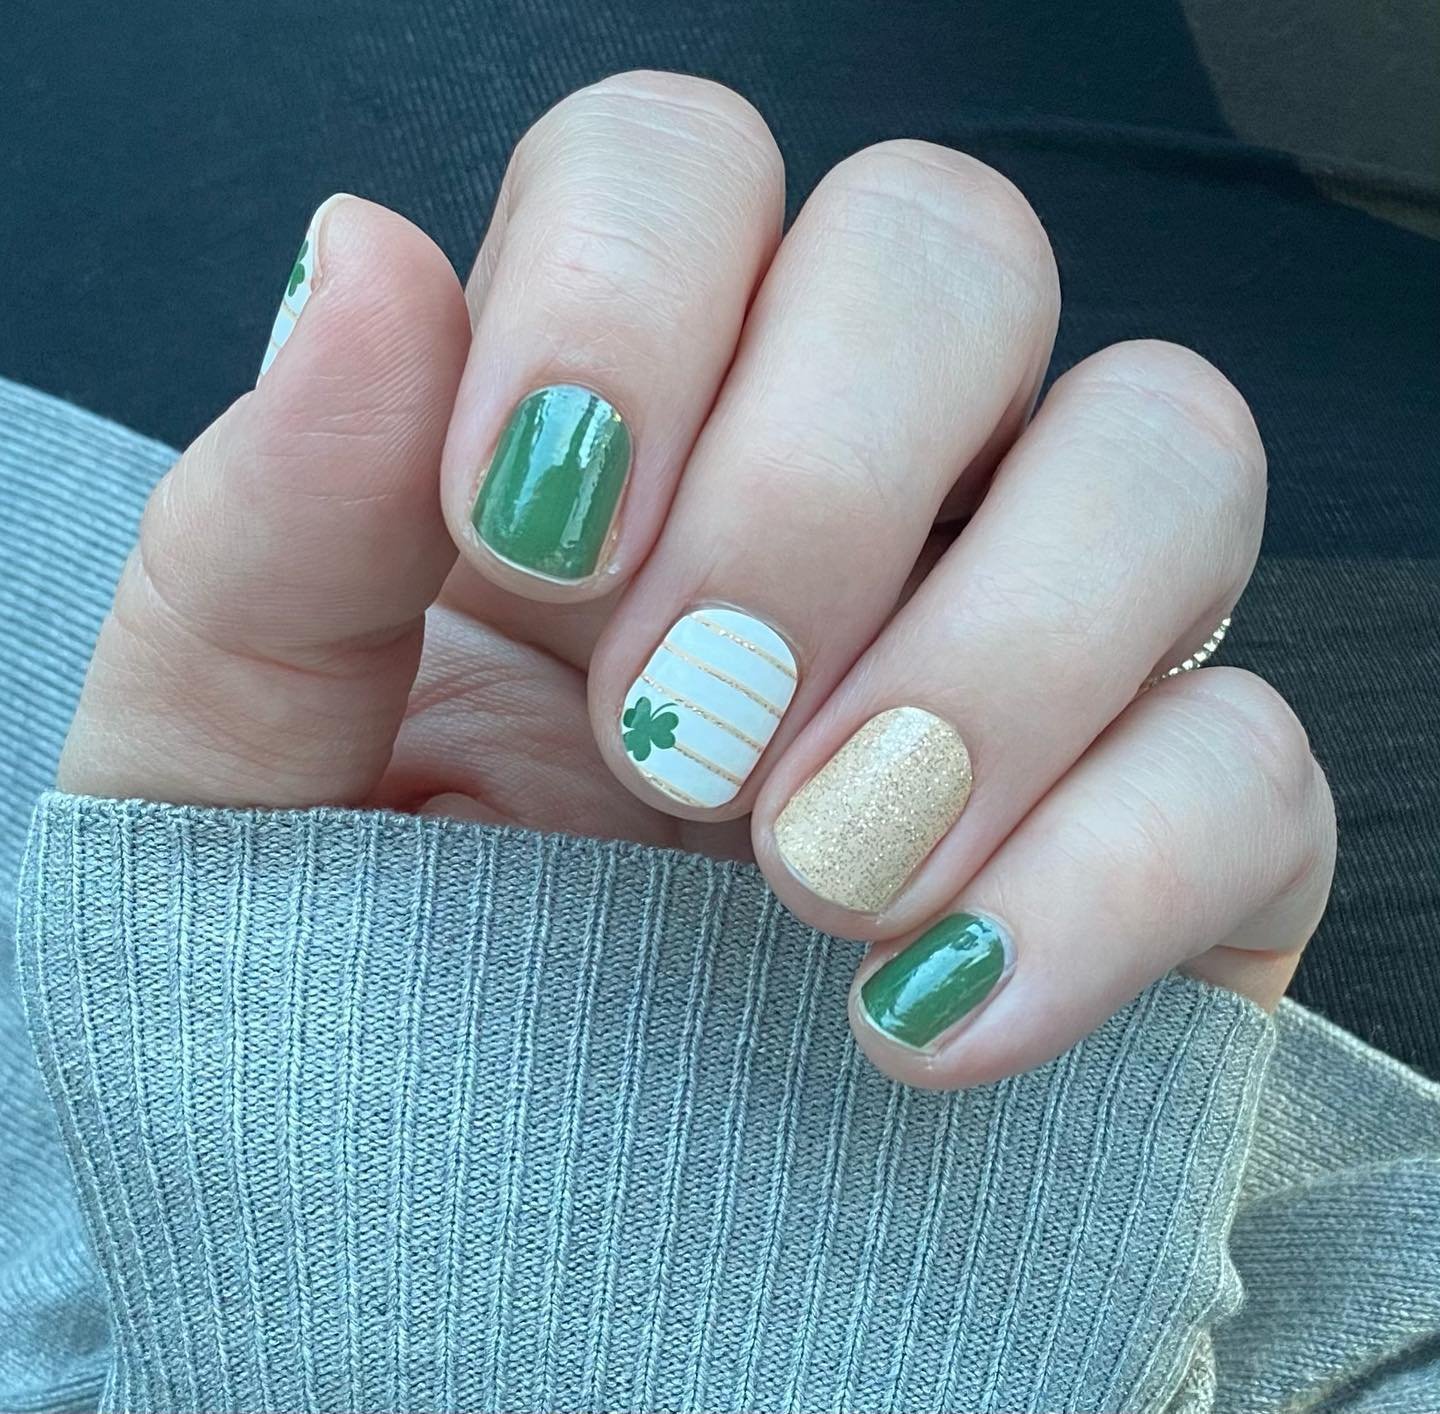
Image by pbkristy
It is important to have your necessary supplies gathered around you. You will need the following:
- Jamberry nails wrap sheets
- Nail file
- Nail buffer
- Scissors
- Cuticle pusher
- Orange stick
- Pair of tweezers
- Cleansing wipes or rubbing alcohol
- Heat source. Could be a mini heater or hair dryer.
Applying Jamberry Nails
1. Prep Your Nails
The first thing to do is to make sure your nails are free of any dirt and oils. Wash your hands with some soap and water.
Push your cuticles back with a cuticle pusher, and file your nail to your desired shape and length before buffing them.
Then, take a cotton ball soaked with rubbing alcohol or cleansing wipes and sweep through your nails to get rid of any remaining oils or dust from the filing.
2. Find a Fit to Your Nails
You need to find a wrap that fits each nail best. To do this, place a wrap sheet on a nail. If it’s not suited to that one, move it around until you find the perfect fit.
It is better to go smaller than for the wrap to be bigger than your nail. If it is bigger, it could be touching your skin or cuticle, causing air pockets to form and it won’t adhere to the nail properly.
3. Apply the Jamberry Wrap
Now that you’ve gotten a size for a nail, use a pair of tweezers or an orange stick to carefully peel the wrap off the clear backing.
Be very careful not to touch the adhesive side of the wrap or you may transfer some oil from your hands. Cut the wrap into two.
There are two ways you can apply the wrap to your fingernail. You can apply it to your nail cold before heating it. This will allow you to adjust your placement if need be.
You may decide to heat the wrap for three to five seconds with your mini heater or hair dryer for it to get soft, before putting it on your nail.
Apply pressure to the wrap and smooth it out using a cuticle pusher starting from the cuticle. Push from the center up, then to one side before you do the other side.
Heat the wrap again on your nail for a few more seconds then apply pressure to make sure it bonds fully.
4. Trim any Excess
Once you’re sure that the wrap has been sealed all around the nail, trim off any excess using your scissors. Allow the wrap to cool down before you file the rest of the excess off.
You can do the remaining fingers on one hand while waiting for the first one to cool off so you don’t waste time doing anything.
Once you’re done filing, heat the wrap again for a few seconds, then apply pressure. Jamberry wraps are activated by heat and pressure so you’ll want to apply a lot of both.
That’s all there is to fixing Jamberry nails. It will likely take a few practices to get into it fully, but you should get faster the more you do it.
FAQs on How to Apply Jamberry Nails
Do you have to heat Jamberry nails?
Yes, you do. Jamberry wraps are heat activated, so make sure to warm them up for three to five seconds first before application. If not, they won’t adhere to the nails.
Which is better, Jamberry wraps or color street?
Color street wraps are way easier to apply than Jamberry wraps but because it is 100% nail polish, it behaves like chip-resistant nail polish.
But it is not chip-proof. Jamberry wraps stay on (from my experience) with no chipping, making it the clear winner.
How long do Jamberry wraps last?
With proper application, they can last seven to ten days. If taken care of properly, they can stay on for longer.
After that time though, you can just take them off and apply a fresh set. Switch up your loof often.
Why won’t my nail wrap stay on?
Just like they affect regular polish manicures, the oil on your nails can prevent the wraps from sticking.
If your nails are very oily that after using cleaning alcohol on them there might still have some residue, apply a base coat to help the wraps adhere.
Can you shower with nail wraps?
Of course, you can. However, I recommend that you do not wet your hands two hours after application to allow the wraps to stick completely.
After that, you can do anything from dishwashing to showers, to swimming, and you have no cause for worry.