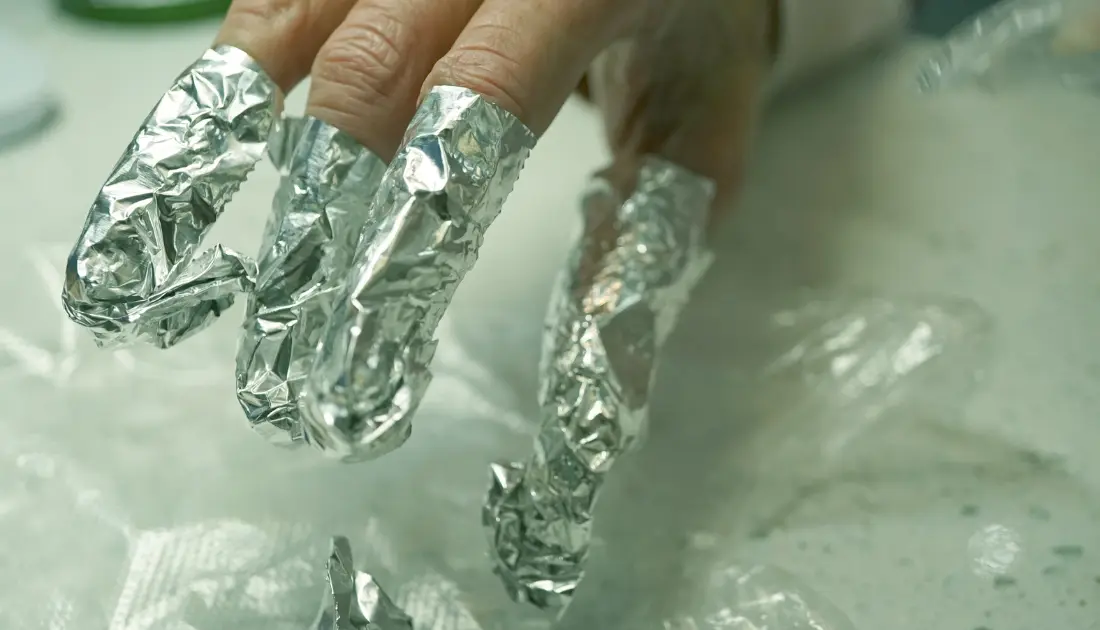
Making a fashion statement these days with classy and beautiful nails has become a lot easier than before with the use of transfer foils. These foils are available in a variety of beautiful colours, patterns, and more glamorous designs, so you don’t have to be concerned about how you are going to create that design with your nail polish or gel when fixing your nails; you can simply use transfer foil.
Transfer foil helps with the creation of complex and imaginative designs using a range of colours and patterns, which is an exciting and enjoyable technique for adding glitz and glam to gel nail designs. They are so simple to use that even a beginner can use them.
Steps to Apply Transfer Foil

Designing nails has never been easier or more beautiful with the use of transfer foil, which can be used to produce a wide range of gorgeous designs. Yet many people are clueless about how to use the transfer foil. Here is how you can create distinctive, eye-catching designs with a thin sheet of metallic or glittery foil over your dried gel nail polish.
1. Prepare Your Nails
It’s crucial to make sure you properly prepare your nails; this method will help the gel stay firmly on your nails. Prep your nails by filling them, pushing back your cuticles, cleaning them, and drying them. Clean your nails of any dust or oils using a dry nail brush. After your nails have been cleaned, you can proceed to the next step.
2. Apply Gel Nail Polish
It’s essential to introduce the gel nail polish after the nails have been cleaned and prepped. Start by deciding on a gel nail polish shade that goes well with the transfer foil you intend to use. Apply a few thin, even coats of gel nail polish, letting each one dry completely before moving on to the next. Prior to using the transfer foil, it is crucial to make sure the gel nail polish is fully cured using a UV lamp.
3. Cut The Transfer Foil To The Size You Want
After the nails have properly dried, you can apply your beautiful design transfer foil. Based on the design and length of nails you are designing, note that if you’re using small pieces of nail foil that you pick up with tweezers, you’ll need to use nail glue or gel to make them stick. If you are not cutting your transfer foil, place the transfer foil, which has been cut into slightly larger squares than the nail, on the nail.
4. Secure The Transfer Foil
Use a brush or your finger to gently push the transfer foil onto the nail and secure it in place. Transfer foil must be adhered to the nail; for shorter foil pieces, apply a top coat and allow to cure properly.
5. Remove Any Excess Transfer Foil
For bigger transfer foil sizes, carefully remove the transfer foil by pulling the excess part with your hand. This will leave the transfer foil design on the nails, and the excess part will come out, leaving a blank part in the middle.
6. Apply A Top Coat
Always apply a layer of gel top coat over the transfer foil nail and cure the nails again for 2 minutes. It is best to use foil designs that match the gel polish.
Many people have wondered how they can use transfer foil to create distinctive and eye-catching designs on gel nails. This process is very easy, and it is a brilliant idea to use transfer foil as it saves time and stress while giving your nails a stunning look. By following the above procedures, you can quickly make stunning and sophisticated designs with a range of colours and patterns. Here are some beautiful transfer foils you can get to design your nails.
