
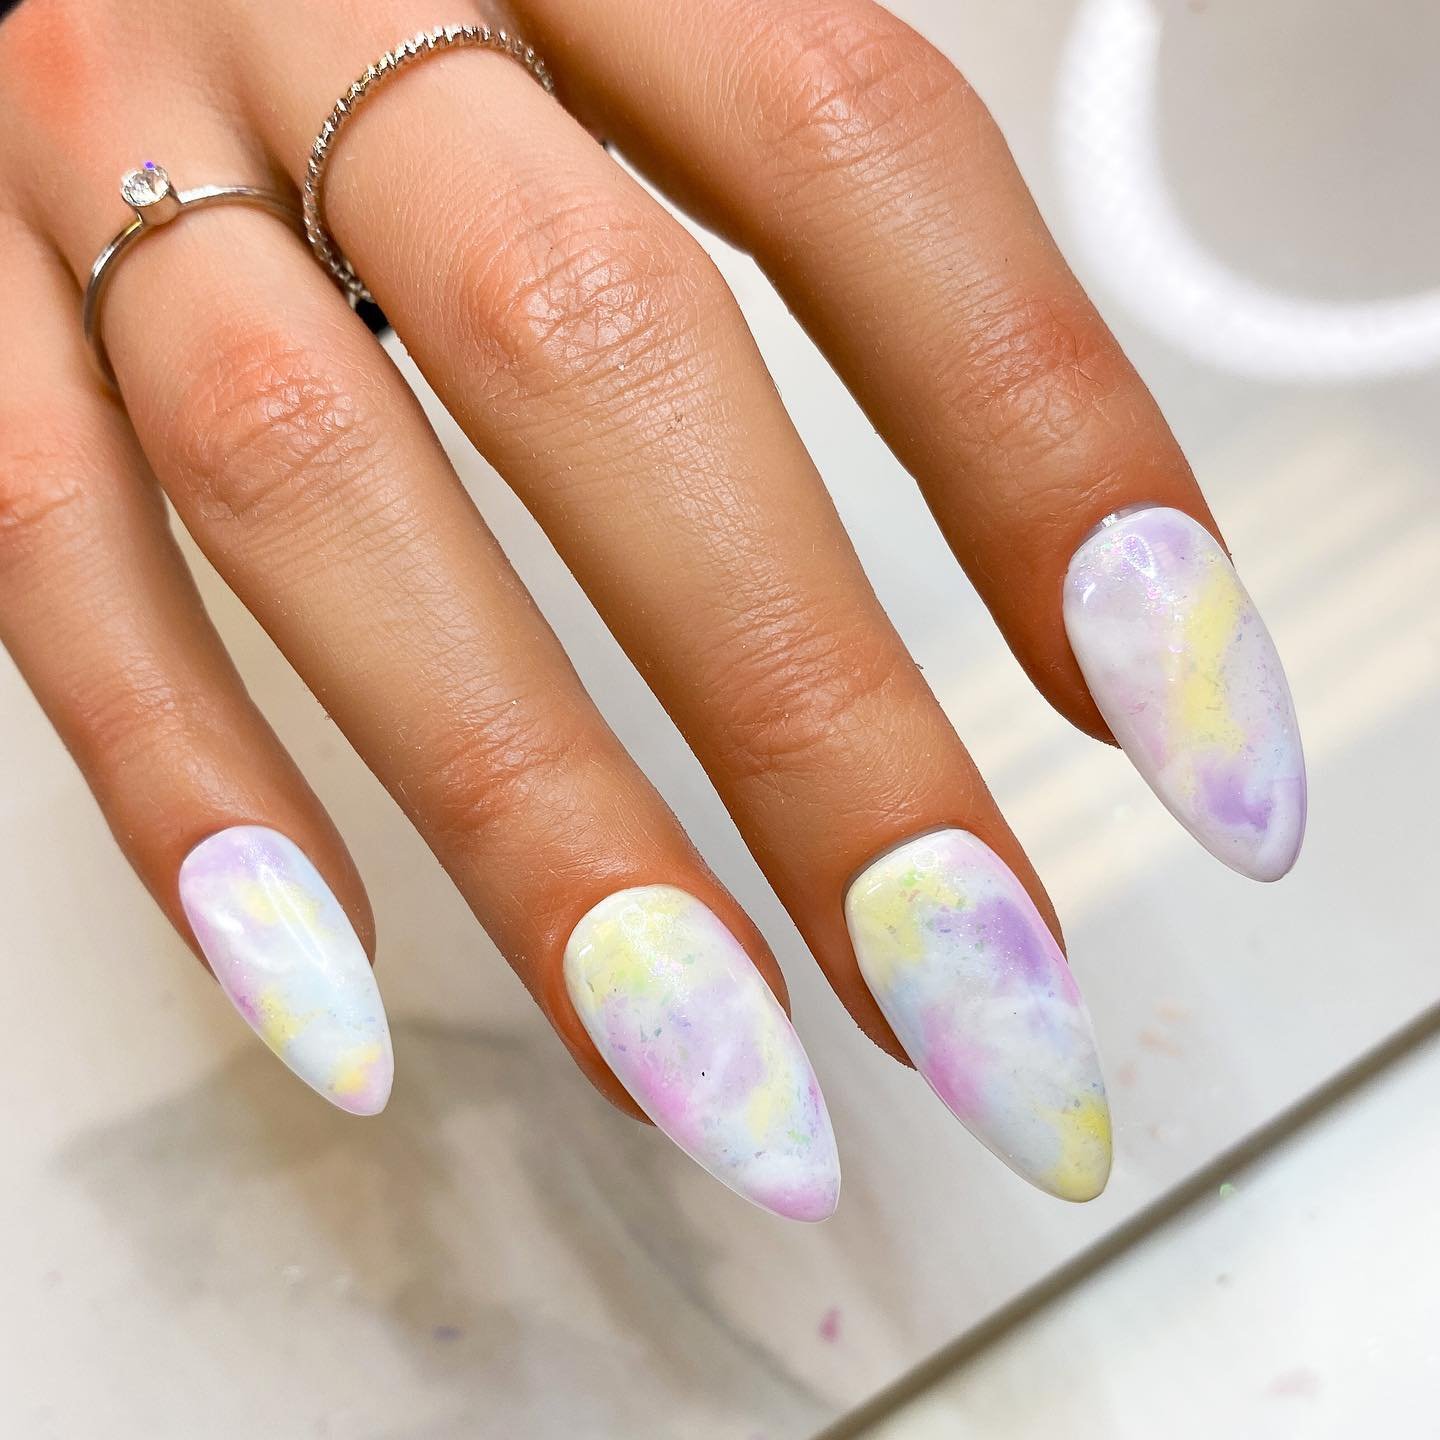
Over the years, the tie-dye fashion trend has majored in clothing, but amazingly, it has now crawled down to our fingertips. As minor as the nails seem to the human body, it plays a vital part in beautifying the human being.
Fashion creatives have come up with different nail arts, which have led us to the trending tie-dye nails.
Since tie-dye nails are trending, take your time. So, in this article, I will show you how you can easily apply the tie-dye technique to your nails.
How To Do Tie-dye Nails Using A Brush Or Sponge
There are several techniques for doing tie-dye nails. The different methods have distinct looks and feel but are uniquely fascinating. You might want to reach out to your nail tech, but it’s easy to do personally. You need two or more nail polish colors, a nail clean-up brush, a nail art brush, or a small makeup sponge, and you are ready to move.
Step 1
Applying your desired nail polish color is best to give you that perfect base for your tie-dye nails. You can also use a neutral color for your base – it only depends on what you want.
Step 2
Double-coat your nails with a neutral color or color you used for your layer, and let them dry.
Step 3
Apply the different nail polish colors as dots on your nails. There is no perfect way of doing this. It is as simple as just doing it the way you can.
Step 4
Use the nail brush or a small makeup sponge to smooth and spread the dots gently.
Step 5
Dip your brush or small makeup sponge in the nail polish remover and pat the nails gently to blur out the color.
Step 6
After letting it dry, top-coat your nails.
Method 2
Here is another method for doing your tie and dye nails. Follow these steps:
Step 1
After double coating your nails, let them get dry.
Step 2
Use your nail art brush to form stripes on the nails with the different colors of nail polish you chose.
Step 3
Get a broomstick or a toothpick before it dries. Use the toothpick or broomstick to draw lines through the colors. This should pull each color into the next and give nice tie-dye nails.
Step 4
After that, let it dry, then coat the top with a neutral polish color.
How To Use A Sandwich Bag To Do Tie-dye Nails
To do tie-dye nails with a sandwich bag, you will need white polish, a nail polish protector, a sandwich bag, or any plastic bag in addition to the other tools I listed above.
Step 1
First, start laying your nail surface with either a white color or any other, which gives you a satisfying feel. This will serve as a base for whatever tie-dye you want to do.
Step 2
Do not allow the base to dry out. A few seconds after you lay the base, apply two or more nail polish colors as dots on the nails, as I explained in the previous directory above. Refrain from fear if it will strew – that’s the beauty of it!
It would help if you were quick with what you are doing so that the nail polish doesn’t dry.
Step 3
Place your plastic bag on the nails and use your finger to smoosh it till there is a color blend. When you remove the plastic bag, it will turn into the perfect tie-dye you love.
Step 4
Finish up your tie-dye nails by coating them with shiny nail polish.
How To Do Tie-dye Nails With Water Marbling
Water marbling is another technique to do your tie-dye nails, and some additional tools you will need are:
- Dotting tool
- Top coat
- Liquid latex
- Neon nail polish
- A base coat
Follow these simple steps to do your tie-dye nails with water marbling:
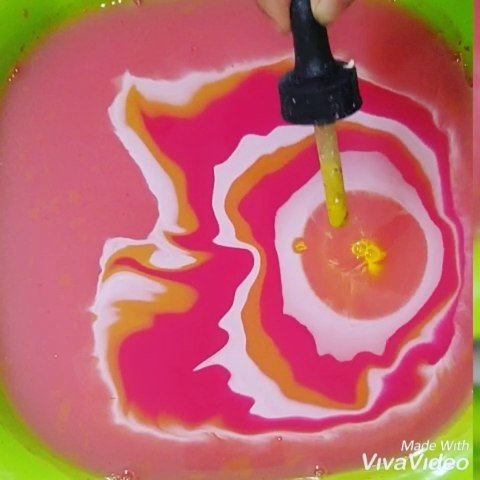
@artstop.affaa
Step 1
To protect your natural nails, start with a natural base coat. After this, apply white nail polish to give your base a lovely look.
Step 2
Next, apply some liquid latex(liquid Palisade) around your fingernails to keep your skin safe.
Step 3
Get a small bowl or cup of room-temperature water, or you can use filtered water; whichever you use is fine.
Step 4
Select three or more pretty neon colors. Then drop each color into the water container. Ensure your hand is not too high from the cup because if it is, the polish will sink to the base, and we don’t want that.
Step 5
Drop each polish color into the water with your hands right above the water. Drop it as many times as you want till it fills the surface of the water in a ring form.
Step 6
Use a dotting tool like a needle or toothpick to drag it straight down to the edge from the center of the water. Do this across the bowl like you are trying to draw checks.
Step 7
Ensure that you clean up the dotting tool after each drag you make. Once you have done this, you will already see the tie-dye effect on the surface of the container you used.
Step 8
Check out what part of the design you like, and gently put your finger in at a slight angle. Remove your finger slowly from that angle and blow your fingers gently to dry out the polish.
Step 9
Next, take off the liquid latex around your nails. Then, using cotton wool and a nail dissolver, properly clean off the stains around your nails.
Step 10
Finish up with a shiny top coat to beautify your nails and keep your design in good shape.
Final Takeaway
Tie-dye nails are easy and exciting for any occasion or event. There are many other styles to do with tie-dye on your nails. Tie-dye design has no limit. If you can think it up, you can do it with the tie-dye technique I have shown.