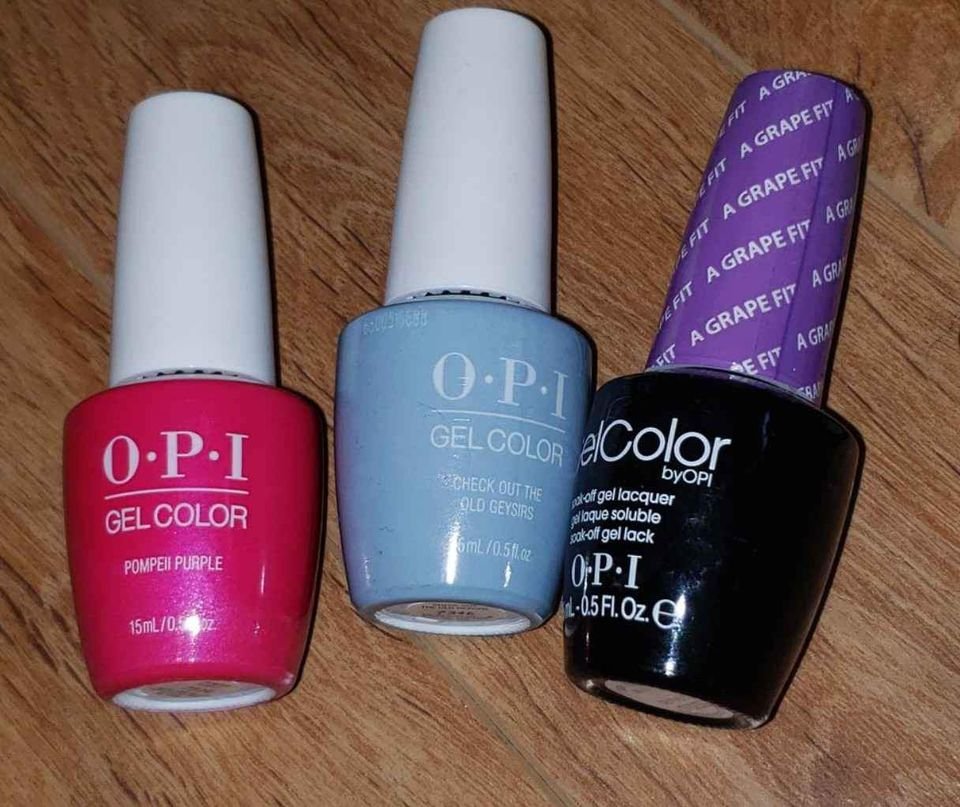
One of the most intriguing developments in the cosmetic industry is probably gel manicures — a mani that lasts two weeks without chipping and doesn’t require any dry time seems downright miraculous. They are durable, painted-on nails that closely look like real nails.
If you’ve tried gel nail polish, you probably know it’s incredibly durable. With its high shine and long-lasting color, gel manicures are a popular alternative to traditional nail polish. However, removing gel nails is not a walk in the park.
How Can I Remove Gel Nail Polish?

So your gel manicure has chipped beyond repair, and it’s time to learn how to remove gel nail polish at home. As tempting as it may be, ripping your gel manicure off with your bare hands is not a good idea. When you remove gel polish in this manner, your nails may appear fine to the naked eye, but you can actually strip the delicate layers of the nail plate and potentially cause serious damage, resulting in dry, brittle, and cracked nails.
Gel nail polish, despite its popularity, is notoriously difficult to remove. If it’s time to have your gel nails removed, it’s best to do it at a salon. But you may prefer to do it at home, especially if you’d like to avoid acetone. Many people prefer to remove their gel nails in a salon, but with a few tips and tactics, you can do it yourself at home.
You can remove gel nail polish with or without acetone.
Items Needed To Remove Gel Polish At Home
- Petroleum jelly/ Vaseline
- Cotton balls/ stripes
- Scissor
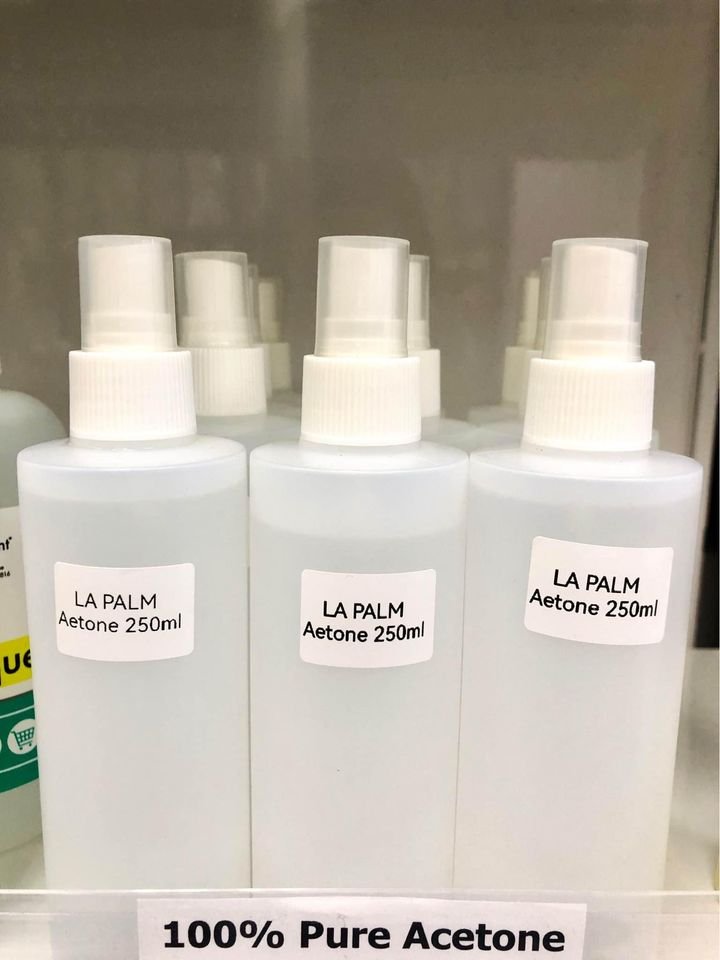
- Acetone(100)
- Plastic food wrap/ tin wrap
- Nail file
- Nail buffer
- Towel
Before you start the process, it is advisable to do it in a well-ventilated space to avoid breathing in all that acetone. Also, ensure you have time, and the process shouldn’t be rushed to avoid making mistakes.
Removing gel nail polish from your fingernails is easier if you work on one hand at a time. Another option is to have the polish removed by someone else. Here are the steps to follow.
1. Fill Bowl With Acetone

Pour acetone into a bowl. Acetone is a substance that reacts with the gel nail to weaken its adhesive and separate it from your natural nail. It is a common ingredient in nail polish remover, but to remove gels, you need a concentrated amount of pure acetone.
Wrap foil or plastic wrap around the acetone basin and secure the cover using a rubber band. The acetone will warm up if you place it in a larger basin of warm water. Let it sit for about 3 to 5 minutes. To avoid overheating, take the acetone out of the outer bowl. Because acetone is flammable, use caution during this procedure. Keep the acetone away from direct heat sources, and warm only gently and carefully.
This is a preparation of the acetone before the main removal.
2. Protect Your Cuticles
Acetone, which is usually required to remove gels, can severely dry out the fingernails and skin around them by depleting the skin’s natural oils, making it vital to protect your poor cuticles. Before soaking, moisturize the surrounding areas using cuticle oil.
Another recommended home remedy is Vaseline. The petroleum jelly will create a protective barrier to decrease the damage the acetone causes. You might begin by spreading a thin layer of petroleum jelly over each cuticle and the area around it.
3. Loosen Up The Top Layer With A Nail File
The gel top coat is the tough, nearly impermeable layer that seals the color in place—that’s why gel mani’s can last for weeks. Scratching the surface with a nail file will help the acetone to penetrate without a hitch. The nail file should not be used to remove the polish — the purpose is to remove the gloss from the top layer, making it simpler to remove the polish after soaking or using nail polish remover.
4. Soak Cotton Balls in Acetone
Acetone is stronger and more effective than normal nail polish remover, making it exactly what you need to remove your gel nail polish. Drench some cotton balls/ stripes with the stuff, then hold them in place on your nails by wrapping each finger with aluminum foil.
Cut or strip the cotton balls to fit each nail. The likelihood of getting acetone on your skin reduces if you use cotton around the same size as each nail. Acetone can irritate and harm your skin if it remains on it for a long time.
Once all your fingers are wrapped up, sit back and relax for 15-20 minutes while the nail polish remover does its thing. The gel polish should look like it is falling off the nail and lifted. The remaining polish should be able to be removed with little to no pressure — if not, go back to soak for another five minutes and try again.”
If your skin doesn’t react to acetone, you can dip it straight into the bowl without cotton balls and leave it to soak for around 30 minutes, which is not very advisable.
5. Buff Away The Remaining
Applying a little pressure, use your cuticle stick/ manicuring brush to scrape the remaining polish. A hint that extra nail polish remover is required is if the polish doesn’t easily slide off with light pressure: Before scraping off the remaining polish, soak a brand-new cotton ball for a few minutes and then wrap it in aluminum foil.
5. Moisturize
After you finish soaking in acetone, you should wash it off thoroughly. Your nails might be a little bit dry after a lengthy acetone experience. Give them a breather. Apply cuticle oil after letting your nails soak in coconut oil for 5 to 7 minutes. This will lessen any acetone-related irritation.
How to Remove Gel Nail Polish without Acetone
Some people have skin reactions to acetone and cannot use it. If acetone is too harsh for you, consider using a non-acetone remover to remove gel nail polish. You can also use regular nail polish though you will need more, and it will take longer to remove. This doesn’t always work, though.
You can also cut your nails short and gently file the gel off your nails with a nail file. While filing, move the file to different areas, so you don’t feel a burning sensation in one place.
The filing procedure could take a while. Stay away from the impulse to work hastily or unevenly, which could harm the natural nail.
Frequently wipe the dust off. This will make it possible for you to know exactly how much gel is left to apply before you reach your natural nail. Once you’re done with this, moisturize your nails properly and take a breather before getting a new set of nails.
SEE: Shellac vs Gel Nails
FAQs
Are Gel Nails Harmful to Your Nails?
They may be aesthetically pleasing and durable, but gel nails can damage the nails. Gel manicures may result in cracked, peeling, and brittle nails, and prolonged usage may raise the risk of developing skin cancer and early aging of the hands.
Why Is It So Difficult to Remove Gel Nails?
While many nail polish manufacturers use the word “gel,” real gel nail polish requires a base coat before multiple thin coats of lacquer are applied to give the nails the desired hue.
Each layer is applied separately and cured or hardened using an LED or a UV light. This chemical reaction allows the polish to harden more than regular polish does. And for this reason, it is also called nail lacquer.
How Can I Make it Simpler to Remove
Here are some suggestions to help you remove gel nail polish more easily:
Don’t give in to the impulse to peel the polish. Although it could appear to be a secure substitute for acetone, it might do greater long-term harm. Peeling off manicures repeatedly can result in onycholysis, a common nail disorder caused by lifting the nail away from the nail bed.
If you plan to soak your nails, file them first. It doesn’t seem to matter, but if you skip this step, you might need to do more soaking and scraping.
SEE: 30 Trendy Stiletto Nail Designs
Final Thought
Even though gel polish has become a popular alternative to conventional nail lacquer, it might be challenging to remove. Due to UV light exposure, regular gel nails, over time, are linked to an increased risk of skin cancer.
Once the gel manicures are removed, your natural nails will be delicate and susceptible to chemicals and cleaning agents, so use rubber gloves when cleaning for a few weeks.
