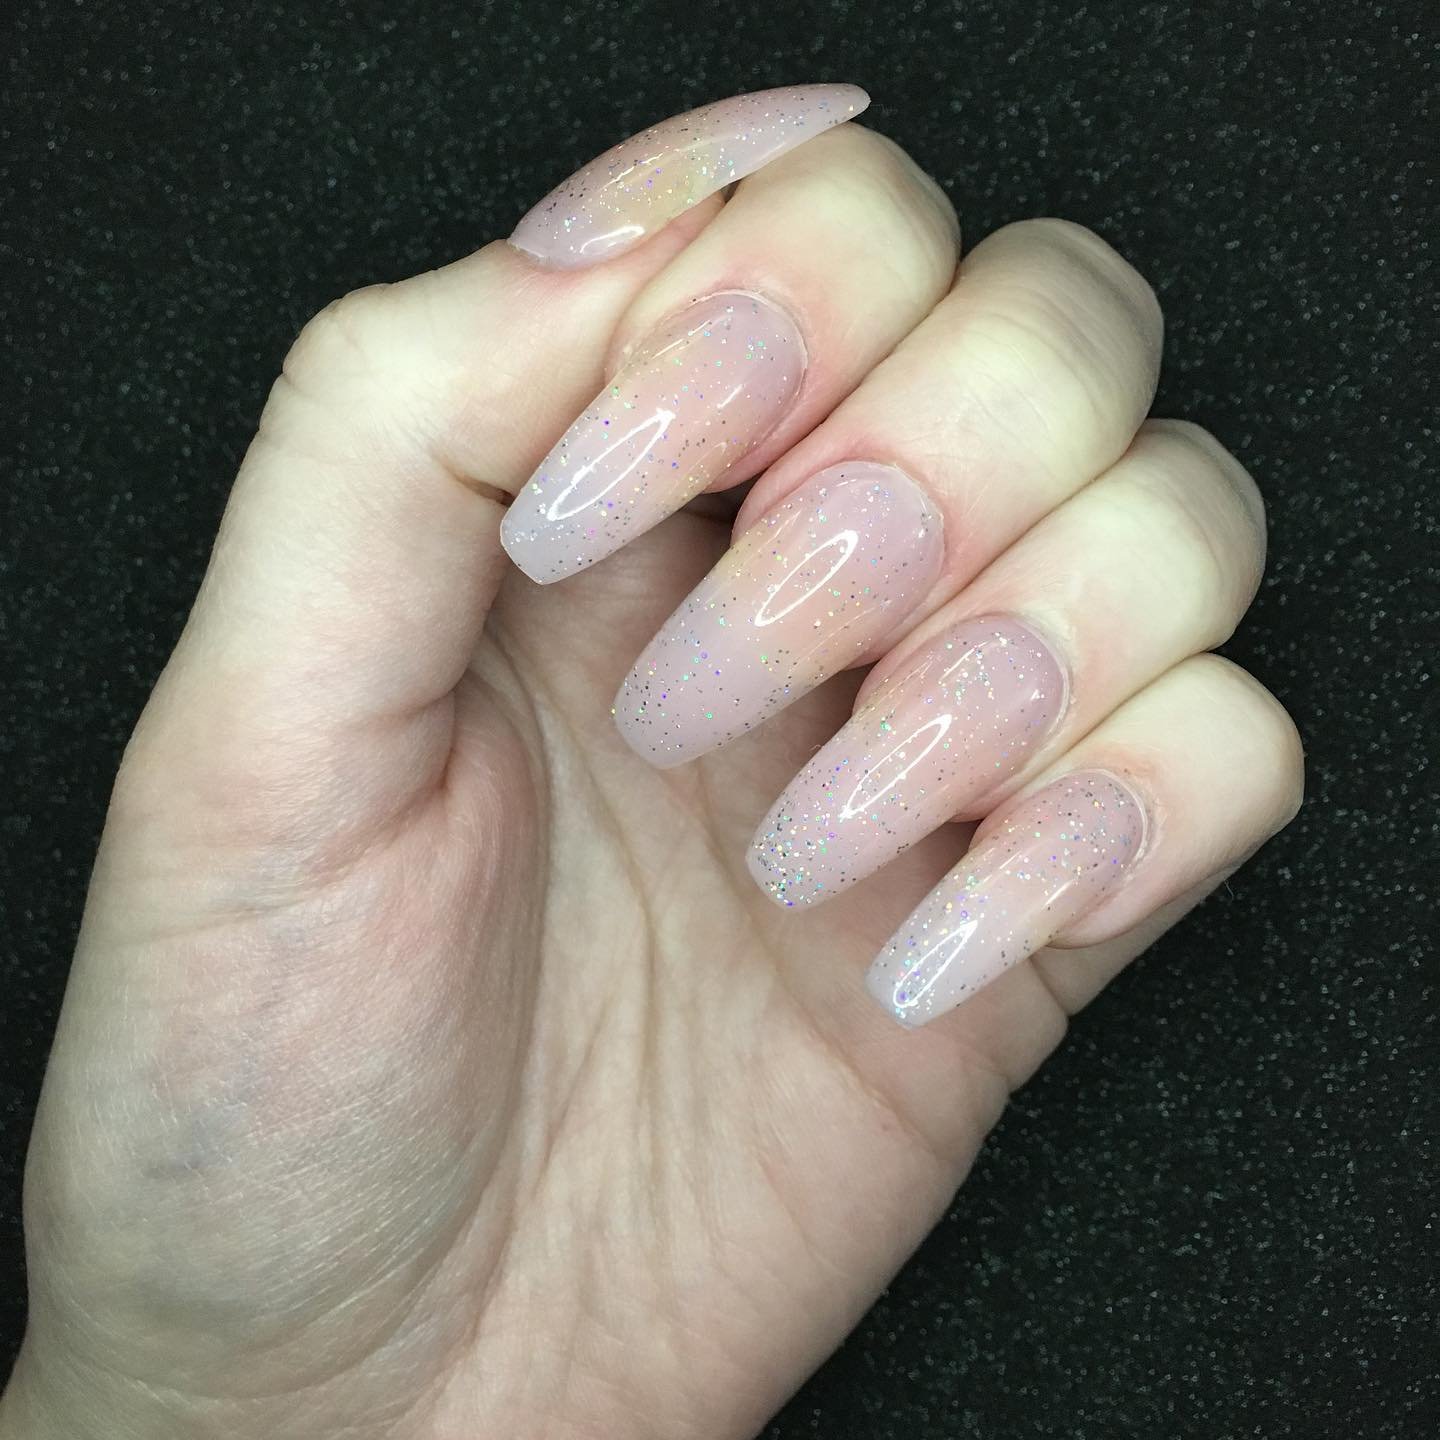
Who wouldn’t want a manicure that would endure for a long time, given how much getting your nails done costs? However, if you dislike the weight and procedure of making an acrylic set and are concerned that a gel manicure can damage your natural nails, polygel nails are the solution.
Read on to discover more about this unique manicure technique.
What Are Polygel Nails?

If you’ve been dreaming of the ideal manicure that doesn’t involve fiddling with ratios, mixing, or monomers, polygel nails are just what you’ve been looking for. This nail technique is similar to a gel manicure but stronger, more flexible, and lighter. It is extremely versatile and can be used as an overlay to natural nails or sculpted to create a stunning, long-lasting manicure.
In the world of manicures and pedicures, polygel is an innovative and simple technique. The odorless formula allows you to work as fast or as long as possible. Many women who want perfect nails and hands choose it because of its simplicity.
What Is Polygel Made Of?
Polygel, also known as acrylic gel or acrylic, is used in beauty salons and at home to beautify or reconstruct nails. It comprises a UV gel and acrylic resin mixture covering the nails.
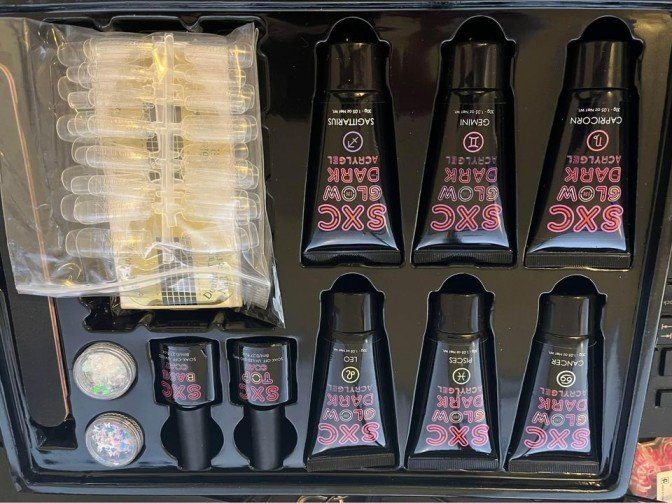
Polygel, sold in a tube much like toothpaste, is a mixture of acrylic powder and clear gel. It also has a putty-like consistency and is extremely easy to apply and shape. It is made of gel that hardens with a UV lamp and an acrylic resin. This one is made of a polymer that hardens when exposed to air, and its texture prevents it from flowing like an acrylic liquid.
Furthermore, polygel comes in a variety of colors and sizes. It is suitable for professionals and amateurs and is available as a polygel kit for home use.
Benefits Of Polygel
If you’re looking for a strong product, no matter how you use your nails daily, then polygel is for you. This product benefits from both gel and resin, and here are some benefits.
Polygel is easy to handle and apply, and you can do it at home. Its installation is very fast and, with the right equipment, only takes a couple of minutes.
It has a lot of variations, with different shapes and colors (from transparent to different shades of pink, blue, red, and others). It can also be used as part of nail art to create small decorations on nails.
It is thin and very light, offering a completely natural and unnoticed rendering but ensuring the nails’ strength and the feet’ beauty.
Polygel is a perfect option for those who have a habit of biting their nails. It does not have the pungent smell of solvents which can be unpleasant, and it is also non-toxic.
One of the greatest advantages of polygel is that it has high strength and strength in the face of shocks, scratches, scrapes, or detachment. In addition, acrylic nails have a long duration ranging from 3 to 4 weeks.
Polygel is a more economical alternative to nail polish. There is no need to make several layers of varnish to have impeccable results, and a single layer of polygel nail polish is enough for several weeks.
How To Apply Polygel

Polygel nails are great because the process used to create them does not damage your natural nails. Also, there are no harsh chemicals or odors involved. The end product is a flexible and adaptable set of beautiful nails. To apply them, you need to follow a few simple steps,
1. Prep The Nails
The first step is to get your nails ready. Polygel should not be applied to unprepared nails because it is a restructuring product.
Wash and disinfect your nails, especially if they have been gnawed. With the help of a repel-cuticle, push back the cuticles and remove any excesses, then, to avoid damaging the nails, file the nail to the desired shape and polish the surface with a soft file. Before disinfecting the nail again, dust it. Generally, make sure your nails are very clean.
2. Apply the Polygel
The polygel formula will then be applied to your nails by your nail technician using a small, precise brush. This will be applied to the center of your nail, beginning with a small bead, as with acrylic.
3. Smooth the Formula
Polygel has a putty-like consistency and should be applied to the nail. You’ll need a brush moistened in a slip solution to smooth it out without worrying about the gel sticking to the tools. This gel is fantastic since it can be molded into whatever shape you like, even long stiletto nails.
4. Cure the Nails
Polygel nails must be cured, which can be accomplished with an LED light or a UV lamp. Depending on the kind of Polygel you use, the curing time may vary slightly, but it should take around 30 seconds for an LED and 2 minutes for a UV lamp. If the polygel is not cured, it will not harden, and this procedure is repeated later.
5. File and Shape
Because polygel is softer than other options, your nail technician will not need to shape it with an e-file. A hand file will do the job, smoothing out any bumps or uneven areas and helping to define the shape.
6. Apply Finish
Your preferences will determine the final step. You can use either traditional nail polish or semi-permanent nail polish. Applying a top coat will prolong the shine and hold the varnish. If you use semi-permanent varnish, make sure to use a catalyst.
You’ll have to cure your nails a second time by placing them under a nail lamp. It is often recommended to cure twice for the best results. The curing time will vary from 30 to 60 seconds, depending on the Polygel brand.
7. Apply Lotion/Moisturize
The aftercare of a manicure is critical to keeping your hands and cuticles moisturized. If you go to a salon, the nail technician will most likely finish your manicure by rubbing good-quality lotion on your hands and applying oil to the base of your cuticles.
The same should be done if you attempt to make Polygel nails at home, and this will keep your skin moist while also preventing cracking and providing protection. Squeeze the cream into your palm and massage it while paying special attention to your fingertips.
Polygel Thickness – What to Expect
Polygel nails can vary in thickness depending on personal preference and the skill level of the nail technician. However, a thickness similar to 2 credit cards stacked together is a good starting point, as it offers a balance between durability and natural-looking nails. It’s important to note that the thickness of the nails should also be appropriate for the length of the natural nails or nail tips being used.
Using an E-file can be helpful in achieving the desired thickness and shaping the nails. It’s also a good idea to focus on growing the nail bed or extending the tip slightly to give more surface area for the polygel to adhere to.
If you’re using a dual form, a tip to prevent sliding is to flip your hand over for 4-6 seconds after curing and smooth out the underside with your brush. This can help ensure a smooth application and reduce the risk of the form slipping.
There are plenty of tutorials available on YouTube to help guide you through the process of applying polygel nails and achieving lovely smile lines.
How Long Does Polygel Last?
In general, polygel manicures last approximately three to four weeks, longer than gel but not as long as acrylics. The shape and length of your Polygel nails and how frequently you use your hands affect how long they will last.
Also, choosing colors that hide your regrowth, such as nude or baby pink, may be advantageous. If your nails grow fast, it may be advisable to schedule an infill visit. You may get a lovely manicure that is less likely to chip or shatter by using polygel, which is more costly than gel but tougher and more flexible.
How Are Polygel Nails Removed?
There are several techniques for removing Polygel nails. They may be buffed off, and any leftover residue washed away if necessary. It is gentle and simple to remove with either a manual nail file or an e-file and is not a soak-off gel.
This technique, which an acetone soak may follow, will often help nail professionals remove the remainder of the Polygel. You may then use some cotton wool that has been soaked in acetone to do this yourself. Use aluminum foil to lay it at your fingertips, then wait about 10 minutes.
FAQs
What is the Cost of Making Polygel Nails?
The cost of Polygel nails varies depending on the nail technician and salon you choose. Other factors to consider include whether you want them applied to your natural nails or if you want a sculpted extension.
On average, a complete set of polygel nails may run you anywhere from $50 to $150. This pricing may change depending on the shape and length you choose.
Is Polygel Bad For My Nails?
Polygel nails are a great treatment for your manicure when applied and removed properly. They don’t have a strong smell, call for mixing, or monomers, and are thought to be safer than other choices like acrylics.
However, not all nail techs are trained properly because it’s a relatively new strategy. It’s crucial to do your homework and locate a salon and professional with a ton of expertise with this application. To choose the brand that works best for you, it would be beneficial to consider the many options available.
Bottom Line
Polygel manicures are still fairly new, so many nail artists must educate themselves properly on the special technique. Some Polygels could be thicker than others, and some applications might be more challenging depending on the brand. Polygel is a product you must practice with and find the right brand that fits you.
