
If you are a lover of manicures, once you get a new set of artificial nails, your nails will continue to grow, and in a few weeks, your nails will not be covered in acrylics and paint. Nonetheless, you should not consider this the end of your artificial nails. A nail fill refills the space between the cuticles and artificial nails so your nails can start looking pretty again.
What is A Nail Fill?
A nail fill means filling the gap between the cuticle and the artificial nail edge without replacing the whole set. It could also mean the maintenance your nail extension requires. In most cases, you do not have to replace the outgrown part of your nail extension with a fresh set; you can get a nail fill as often as possible before replacing it with fresh sets.
To carry out a nail fill, your nail technician will first disinfect your nails, then use either a nail file with a coarse grit or a mechanical device to remove the top coat of the artificial nails for better adhesion. The result of the nail fill will fix any lifting of the nail extension caused due to natural nail growth.
How To Do A Nail Fill
1. Acrylic Nails
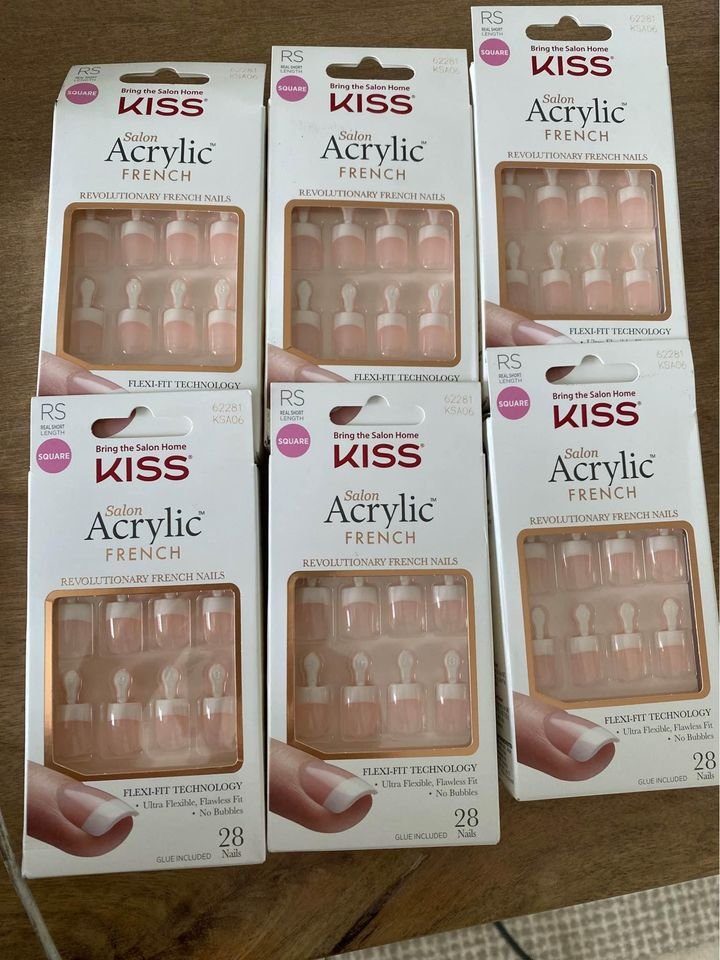
It is very easy to do an acrylic nail fill. All you need to do is to purchase a nail fill kit from a beauty store, then remove the top layer of the acrylic paint or gel before you file the nails. Once the surface of your nail is clean, go ahead and fill the gap with the acrylic mixture or gel primer.
Things You’ll Need
- Nail primer
- Nail dehydrator
- Acrylic dish
- Acrylic brush
- Nail file
- Nail buffer
- Acrylic powder
- Non-acetone nail polish remover
Step One: Remove Old Nail Paint

Use cotton balls soaked in non-acetone nail polish remover to remove old paint. Do not use acetone-based removers, as they will dissolve the acrylics over the entire nail and cause damage to the acrylic base.
Once you have removed the old nail polish, clean your nails with wipes or wash them thoroughly. Remember, you need a clean surface before filling the gaps with an acrylic mixture.
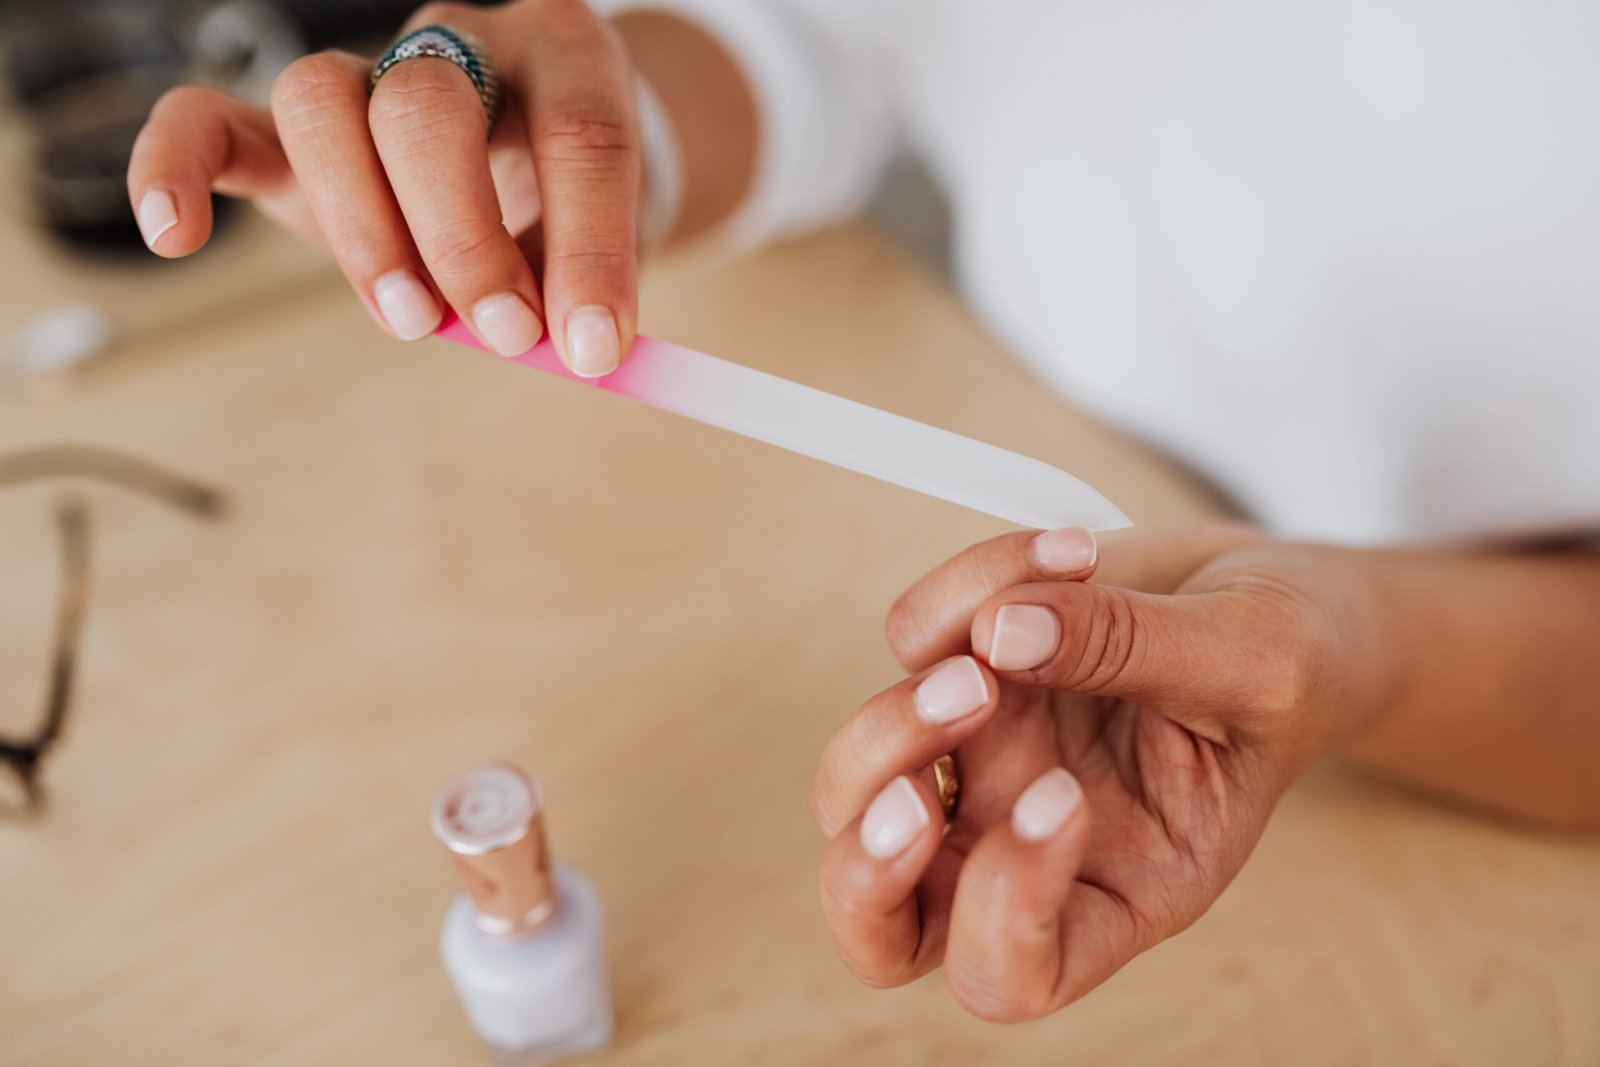
Step Two: Use A Nail Buffer To Smoothen The Excess And Lifted Acrylics
Your nail growth would cause the bottom edge of the acrylics to lift. Therefore, you must remove this lifting for a smooth acrylic nail finish. Rub a nail buffer over the end of the acrylics where it meets your natural nail, and keep buffing the top layer until the entire nail is smooth.
Note: Avoid using the nail buffer on the natural nail bed or a gap with no acrylic.
Step Three: Apply Nail Dehydration And Primer
After the acrylic nail has successfully buffed and blended with the natural nail, the next step is to apply a nail dehydrator to remove any excess oil on the nail before the acrylic is applied. After applying the dehydration, apply one to three coats of nail primer.
Ensure the primer is completely dry before adding 1 or 2 more coats if desired. The primer will act like a sticky tape to help adhere the product to the natural nail.
Step Four: Apply The Acrylic Mixture To Fill The Gap
To prepare the acrylic mixture, you’ll need to mix acrylic powder and acrylic liquid. After mixing, it would form a pear-like bead mixture. Once the mixture is on your brush, apply it evenly on the natural nail to fill the gap between the cuticle and the acrylic nail edge.
Note: When you apply the acrylic mixture, keep your fingers downwards to prevent the mixture from rolling down towards the cuticle. Once the gap is filled, apply one to two coats of the acrylic mixture on the entire nail to create an even and smooth base. Then use the sides of the nail brush to apply the acrylics across the corners to blend with the existing cuticle.
Step Five: Dry, File, and Buff
After applying the acrylic mixture, leave your hands for a few minutes and let the acrylics dry completely. Buff and file your nails to smoothen and sharpen the ends.
Step Six: Paint The Nails
Now that you’re done, you can paint the nails. Spread a base coat on the acrylic nails and let it dry completely before applying the nail polish. It could take 20-25 minutes, depending on the type of nail polish you use.
2. Gel Nails
Doing a nail fill for gel nails is a lot different from acrylics. The main reason is that gel is a much thinner product and does not require powder-liquid mixing.
Step One
First, file the cuticle area with a 100/180 grit file to remove any lifted product and smoothen the gel’s top layer.
Step Two
Use a fine-grit buffer to buff the gel nail where it meets the natural nail. Keep buffing until there is no bump left and until the nail is smooth.
Step Three
Wipe your nails with rubbing alcohol to get rid of dust and prepare them for a new coat of gel paint.
Step Four
Apply gel primer on each nail. Dab a small amount of gel primer in the center of the natural nail near the cuticle.
Step Five
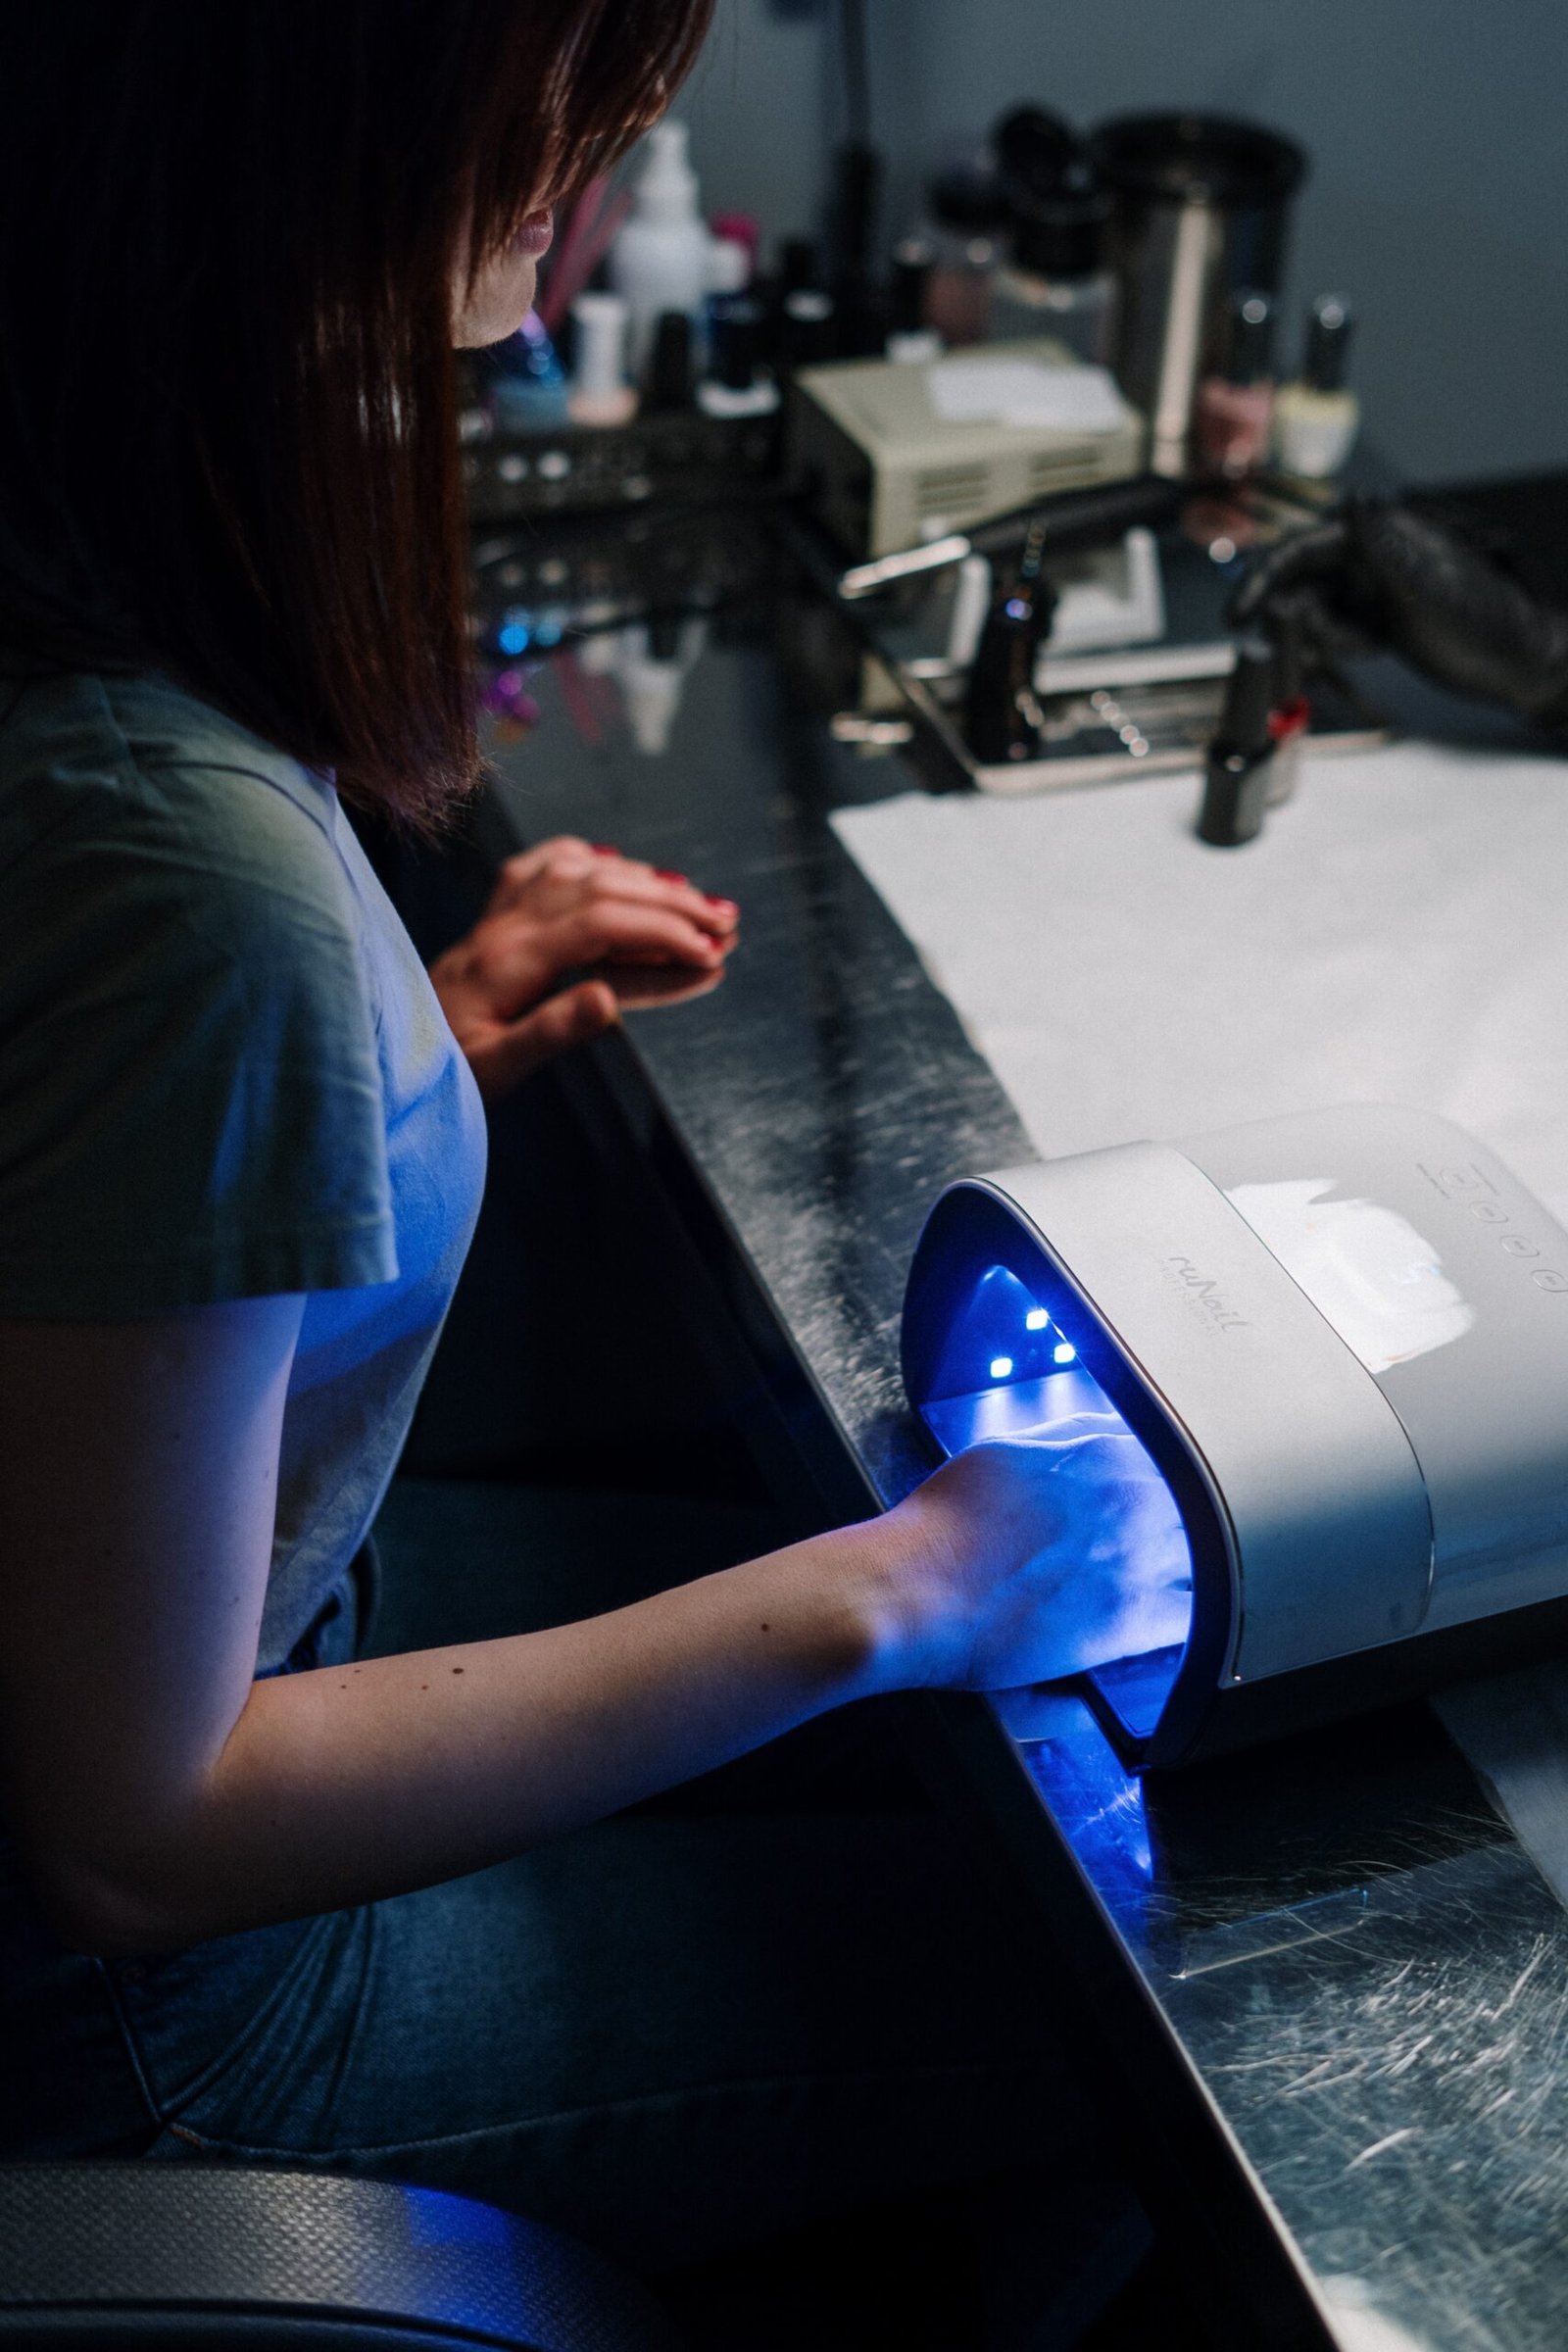
Place your nails under UV light for a minute to cure the primer. UV light is the only way to cure the gel polish. If you don’t have access to UV light, let the nails dry for 20-30 minutes before applying another coat.
Step Six
Apply one to three coats of gel nail polish in the center of your nails towards the cuticle. Then, dry the nails under UV light for 3 minutes between each coat.
3. Dip Powder Nails
You can also do a nail fill for dip powder nails without soaking off your previous manicure and starting from scratch. If the nails are too lifted, you must soak off the dip powder to give your nails a fresh start.
Step One
Start by cleansing your nails to eliminate the build-up of invisible bacteria. Once your nails are cleaned, push back the cuticles with a cuticle pusher to protect them from getting any adhesives and powder. Then, file the nail surface and sides to remove any color from the original manicure.
Step Two
Once the nails are thoroughly filed, apply the bonder to the entire surface of your natural nail, then apply the base coat. Dip your nails into the powder and wait a few seconds.
Step Three
Remove the extra powder with a brush and reapply the base coat. Dip your nail into the powder until the color blends with the old manicure.
Step Four
Coat the entire nails with the base coat and dip the nails into the clear powder.
Step Five
Apply the seal and buff your nails until there are no bumps between the old and new manicures. Wipe off the nail with a lint-free cloth, then add a top coat for a shiny look.
Final Note
Your natural nails grow about 0.1 mm per day, so after two to four weeks, the space between the artificial nail and the cuticle will be big. To prevent nail breakage, it is advisable to have a nail fill regularly to have them look perfect again.