
Press-on nails are a well-liked alternative to traditional nail paint and acrylics since they provide a quick and easy solution to have a professional-looking manicure at home.
However, proper packaging is essential to preserving the flawless appearance of press-on nails. Are you thinking of starting your own press-on nail business, or do you want to create custom sets for personal use? Then, it is crucial to know how to package them.
In this post, I’ll show you how to package press-on nails properly, so they’re safe, organized, and ready for use. Whether you’re a beginner or an experienced nail technician, following the instructions below will help you produce a gorgeous, long-lasting press-on nail package.
What To Consider Before Packaging Your Press-On Nails
Packaging is a crucial factor in the press-on nail market. In addition to safeguarding the goods, it also leaves a positive first impression on the clients.
The packaging for press-on nails should be designed to appeal to the target market, stand out in the store, and effectively showcase the product. And this is briefly discussed below:
Appealing Customer Design
One of the most crucial considerations when creating press-on nail packaging is the target market. If the press-on nails are marketed for teenagers or young adults, the container can, for instance, feature eye-catching patterns or brilliant colors.
Also, if the press-on nails are for a more affluent audience, the packaging may have a more upscale or beautiful appearance.
Protect the Content
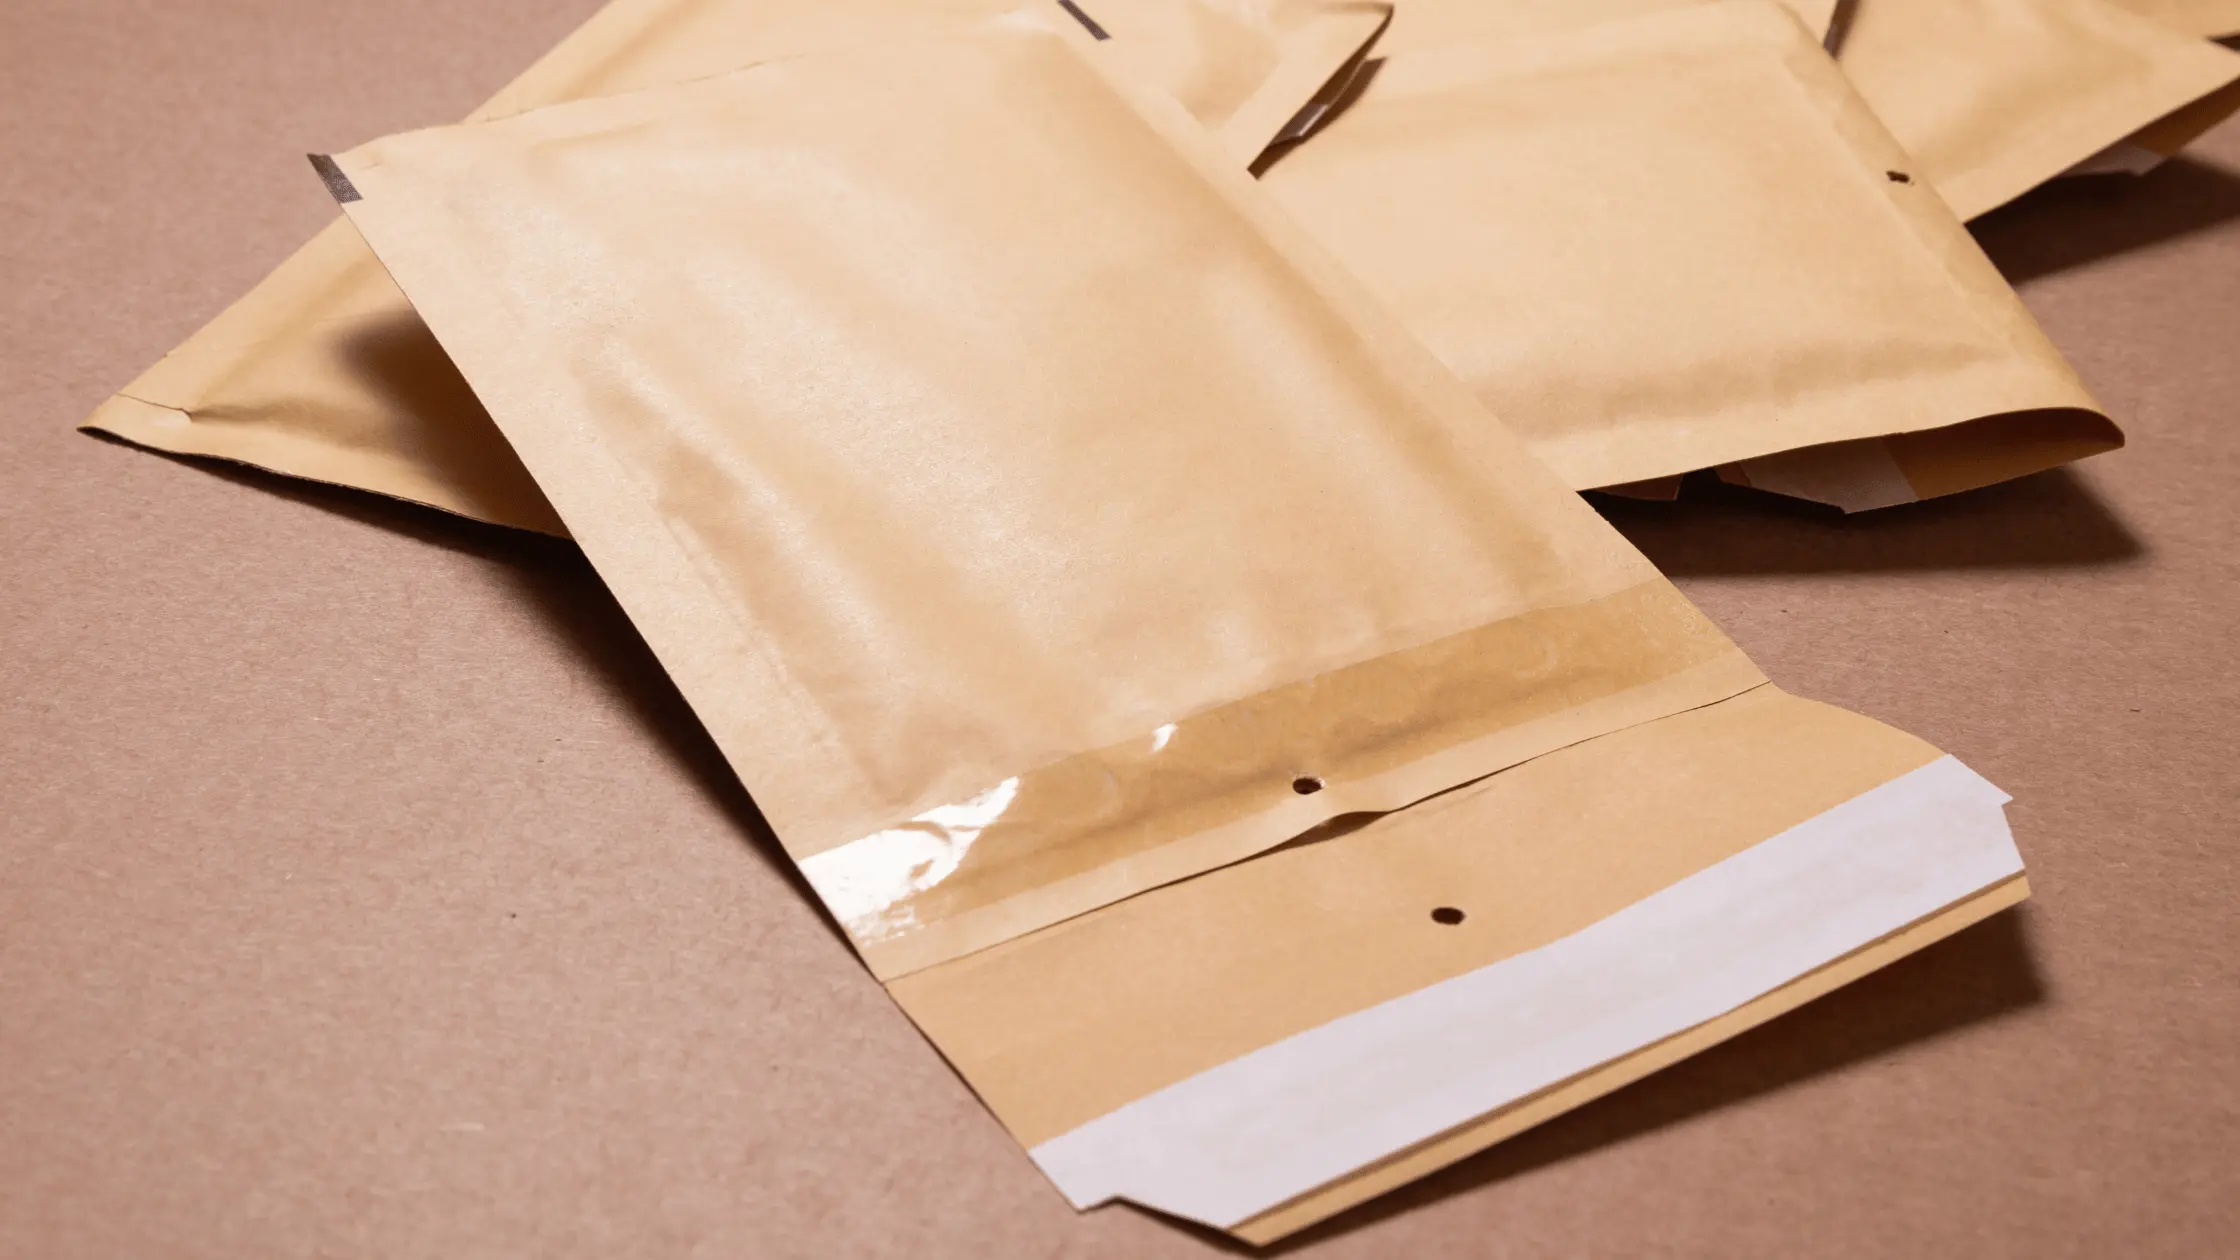
The packaging should also be designed such that it may be opened and closed with no damage to the contents. For example, press-on nail packaging frequently uses paperboard, plastic, and metal.
The packaging should have a distinctive and appealing design. Potential customers should notice the package on the shelf, and it should stand out.
Showcase the Nails
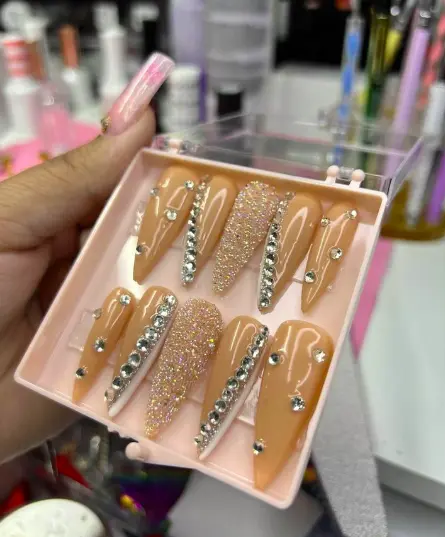
Additionally, the package should display the goods within, giving customers a clear understanding of what they are purchasing.
In addition to being aesthetically pleasing, packaging should be made to be convenient.
Include An Instruction Manual
The press-on nails should include an instruction manual on the application and removal of the press-on nails.
Convenience in Use
Additionally, the packaging needs must be small and straightforward to store so that clients can maintain the organization of their press-on nails.
Brand the Package
Another critical factor is the branding procedure. Press-on nail packaging should reflect the values and goals of the business/brand.
Customers’ familiarity and brand loyalty increases if they can quickly recognize and recall the packaging.
How to Package Press-on Nails
Decide Package Type
Packaging options for press-on nails include cardboard boxes, plastic jars, blister packs, and even tiny pouches.
Before choosing a packaging style, consider the kind of press-on nails you are packaging and the buyer’s preferences.
Choose Appropriate Packaging Materials
To avoid damaging the press-on nails during shipping and handling, utilize sturdy packaging materials.
The packaging should also be durable to prevent crushing, denting, or ripping during transportation. Common packaging materials for press-on nails include cardboard, plastic, foam, and bubble wrap.
Design Eye-catching Packaging
The packaging’s appearance and content should both be appealing. In addition, it should entice potential customers and make it simple for them to recognize your service.
Utilizing images and text, you may convey more information about the press-on nails, such as their color, design, and style.
Consider using different colors or designs to make it easier for clients to distinguish between the many press-on nail types you offer.
Seal the Package
Sealing the container is essential to prevent damage to the press-on nails. If you’re using a cardboard box, choose a lid that clicks shut, or use adhesive tape to secure the flaps.
Use a tight-fitting lid or a heat-sealing machine to seal the sides of a plastic container if you’re using one.
Label the Packaging Clearly
The product’s name, color, and design should be visible on the labels on the packaging.
The number of nails included and any unique qualities of the product, like a glossy finish or a longer wear time, should be listed on the label along with any other essential information.
Add a Detailed User Guide
Press-on nails can be challenging to apply, so it’s crucial to provide detailed instructions to guide your consumers through the process.
Use photos and detailed instructions to help explain the procedure. You can also offer advice on how to trim nails and preserve them correctly to increase their lifespan.
Conclusion
Press-on nails can be packaged attractively and effectively to be safe during shipping and handling and are simple for customers to use.
Remember that simple packaging can still be valuable and appealing, as this will make you more distinctive in the marketplace and boost your sales.