If you need to avoid glue or can’t get your hands on any and want to apply false nails, this read is for you.
There are a lot of downsides to using glue on your nails, so even if these alternatives will not last as long as glue, they are worth the try.
How To Put On Your False Nails Without Glue
To give you options, I will share three ways to apply your false nails without using glue.
1. Using Adhesive Tabs

Adhesive tabs are a fantastic alternative to nail glue. They are easy to use, mess-free, and gentle on your natural nails. Plus, they are a great option for people with sensitive skin or allergies to nail glue.
To use adhesive tabs, simply peel off the backing and stick them to the back of your fake nails. Then, press the nails onto your natural nails and hold them in place for a few seconds. That’s it! Your nails will stay in place for up to a week, and when you’re ready to remove them, simply peel them off.
Adhesive tabs come in a variety of sizes and strengths, so be sure to choose the right ones for your nails. If you have larger nails or are using heavy fake nails, you’ll want to use stronger adhesive tabs.
Some brands of false nails come with adhesive tabs already cut to fit your fingernails instead of glue. They are sticky double-sided tape and will hold for a few days. You can also purchase nail tabs online or at a beauty shop.
Also, if you might be bothered about the tape damaging your nails, apply a coat of nail polish on your natural nails and let it dry before putting on the tape.
2. Using A Double-Sided Fashion Tape
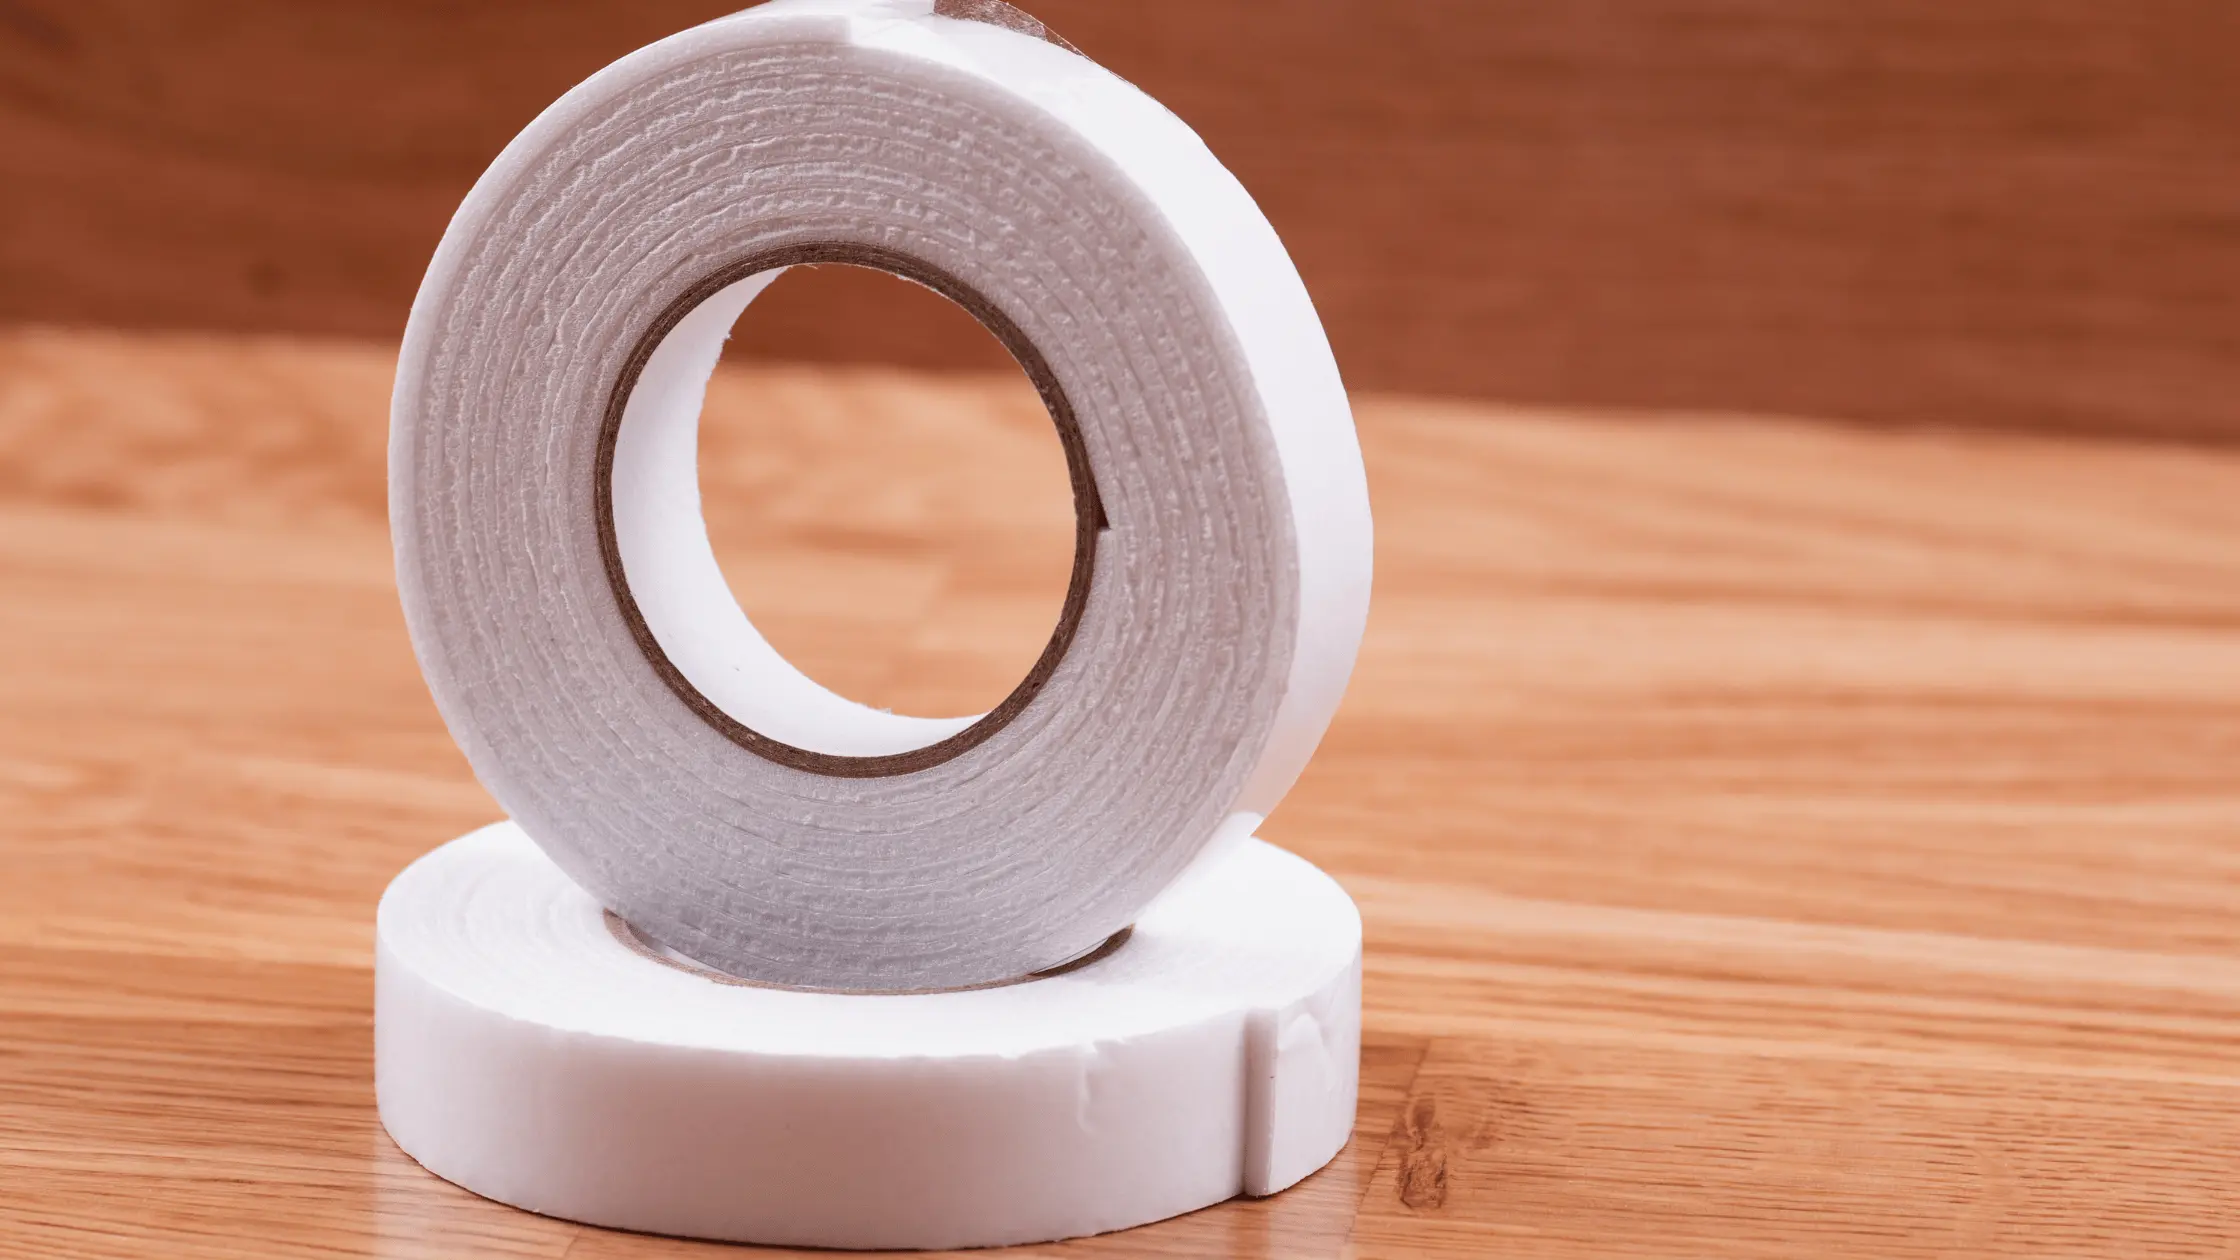
Double-sided fashion tapes are those tapes used in holding up strapless dresses. They typically are between the fabric and your skin.
You can purchase them online or get them at a department store. If you can’t wear false nails to work or feel uncomfortable with them for a long time, and you have a friend’s wedding or an event to attend during the weekend, this is ideal for you. They last for about a day so they can be fixed and taken off as soon as possible.
If you can’t get one, a double-sided wig tape will suffice if you have one.
Here is a step-by-step procedure on how to use fashion tapes
Step 1
Use a pair of scissors to trim the tapes to fit your nails. Fashion tapes come in rolls, so you have to trim them for use.
Your nails are of different sizes, so endeavor to cut them individually to fit each nail size rather than cut all pieces the same size.
To make it easier, you can place two layers of tape pieces and cut them together. For instance, when you measure the piece for one of your pinkies, you can cut two pinky pieces together for both of your hands since they will be about the same size.
Step 2
When done with cutting all the pieces you need, clean your nails by washing them. After washing, spray with a dehydrator spray or further clean with a cotton ball dipped in non-acetone-based nail polish remover. This helps get the dirt off your nails and aids the tape stick better.
Step 3
Take a piece of the already cut tape, get the matching nail, take off one side of the backing, and carefully place the sticky side to your nail. Upon application, you should run your fingers over the top of the tape to ensure it’s smooth.
When you’ve applied and the tape folds or bubbles up, you should take it off and use another piece. You should do this one nail at a time.
Step 4
Once it is properly applied, carefully take off the top of the backing. You’ll now be left with adhesive to your nails, so make sure to not touch your nail after taking it off.
Step 5
Starting at your nail bed or the bottom of your natural nails, carefully lay the false nails over the tape. Press lightly to smoother and make sure it evenly sticks. There is no need to let the nails dry as the adhesive is effective immediately.
Step 6
After fixing your first nail, set the rest of the false nails using the same procedure. This is a relatively quick procedure since you don’t have to wait for the nails to dry.
On how to take it off, you have to carefully pull off the false nails and then take off the tape from your natural nail. It can’t get any easier than this.
3. Using A Clear Polish

Step 1
Prepare your nails by washing them. Afterwards, apply a dehydrator spray, or clean with a cotton ball dipped in non-acetone-based nail polish remover. It is essential to remove dirt and oil so the polish sticks to your false nail.
Step 2
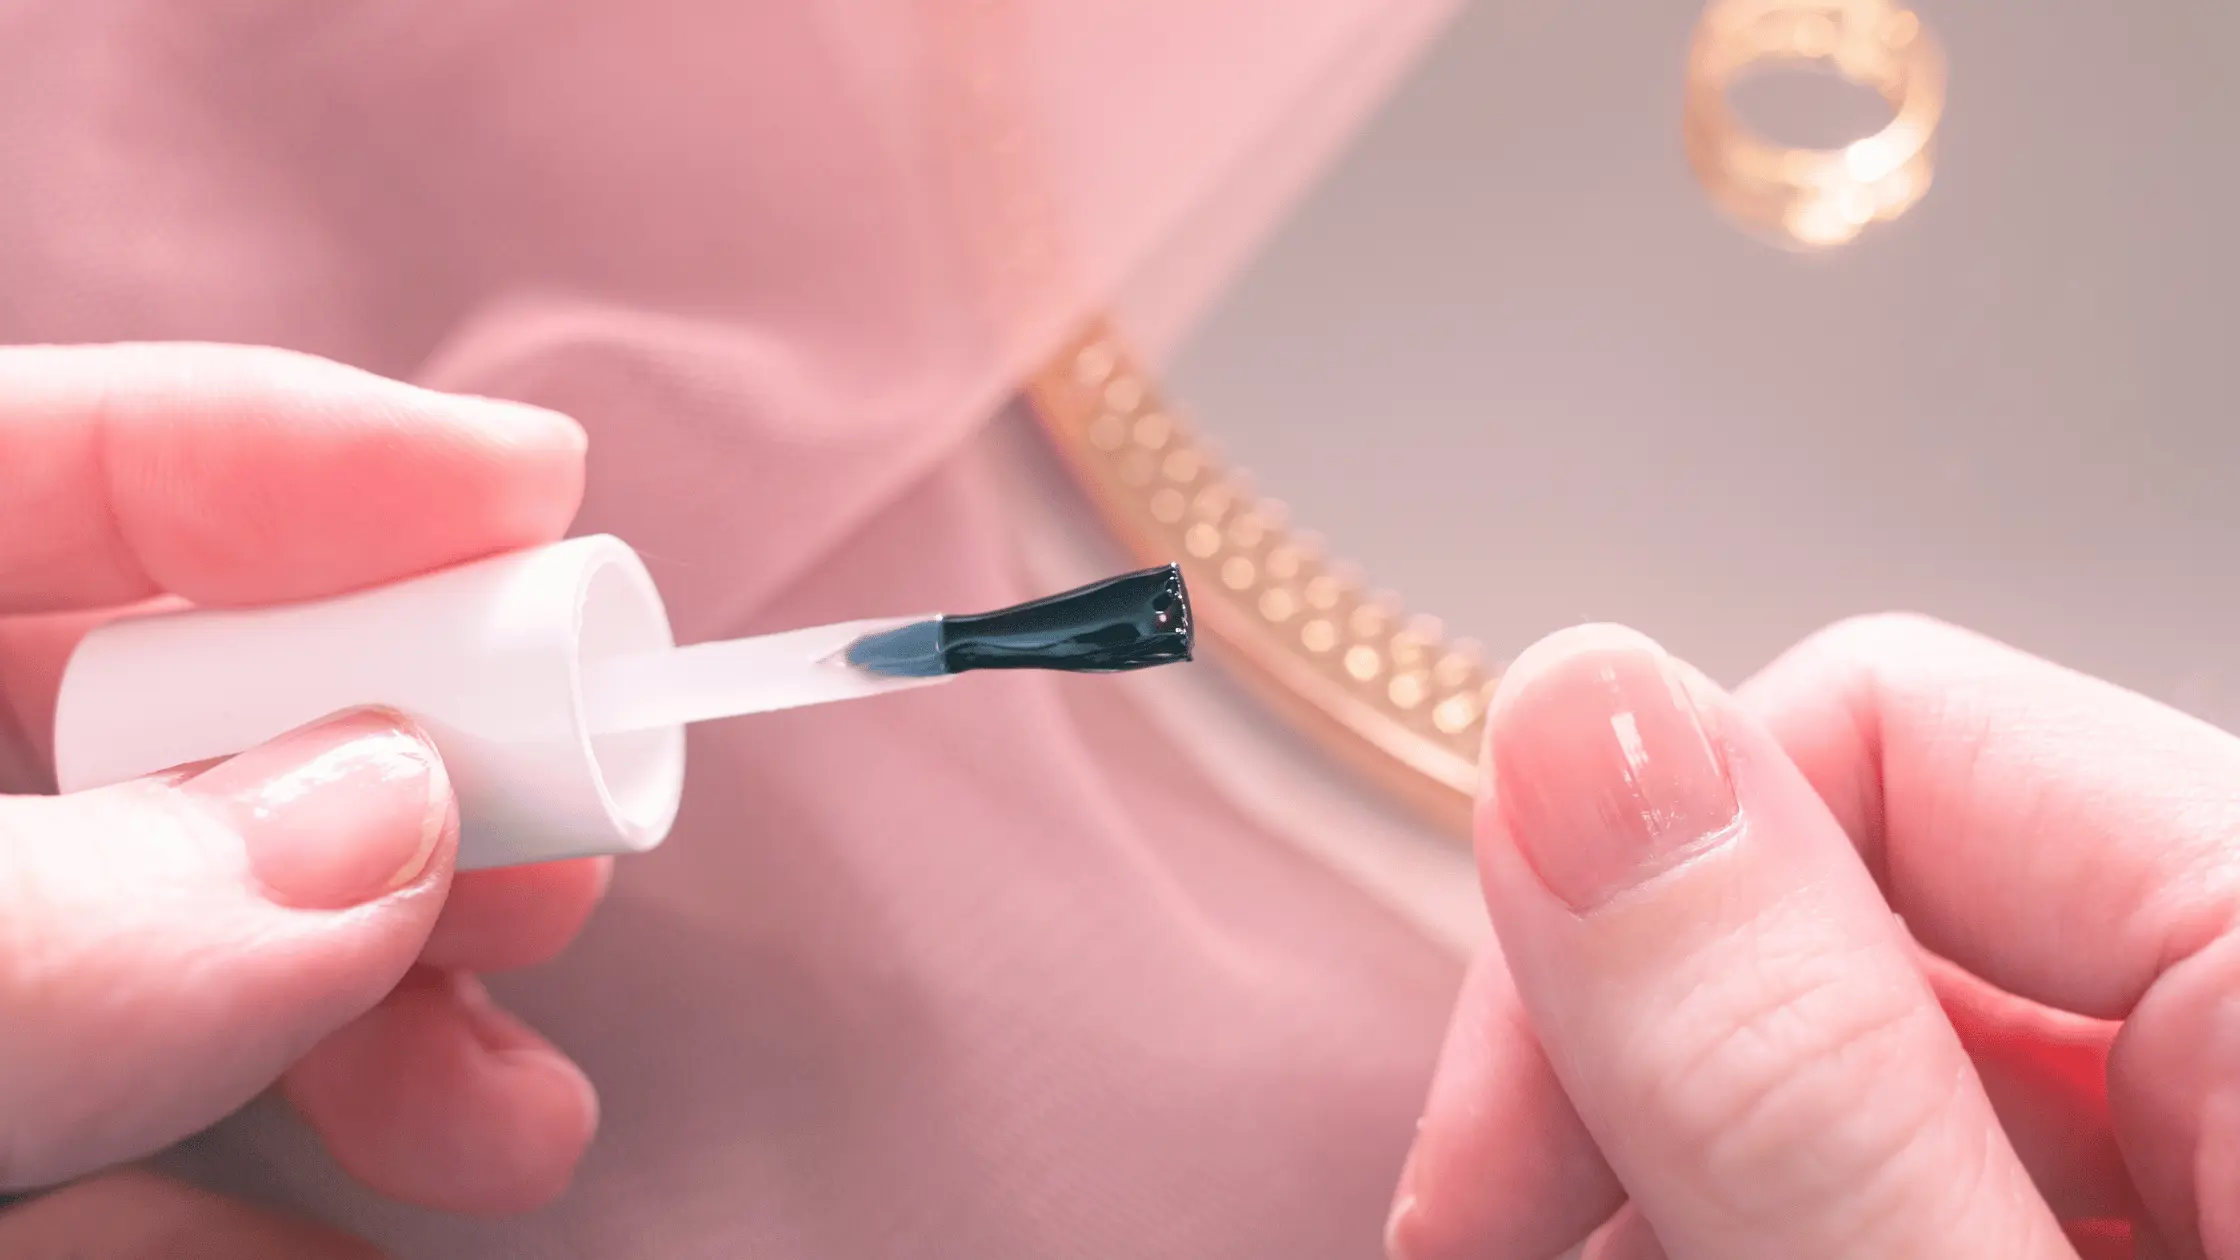
Now, apply nail polish to the back of your false nails. To get a thick coat, you need to use enough polish but not too much so it does not squish out from under the false nails when applied.
Any brand of clear polish will do, even polish with glitters. However, it would be best if you did not use colored polish because it might be visible between your natural and false nails. Alternatively, you can apply your nail polish on your natural nails first.
Step 3
Let the polish dry for about thirty seconds or less, and ensure it does not dry all the way. The polish would adhere better if it is tacky rather than just wet.
However, if you’re using a fast-drying polish, you might not need to wait, while you might need to wait much longer for some polish to get tacky.
You can experiment with one nail and see what suits you. If the polish dries out, you should apply another coat, and if it looks too thick, clean it off with a cotton ball dipped in nail polish remover, then use a new coat.
Step 4
Place your false nails on as soon as the polish gets tacky and not dry. Next, place the bottom of the false nails on your nail bed and press the false nails down on your natural nails. Hold it down for about one minute to allow the nail polish dry.
Make sure the false nail does not slide while holding it down.
Step 5
Apply each nail at a time till you’re done with all. It would help if you had the patience for this method, as you will hold down each nail for about one minute. It will take about one to two hours for the nail to cure fully, so avoid pressing or pulling on the nails.
On how to take them off, you need to remove the polish. Dip your fingers in a bowl of nail polish remover and let them soak for about five to ten minutes. After that, carefully pull off the false nails and ensure not to rip them off in an attempt to be fast.
4. Go Nail Stickers!

Nail stickers are a popular alternative for people who want to avoid traditional nail glue while still having beautiful and intricate designs on their nails.
Here are some tips for using nail stickers:
- Prep your nails: Clean your nails and push back your cuticles. This will ensure that the stickers adhere properly and last longer.
- Choose the right size: Nail stickers come in various sizes, so it’s essential to choose the ones that fit your nails perfectly. You can also trim them to fit if necessary.
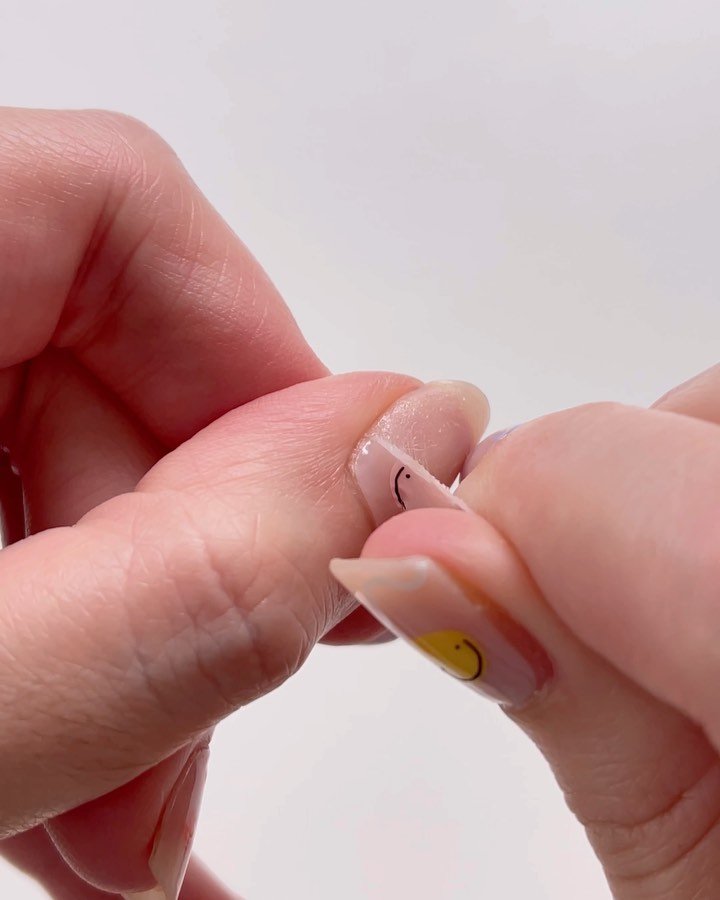
- Apply the sticker: Carefully peel off the sticker from the backing paper and place it on your nail. Press it down gently, starting from the center of your nail and working your way outwards to avoid any air bubbles.
- Smooth out any bumps: Use a cuticle stick or a nail file to smooth out any bumps or wrinkles on the sticker.
- Apply topcoat: To make your stickers last longer and give your nails a shiny finish, apply a topcoat over the sticker.
Nail stickers are a great alternative to nail glue because they come in a variety of colors, designs, and textures, making it easy to create unique and intricate nail art. They’re also easy to apply, even for those who are new to doing their own nails.
However, it’s important to note that nail stickers may not last as long as nail glue, so you may need to replace them more frequently. Also, some nail stickers may not adhere well to oily or greasy nails, so it’s important to make sure your nails are clean and dry before applying them.
The Rundown
These options are worth trying if you do not want to use conventional glue to fix your false nails. They, however, only last for a short time as glue, but they are a perfect option if you love to change your looks a lot. They also are ideal if you want to wear false nails for a special event and do not wear them for your day-to-day activities.

