
Are you tired of your Polygel nails chipping and breaking just a few days after getting them done? As someone who has struggled with weak nails, I know how frustrating it can be to invest time and money into a manicure only to have it fall apart in a matter of days. But, after experimenting with different techniques and products, I have found a few tricks to make my Polygel nails last for weeks. In this article, I’ll share my top tips for making your Polygel nails last longer and look better.
Why Polygel Nails?
First, it’s important to understand the benefits of Polygel nails. They are a mixture of traditional gel and acrylic powder, providing the best of both worlds. They are lightweight and flexible, making them more comfortable to wear than acrylics. They also cure quickly, making them perfect if you’re short on time.
How Can I Make My Polygel Nails Last?
When it comes to creating beautiful and long-lasting Polygel nails, having the right tools and materials is key. Here, we will discuss the essential tools and materials needed to create professional-looking Polygel nails at home.
First and foremost, you will need a Polygel kit. This should include the Polygel, a brush, and a lamp to cure the nails. Be sure to choose a high-quality kit suitable for your skill level.
Next, you will need a set of nail forms. These are used to shape the nails and provide a base for the Polygel. They come in various shapes and sizes, so choose the appropriate ones for your nails.
A cuticle pusher and an orange stick are also essential for pushing back the cuticles and shaping the nails. A nail file and a buffer are also essential for shaping and smoothing the nails.
You will also need a UV or LED lamp for curing the Polygel. This is an important step in the process, as it hardens the Polygel and ensures it stays in place.
Other materials you will need include a primer, a top coat, and cuticle oil. The primer is used to prepare the nails for the Polygel, while the top coat adds shine and protects the nails. The cuticle oil is used to moisturize the cuticles and keep them healthy.
1. Preparing your Nails
To prepare your nails for Polygel application, you should push back and clean up the cuticle area, and use an 80 grit file to remove the shine and roughen the surface. You should then use a dehydrator twice, and optionally apply a primer before using a rubber base coat or regular base coat.
Once you have cured the base coat, you can apply the dual form, hold it in place for 10 seconds, and then cure it. Next, you should flip the nail over, clean the underside, and hold it in place for another 10 seconds before curing it again.
Finally, you should fully cure the top and underside of the nail. With proper prep and application, Polygel nails can last up to 3 weeks before needing maintenance. If you experience any issues, you may want to consider changing the primer.
Proper nail shape and length are also important, as they will help your nails look their best. Before applying the Polygel, clean and sanitize your nails to prevent infection.
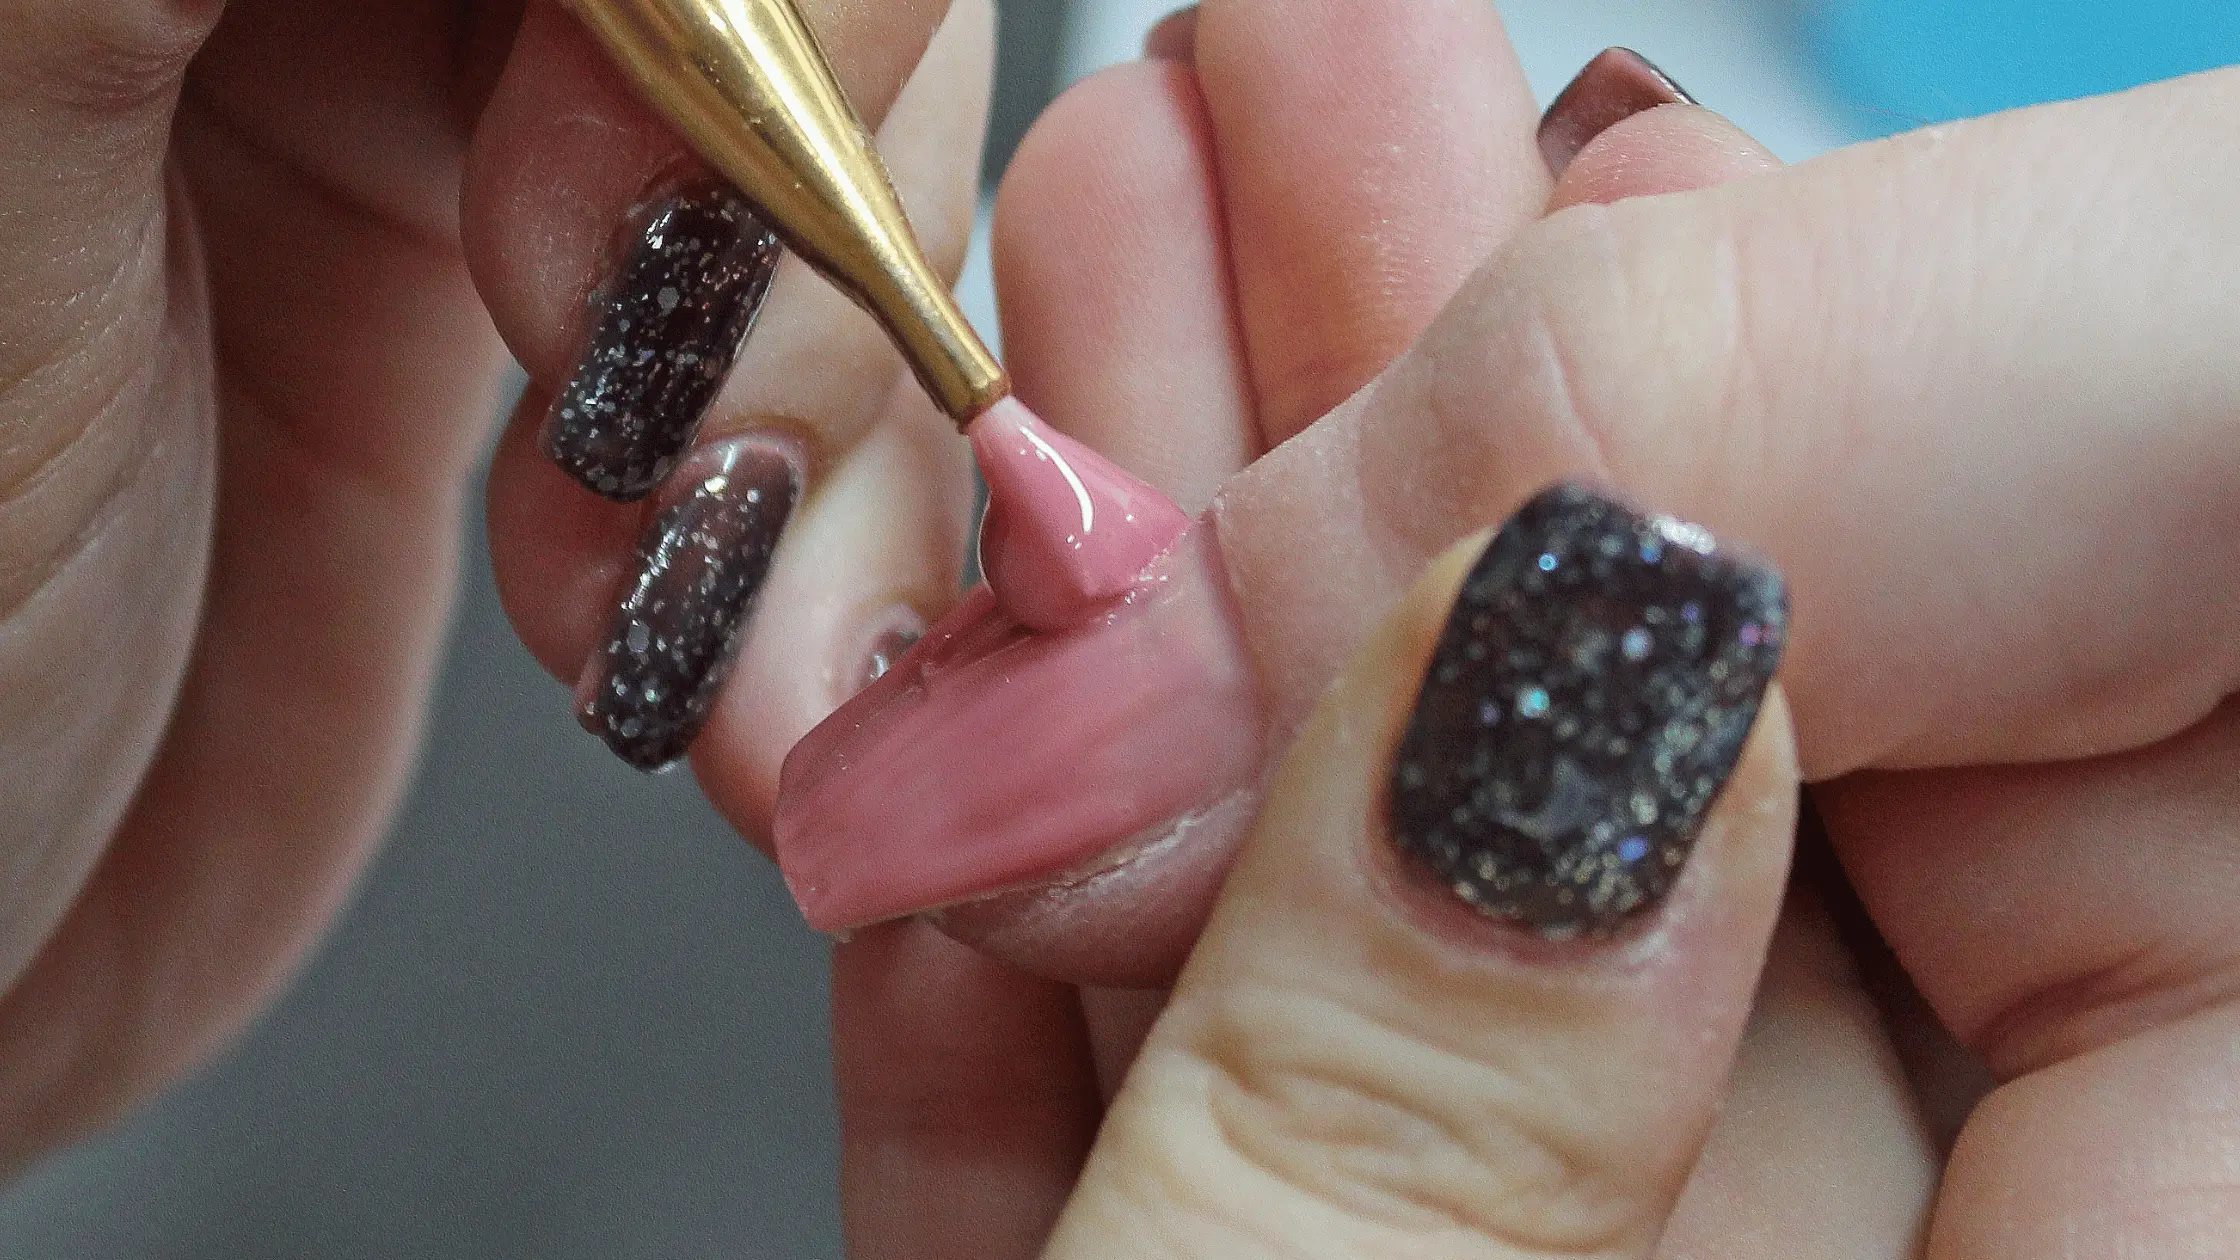
2. Applying the Polygel
Applying the Polygel is an important step in creating beautiful and long-lasting nails. Choosing the right Polygel is crucial, as different types of Polygel have different properties and are suited for different skill levels. Some Polygel are thicker and more flexible, while others are thinner and more rigid. Reading the label and choosing a product that will work well for your nails is essential.
Proper application techniques are also crucial for achieving the best results. Be sure to follow the instructions on the package, as different Polygel may have different application procedures.
A common mistake when applying Polygel is applying it too thick. This can make the nails look bulky and unnatural. It’s advisable to apply the Polygel in thin layers and build it up gradually. Applying too much Polygel can also make it difficult to cure the nails properly.
Another common mistake is not curing the nails properly. This is an important step in the process, as it hardens the Polygel and ensures it stays in place. Be sure to cure the nails according to the instructions on the package, and use a UV or LED lamp.
Filing and buffing the nails properly is also vital for achieving the best results. After curing the nails, it’s advisable to file and shape them to your desired shape and length. Buffing the nails to remove any rough spots or ridges is also essential.
Caring for Your Nails After Application
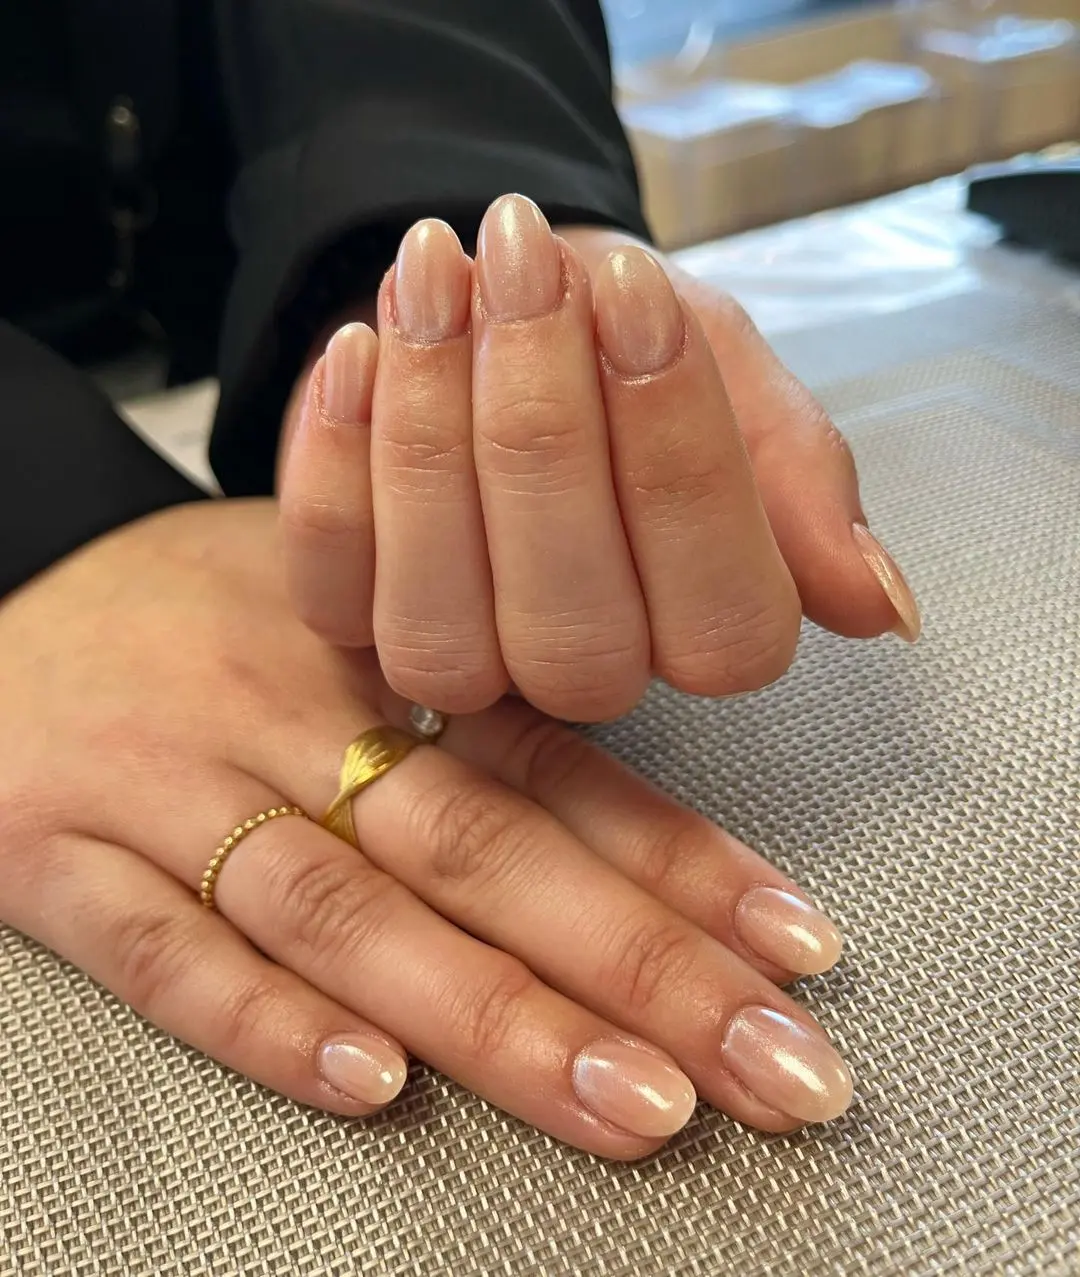
Caring for your nails after Polygel application is vital in ensuring that your nails look their best and last as long as possible. After the nails have been applied, allow them to cure for the recommended amount of time, usually around 30 minutes. This allows the Polygel to harden and become strong, which will help to prevent chipping and cracking.
To maintain the shine and strength of your nails, it’s essential to use a top coat. A top coat will help protect the nails from scratches and other forms of damage and give the nails a glossy and healthy-looking finish. It is recommended to reapply the top coat every other day to maintain the shine.
Avoiding things that can damage your nails. Biting your nails, using harsh chemicals, and exposing your nails to hot water can weaken and damage your nails, so avoiding these things is essential.
To keep your nails healthy and strong, it is recommended to use some products such as cuticle oil and nail strengtheners. Cuticle oil will help to keep your cuticles moisturized and healthy, while nail strengtheners will help to keep your nails strong and resistant to damage.
Fixing Common Polygel Problems
Despite the best care, sometimes issues can arise with Polygel nails, such as lifting or cracking. Various factors, including improper application, poor nail care, or exposure to harsh chemicals, can cause these issues.
If you notice that your nails are lifting, it’s essential to address the problem as soon as possible. Lifting occurs when the Polygel is not correctly adhered to the natural nail and can be caused by various factors. To fix this issue, you can go to a professional, and they will be able to remove the lifting part and reapply the Polygel.
Cracking or chipping is another common issue that can arise with Polygel nails. Cracks can occur when the nails are exposed to harsh chemicals or when the nails are not properly cared for. To fix this issue, you can go to a professional, and they will be able to fill the cracks and reapply the top coat.
If you have doubts, it is always best to go to a professional. They will be able to diagnose the problem and provide the best solution. In some cases, removing the nails and starting over may be necessary.
Myths About Long-Lasting Polygel Nails
When it comes to maintaining Polygel nails, many myths are circulating about what will make your nails last longer. In this section, we’ll be debunking some of the most common myths about long-lasting Polygel nails so you can better understand what really works.
Myth #1: Polygel nails last longer if you don’t use any hand cream.
Many people believe that using hand cream will make your Polygel nails weaken and fall off, but this is not true. In fact, keeping your hands moisturized is essential to maintaining healthy nails. The key is to use a non-oily moisturizer and avoid getting it on your nails while applying it.
Myth #2: Polygel nails last longer if you avoid water.
Another common belief is that water weakens the bond between the Polygel and the natural nail, causing the nails to fall off. However, this is not the case. It is important to keep your nails dry for the first 24 hours after application, but after that, you can go about your routine and do dishes, wash your hands, etc.
Myth #3: Polygel nails last longer if you don’t file or buff them.
Many believe that filing or buffing your Polygel nails will weaken them and make them more prone to cracking. However, this is not true. Regular filing and buffing help maintain the shape of your nails and prevent them from cracking.