
Getting a set of perfectly polished and groomed hands is better done using Kiara sky dip powder. This particular beauty product coats your nails instantly making them chip-free and glossy. The best part is, the brand is cruelty-free, non-toxic, and odor-free.
Kiara Sky Powder: Natural vs Clear

Kiara sky dip powder comes in hundreds of beautiful shades. For this reason, you won’t find it difficult to find the right shade to pair. The powder is formulated with harsh chemicals and with added vitamins and calcium to strengthen natural nails.
Natural dip powder has a similar color to natural nails nailing it a perfect base powder for binding the nail. It protects the nail from staining and it is also used to build the nail lending to its shape and apex.
Clear dip powder is ideal for encapsulating color and protecting it from filing and buffing. This clear powder can also be used to encapsulate dried flowers, mylar, and other decorative items on dip powder nail enhancements.
It is formulated without harsh chemicals and with added vitamins and calcium to strengthen natural nails.
Here’s what is included in Kiara Sky Dip Powder Kit
- All the polishes you need, including bond, base, seal protect, and topcoat.
- Natural powder, which goes on before the color powder. Three color powders: nude, red, and gold glitter.
- Clear powder, which goes on after the color powder.
- Nourishing cuticle oil to rub on after the topcoat dries.
- A recycle system that helps you conserve the powder, so none goes to waste.
- Brush saver, which you can use to spruce up your gunky brushes.
Kiara Sky Dip Powder Natural vs Clear: How To Use
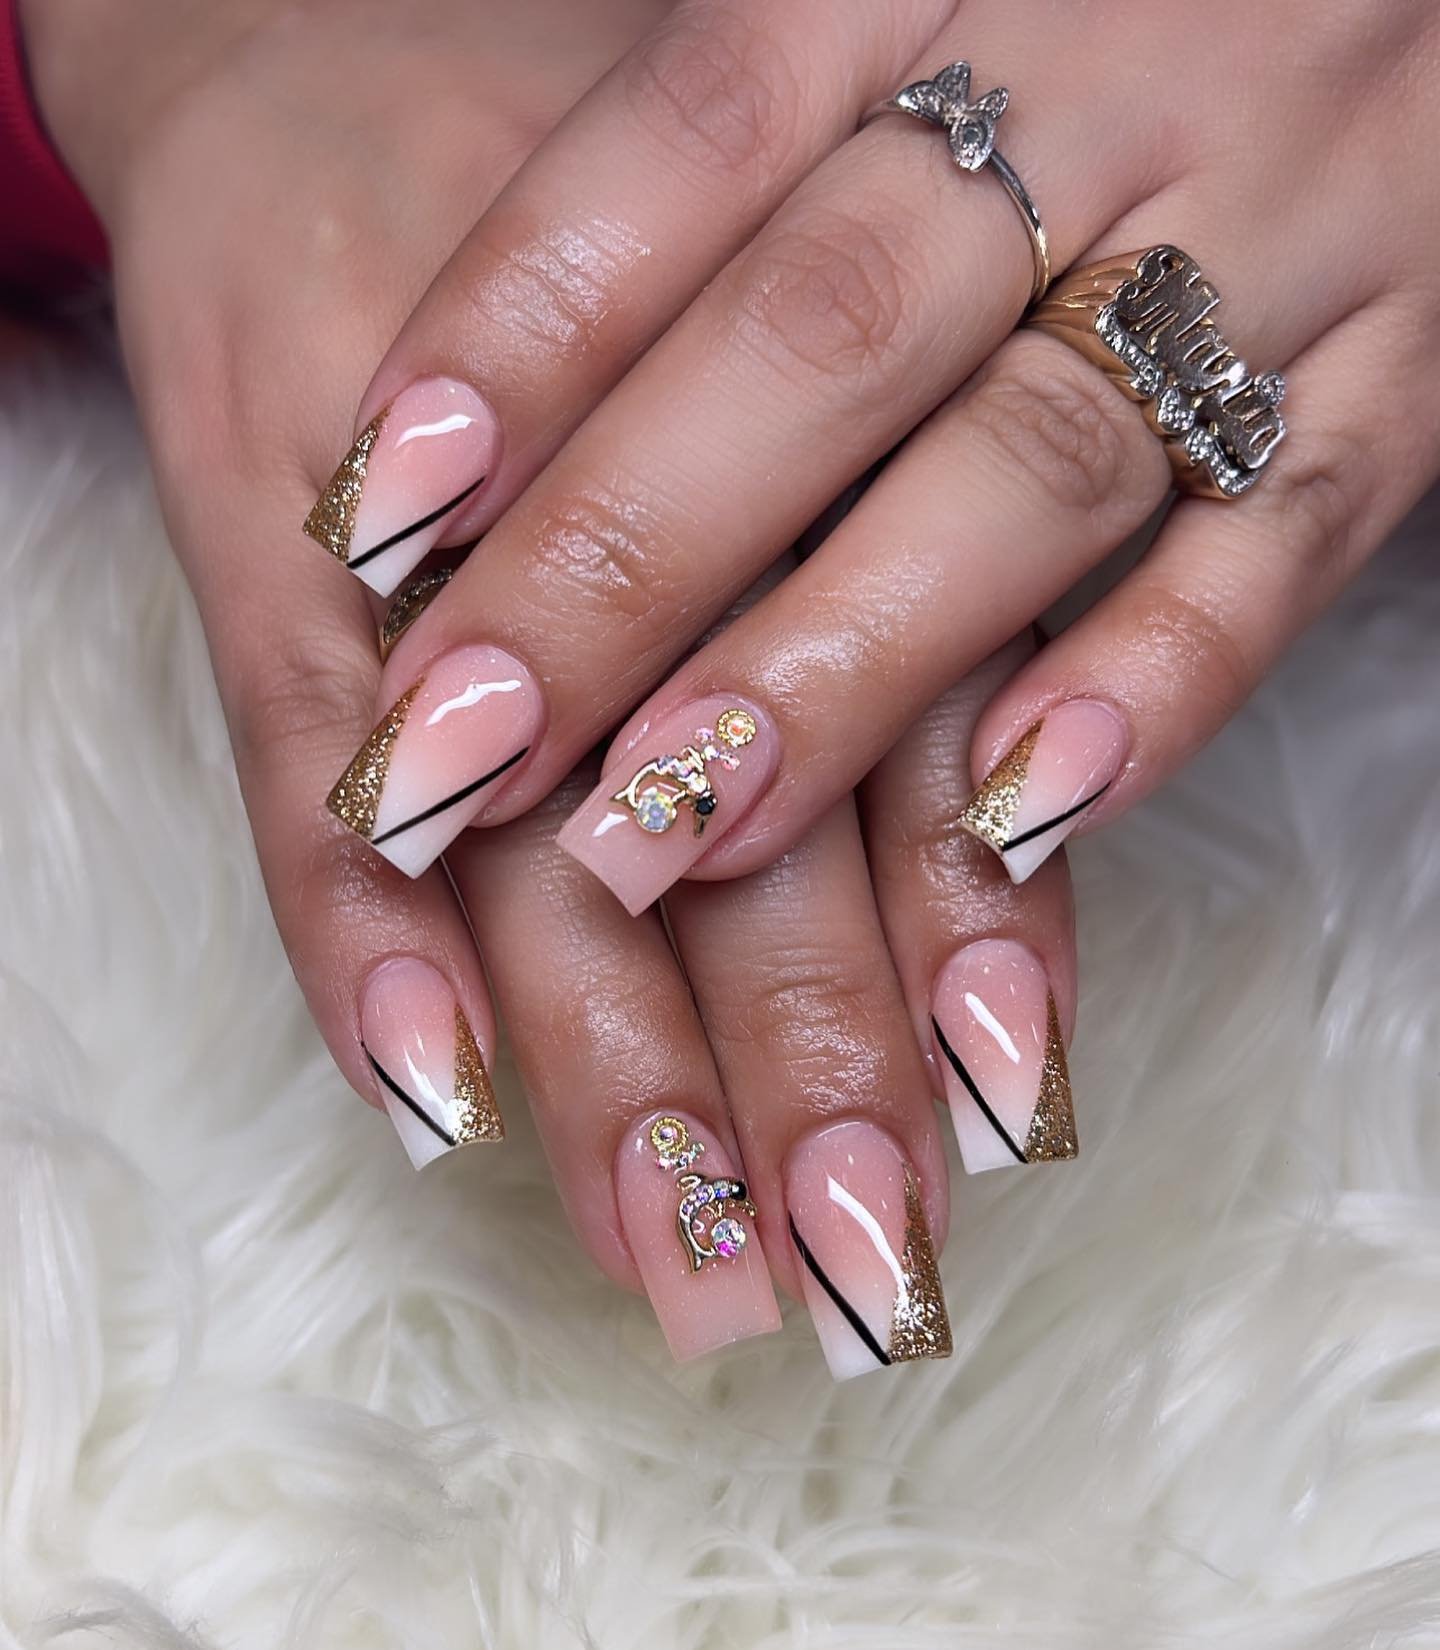
by @zulaidynails
Step One: Prep The Nails
Start by prepping the nails. Push back the cuticles to remove any dead tissue on the nail.
Afterwards, remove the shine from the natural nail using a hand nail file and shape the nail into your desired shape. Focus on the cuticle and edge of the nails during this step.
Step Two: Apply Bond To The Natural Nail
Once your nails are prepped. Go ahead and grab your Bond and apply it to the entire natural nail. Applying a Bond is an essential step as it will dehydrate the nail and remove any excess oils that could cause lifting.
Step Three: Apply Base and Dip Into The Clear Powder
Next, grab your Base, and apply it to the nails. When applying the Base, make sure that you are applying a thin, even layer so that the application is nice and smooth. Dip the nail into the Natural Dip Powder that comes with your Dip Kit! Natural powder is important for building up the strength of the nail.
Ensure you dip the nail into the powder at a 45-degree angle and then brush off the excess powder with the Dip Powder Dust Brush. Using a soft, fluffy brush to remove the excess powder after every dip will help you to apply these thin and even layers to build up your flawless nail look!
Step Four: Apply Base and Dip Again
Next, select the Dip Powder color you would like to use. Use your Base a second time and apply it to the nail, just a line away from the cuticle. Dip the nail into the color powder at a 45-degree angle once again.
You might find it easier to shake the powder from side to side slightly to allow the powder to fall onto the nail instead of pushing the nail into the powder. Dust off again with your fluffy brush!
Step Five: Apply Base And Dip For The Third Time
Pick up your Base once again and apply it to the entire nail, and dip it once more into your color. You’ll notice that with each layer, you’re getting closer to the cuticle. This is to prevent the cuticle area from getting bulky which could cause the lifting of your manicure.
Note: Always brush parallel to the nail to ensure the brushes don’t poke or indent the powder for a smooth, perfect application every time!
Step Six: Apply Clear Dip Powder
The clear powder is extremely important to your dip application because it will protect your color pigments when it is time to file the nail. To do this, apply your base to the entire nail once again, grab your clear powder, and gently pour it over the nail. You can then reuse the excess powder and use the scoop to pour over your next nail!
Step Seven: Apply Seal Protect
Once the clear powder has been applied. Apply the Seal Protect to activate your powders. Without Seal Protect, the nail will never dry properly.
Step Eight: Apply Top Coat
Apply top coat in quick, thin strokes and allow to dry. Afterwards, apply cuticle oil and give your nails a massage.
You might want to check out our piece on Dip vs Acrylic Nails: Which is Better?